Language selector best practices: 10 UX tips for websites and apps
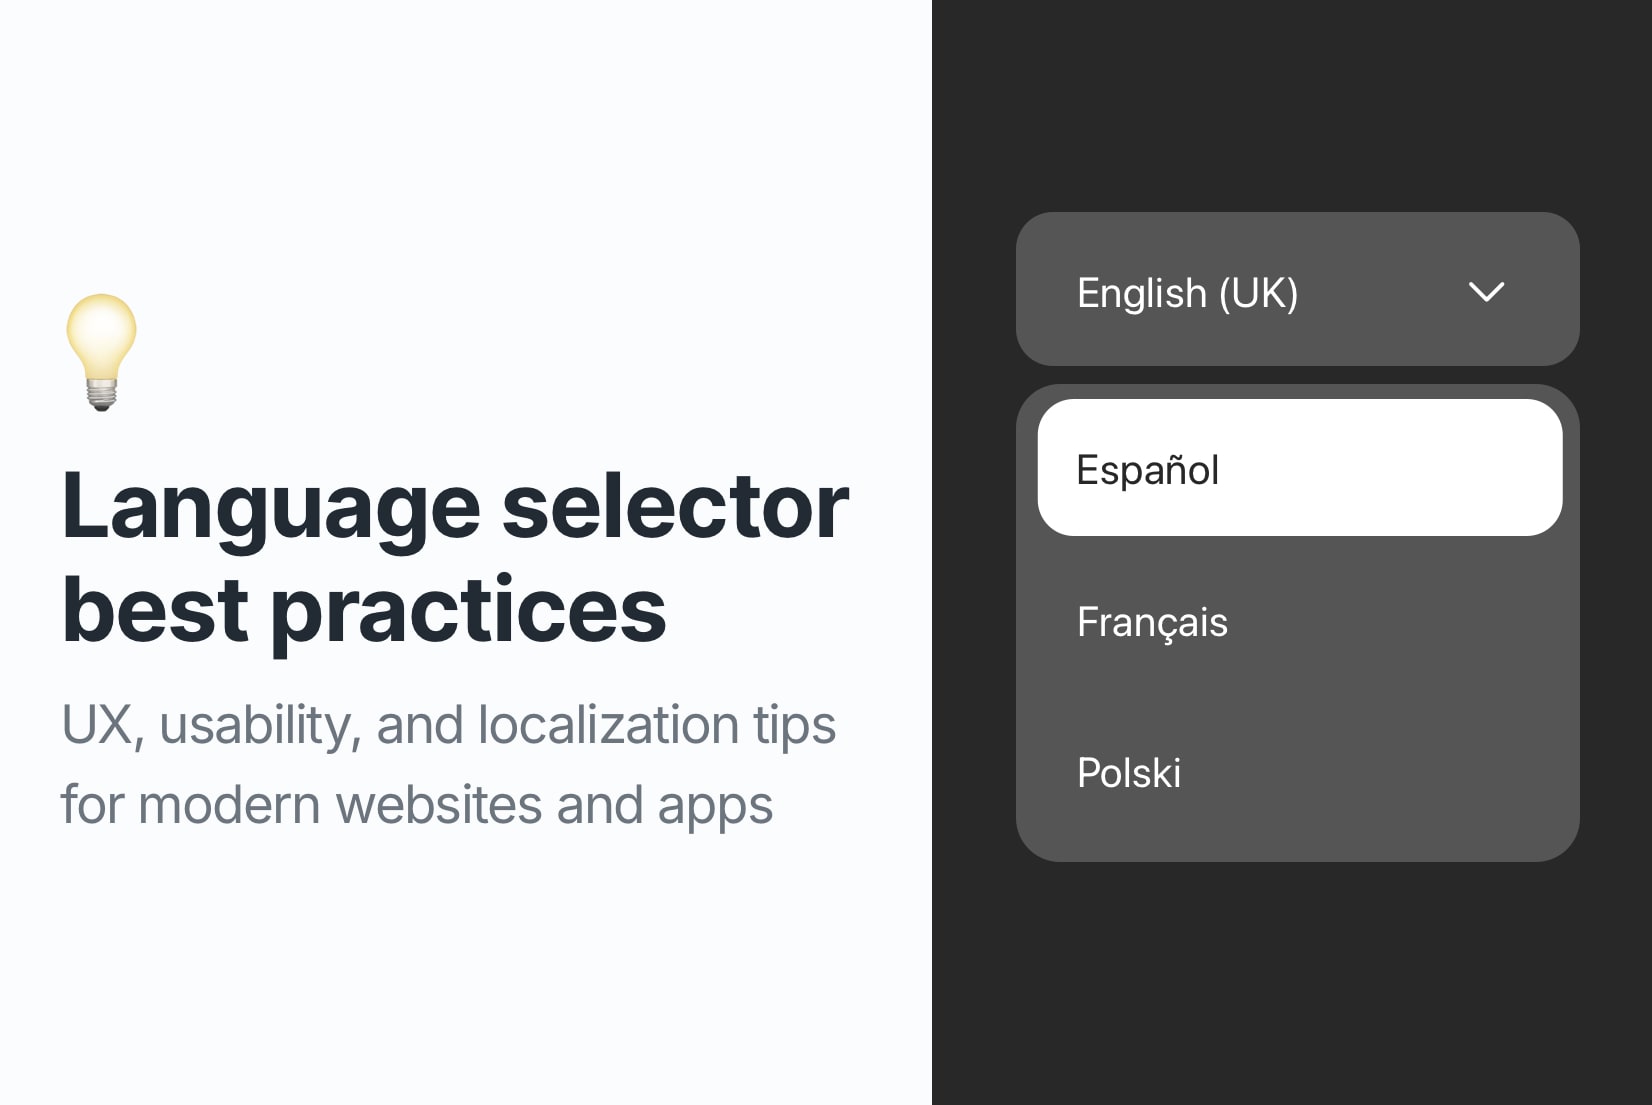
A language selector might look like a small UI detail, but it directly affects usability, accessibility, SEO, and international growth.
If users can't easily switch to their preferred language, your localization effort loses impact instantly. A confusing selector increases friction, reduces trust, and hurts conversion, especially for global products.
In this guide, we'll walk through 10 best practices for designing a language selector that works across websites and apps.
Why is a language selector so important?
A language selector is not just a UI element.
It reflects how your localization infrastructure is structured underneath.
It must align with:
- Your URL architecture
- Your locale strategy
- Your SEO implementation
- Your international expansion roadmap
If these aren't aligned, even a beautiful selector won't scale.
For a broader strategic view, see our localization strategy guide.
10 tips for creating a language selector that works
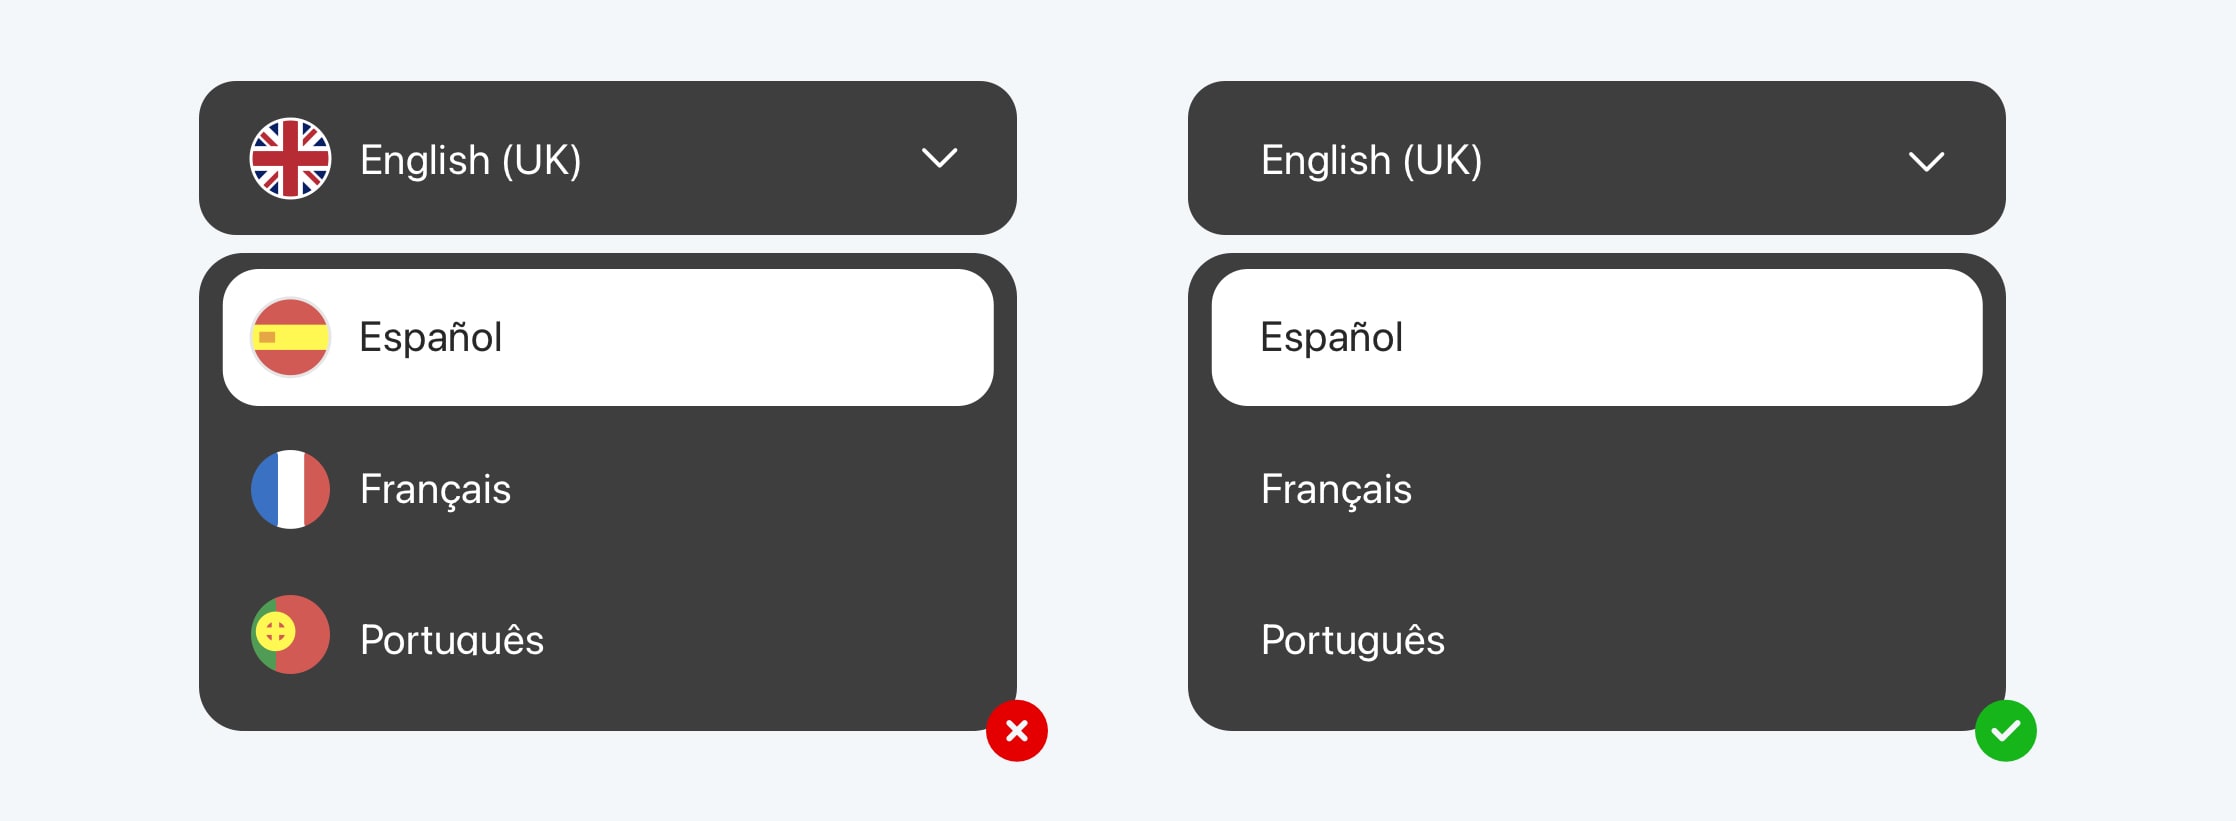
1. Avoid using flags as language indicators
Using flags to represent languages can be misleading. Flags represent countries, not languages, and many countries have multiple official languages.
For example, Spanish is spoken in over 20 countries, and Arabic has regional variants. Using a single flag to represent a language can confuse or even offend users.
Instead, use language names in their native scripts (e.g., "Español" for Spanish, "العربية" for Arabic) to ensure clarity and inclusivity.
Read more: Flags in language selectors: Should we keep or remove them?
2. Keep it simple and intuitive
A language selector should feel like a natural part of your interface, not a distraction. The design should be clean and straightforward, allowing users to find and select their preferred language quickly.
Stick to clean dropdowns, menus, or toggles that fit your branding. Don't clutter it with unnecessary icons or animations.
Looking for inspiration? Check out UI design examples of language selectors
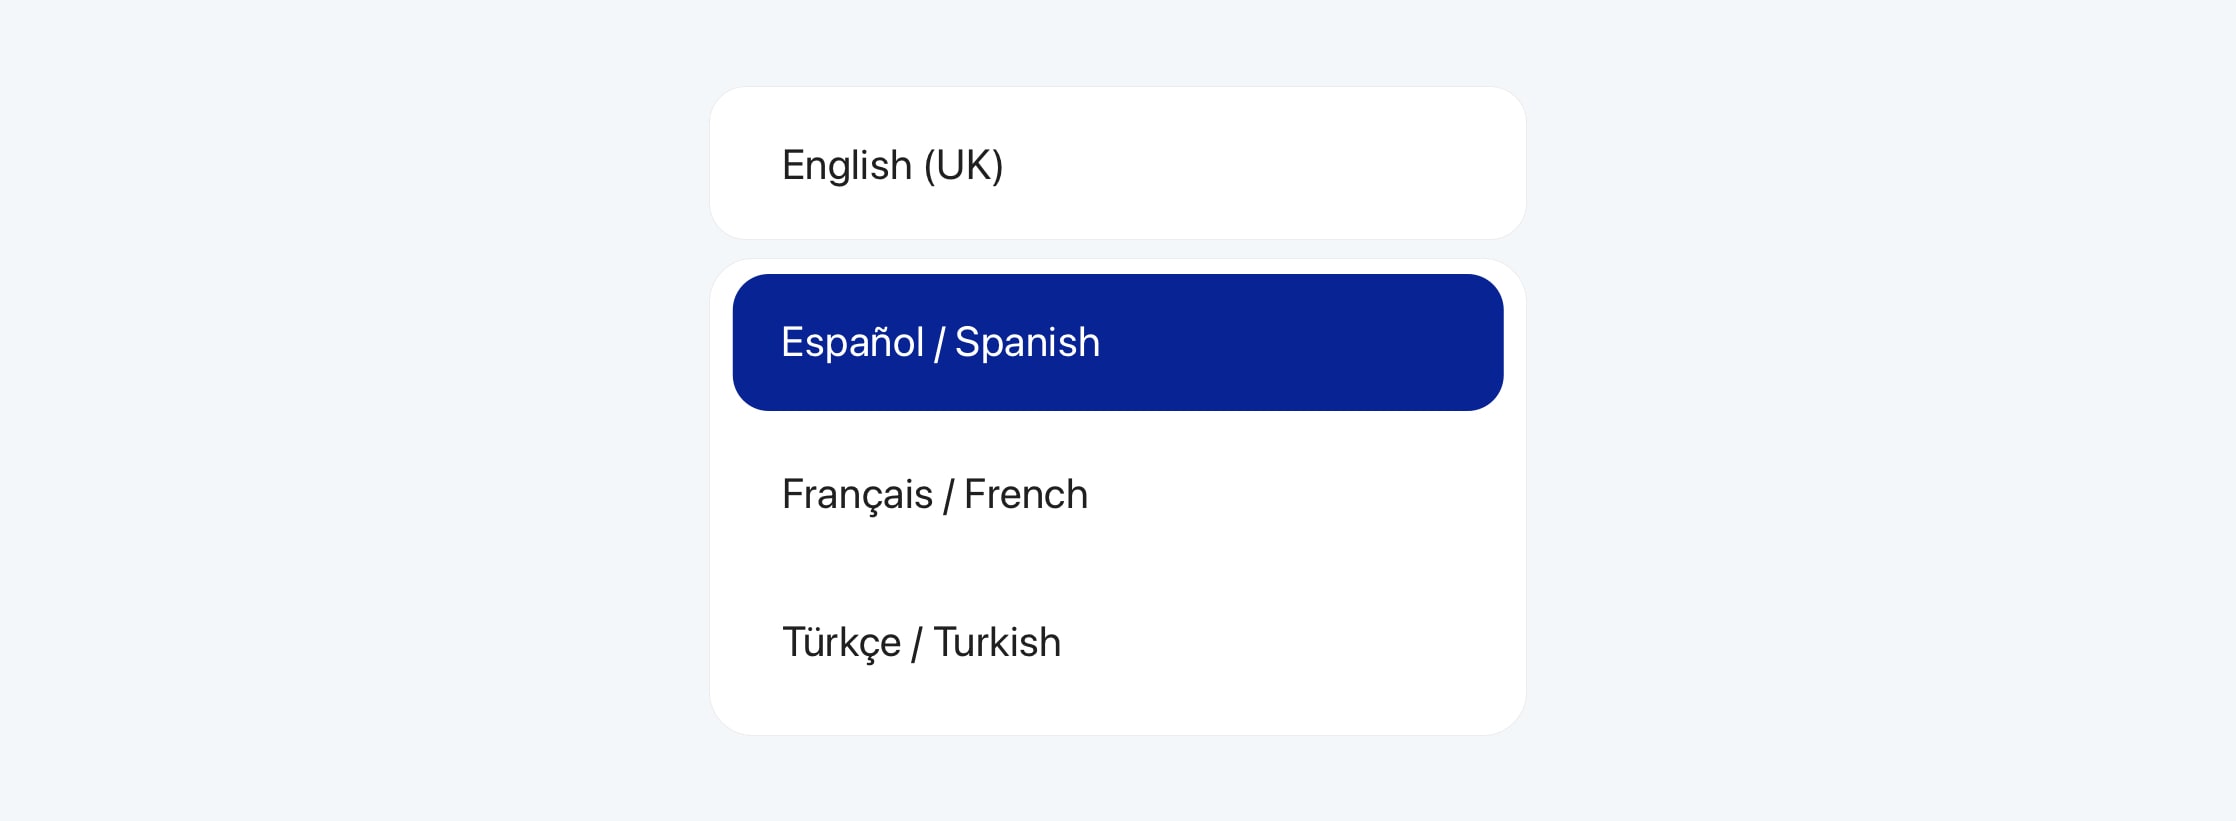
3. Show language names in both native and localized forms
Displaying language names in both the target language and the current language is super helpful. For example:
- العربية / Arabic
- Español / Spanish
- Deutsch / German
- Français / French
- 中文 / Chinese
- 日本語 / Japanese
Depending on the user's current language, this dual display helps them recognize their preferred language quickly, especially if they are not fluent in the current language.
Using both forms is a perfect solution for accessibility, as it caters to users who may not be familiar with the language names in their native script. However, be careful not to overwhelm users with too much text. Keep it concise and clear.
For a simpler approach, use just the native language name, especially if your audience is familiar with it.
4. Use standard locale codes
Leverage locale codes like en-US, fr-FR, or es-MX in your backend or codebase to manage translations more efficiently. This also helps when you want to customize content based on region-specific variants.
There are different ways of using locale codes in your URL structure, see URLs in website localization.
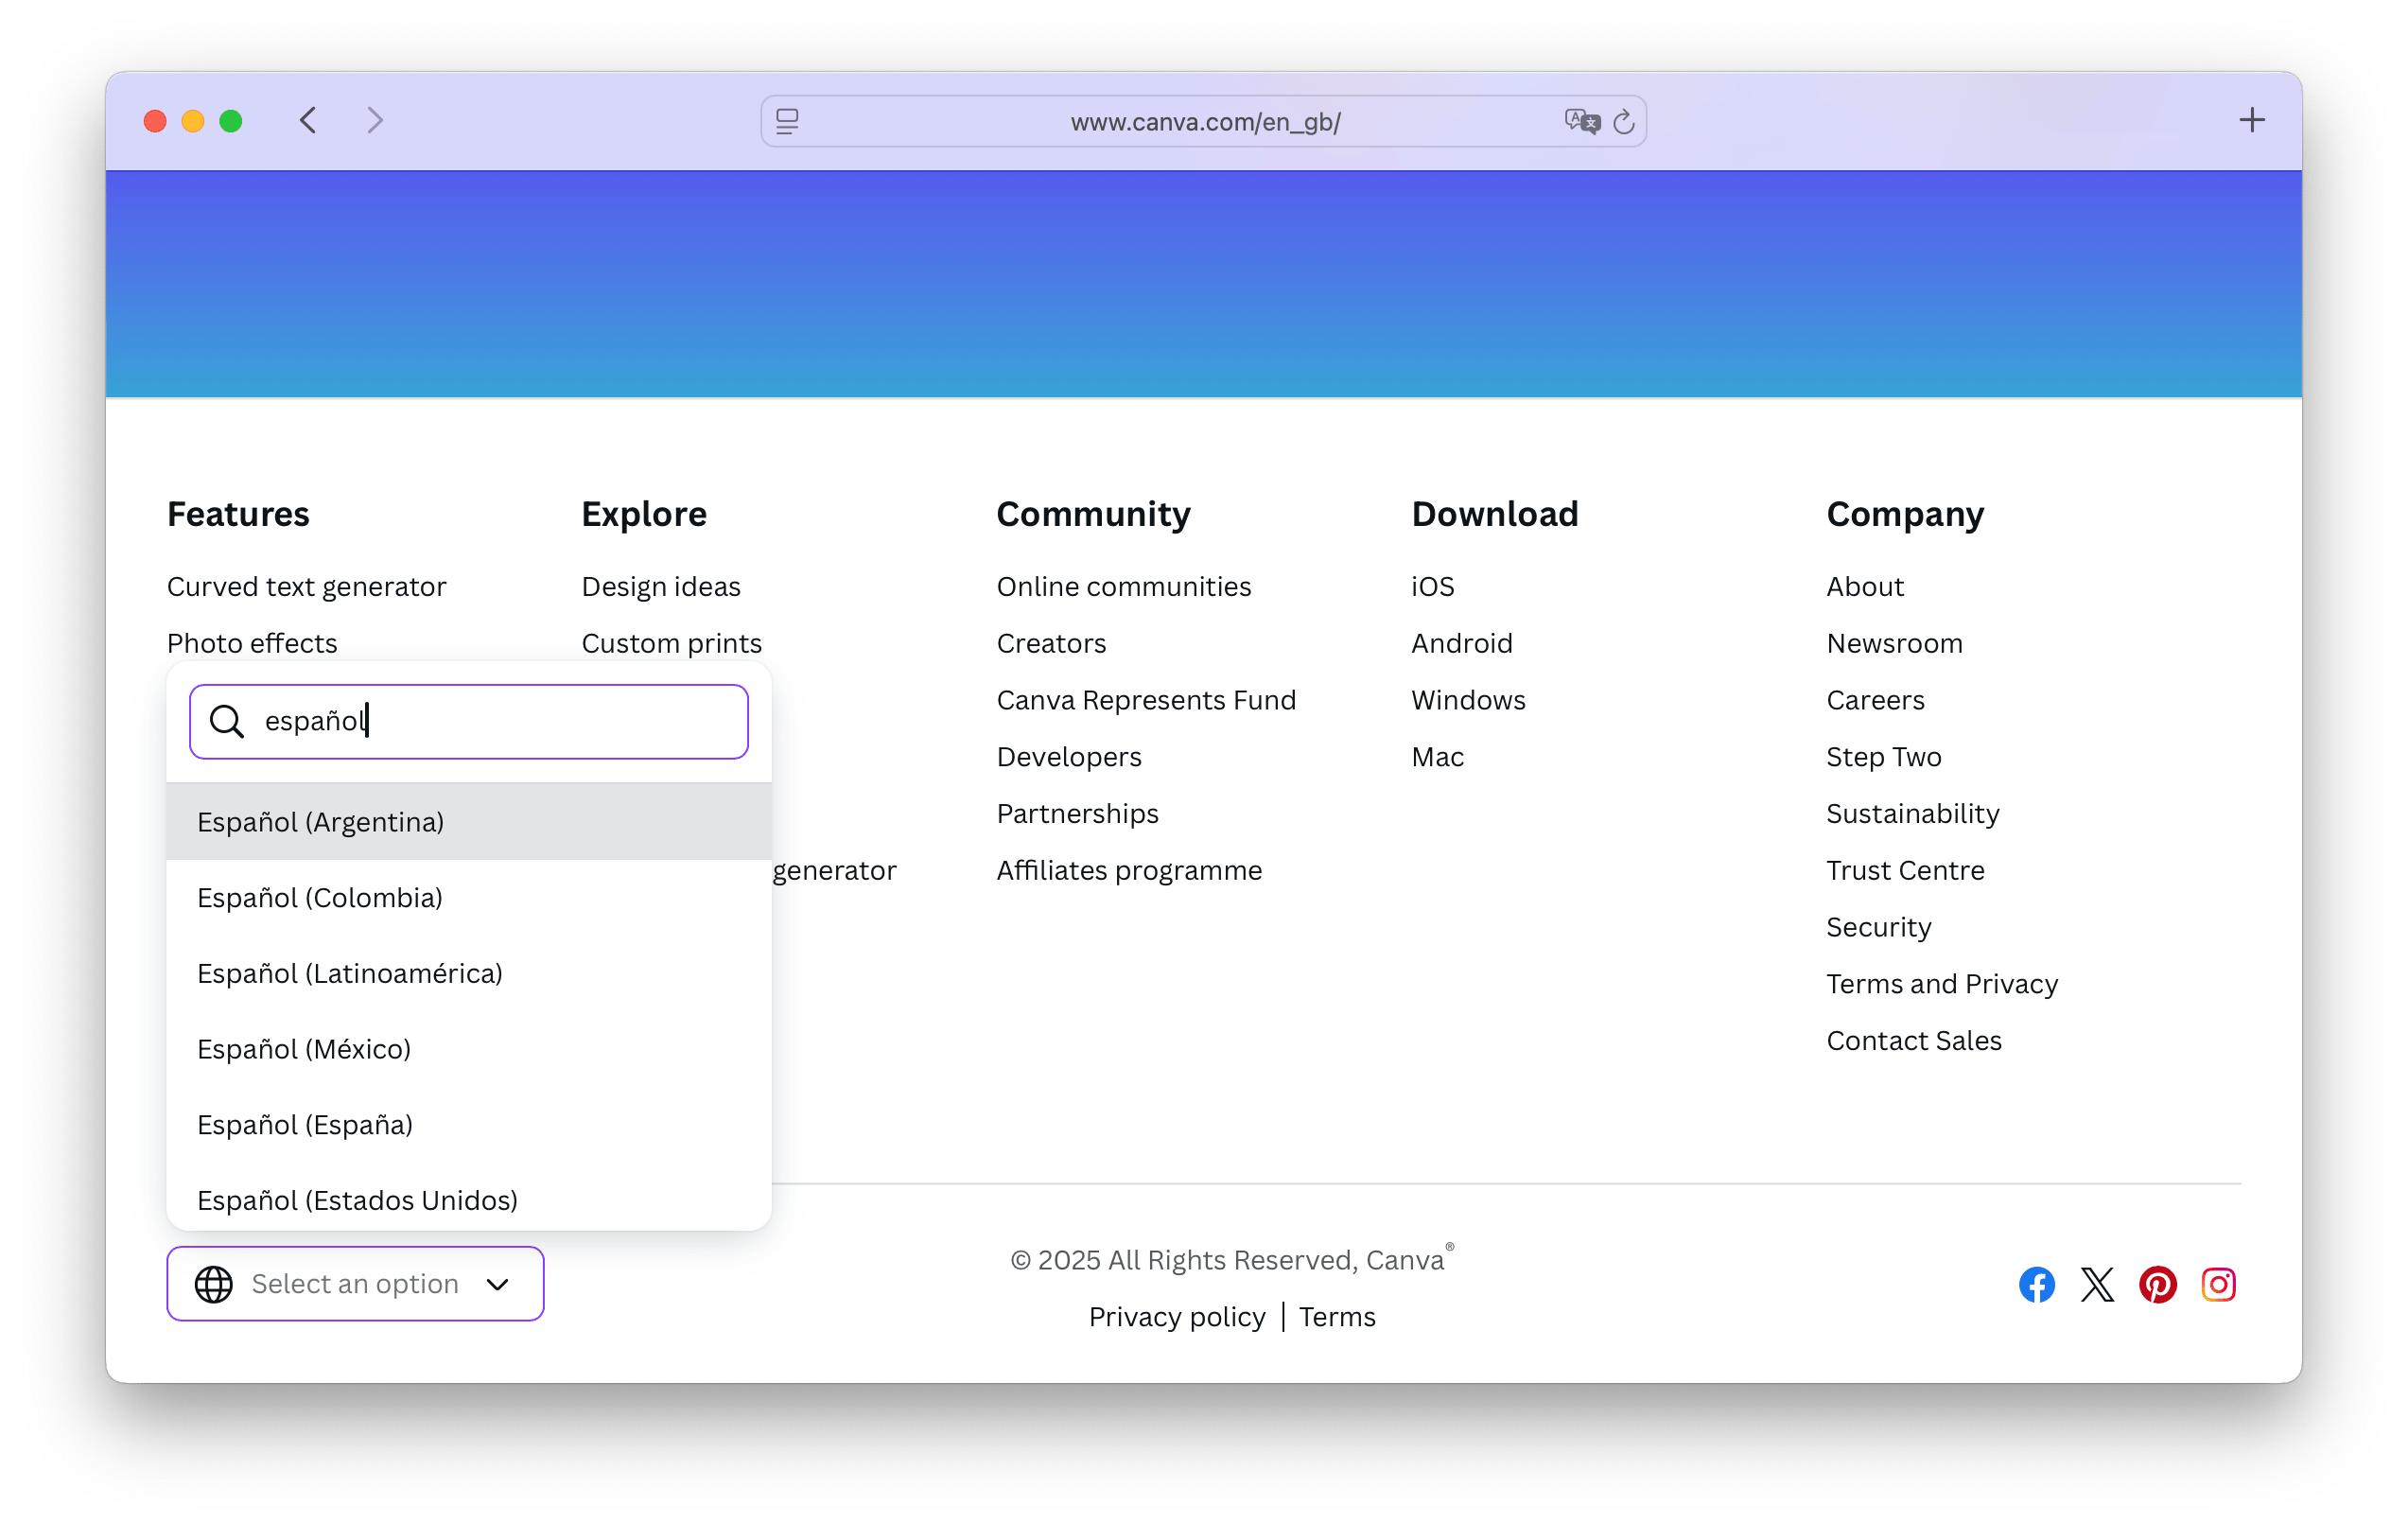
5. Include a search field (for long lists)
If your website or app supports many languages, consider adding a search field to the language selector. Thanks to this, users can quickly find their preferred language without scrolling through a long list.
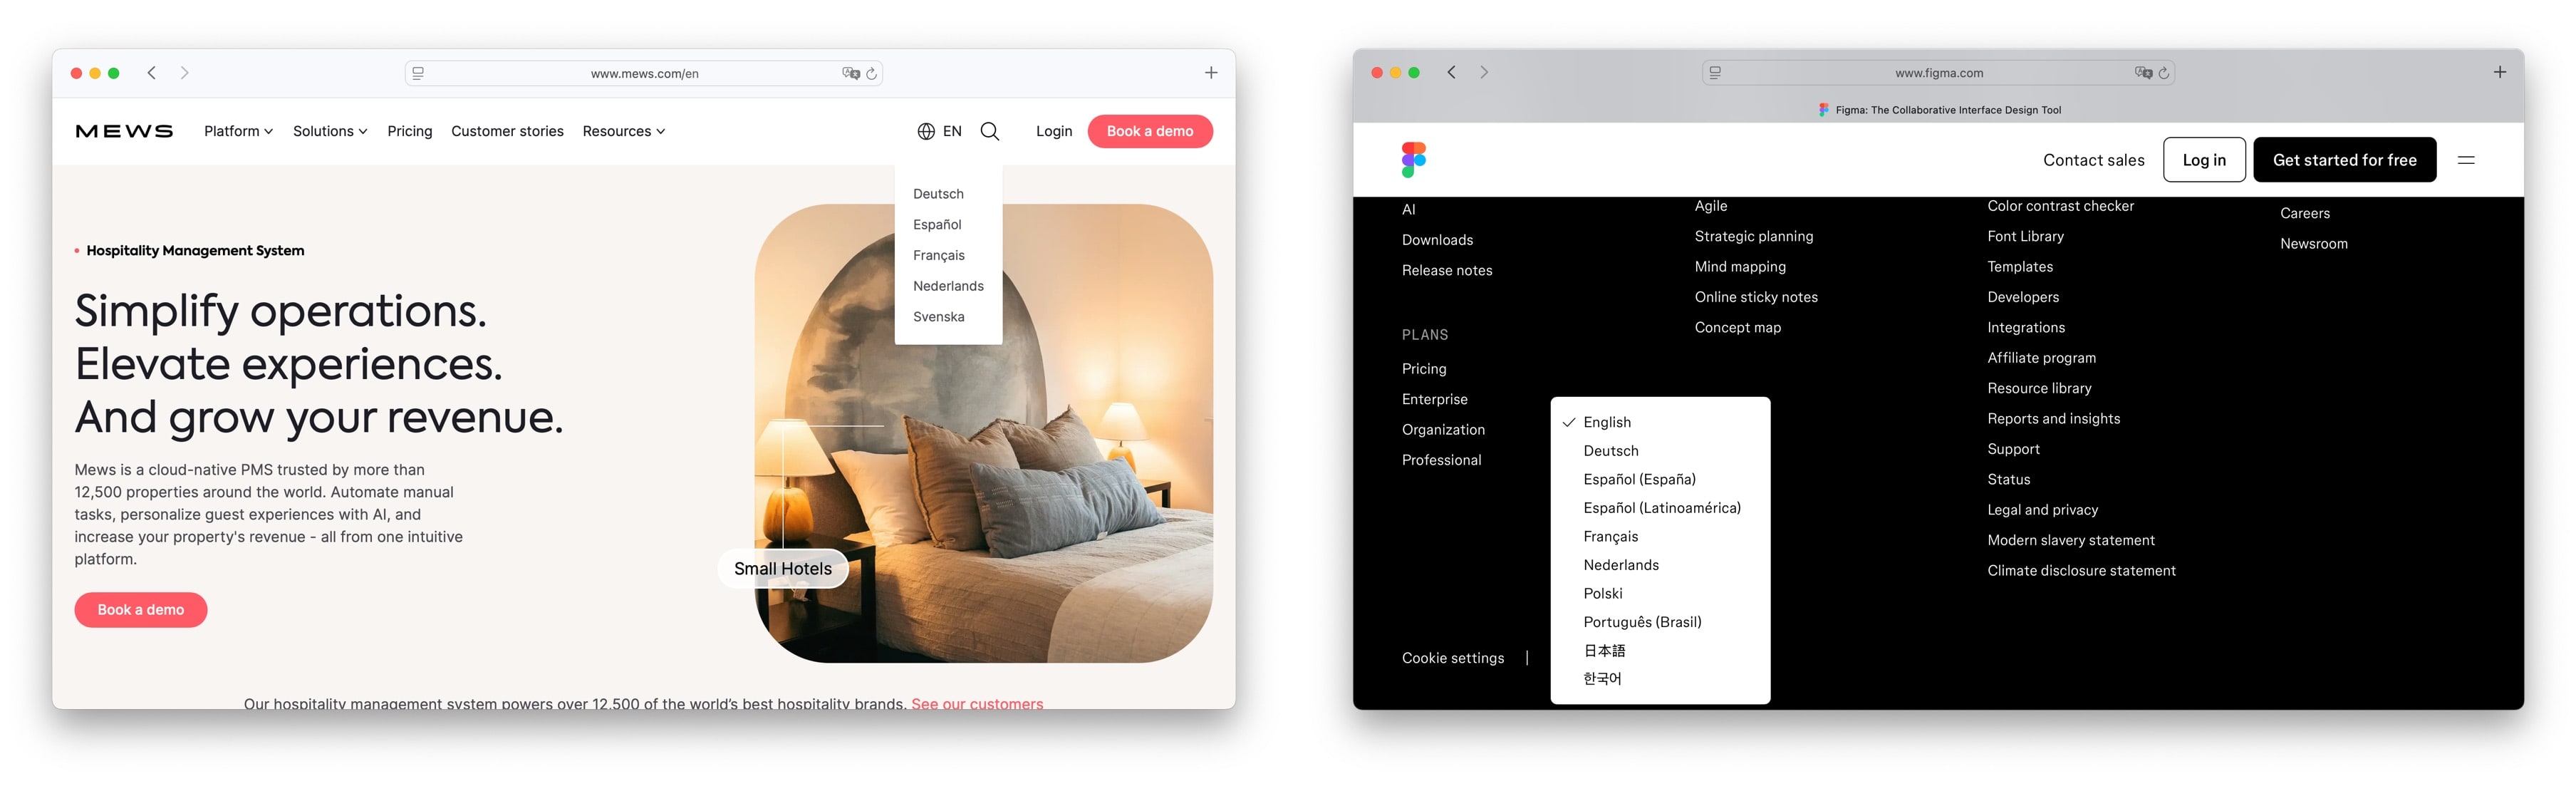
6. Place it where users expect it
The placement of your language selector matters. Users typically look for it in:
- Header: Top right corner is a common spot.
- Footer: Some users expect to find it at the bottom of the page.
- Settings menu: If your app has a settings or profile section, consider placing the language selector there.
- Welcome screen: If your app has a welcome or onboarding screen, you can include the language selector there.
Wherever you place it, make sure it's easy to spot and access but not overly prominent. Avoid hiding it behind multiple clicks or in obscure menus.
7. Make it accessible
Accessibility is crucial for a language selector. Make sure your language selector is accessible via keyboard and screen readers. Use semantic HTML elements and ARIA labels when necessary so that everyone, including users with disabilities, can interact with it.
For more tips on making your website accessible, check out our post on website accessibility.
8. Allow remembering language preferences
Use cookies or local storage to save the selected language for future visits. This prevents users from having to re-select their preferred language every time. When users return to your site or app, automatically load their last selected language. It enhances the user experience and reduce frustration.
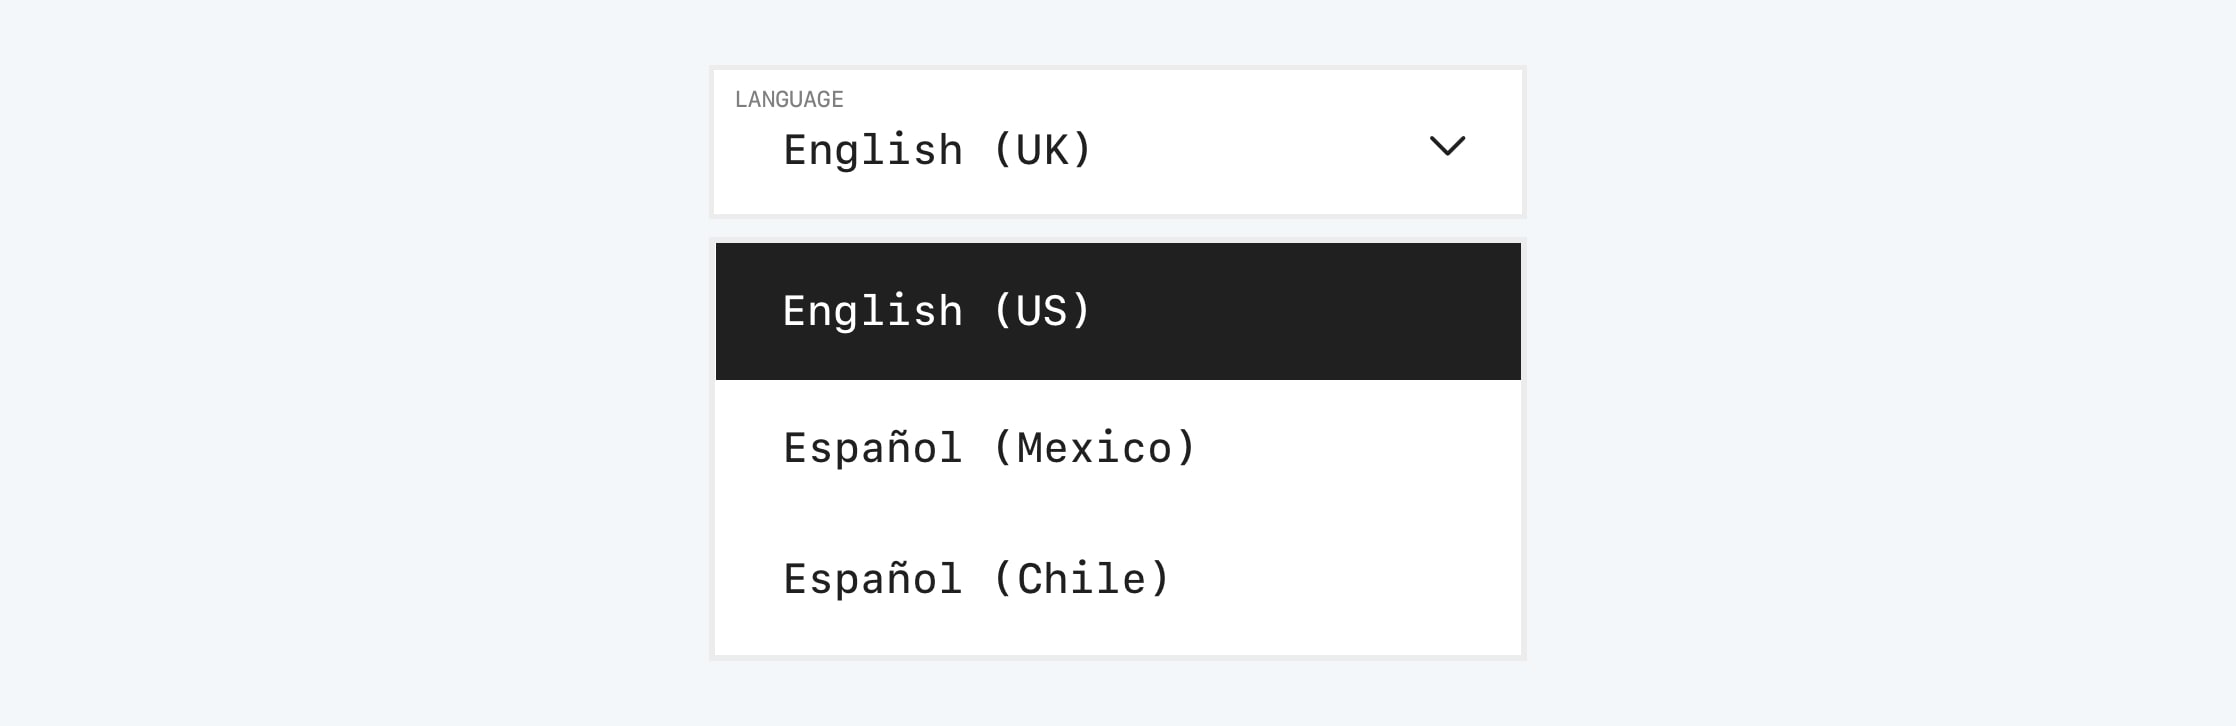
9. Provide context in language names
For similar languages or dialects, provide additional context in the language names. For example:
- Português (Brasil) vs Português (Portugal)
- English (US) vs English (UK)
- Español (Latinoamérica) vs Español (España)
This helps users choose the right variant for their needs, especially in multilingual regions.
10. Test with real users
Before you ship your language selector, test it with users from different regions and backgrounds. Gather feedback on usability and make adjustments based on real behavior, not assumptions.
Bonus tip: Align with your URL structure and SEO
Your language selector must update URLs consistently and preserve hreflang relationships. Whether you use subdirectories (/es/), subdomains (es.example.com), or query parameters, the selector should reflect your routing logic.
Inconsistent switching can create duplicate content and indexing issues.
Learn more about URL strategies for localization in our URL structure guide.
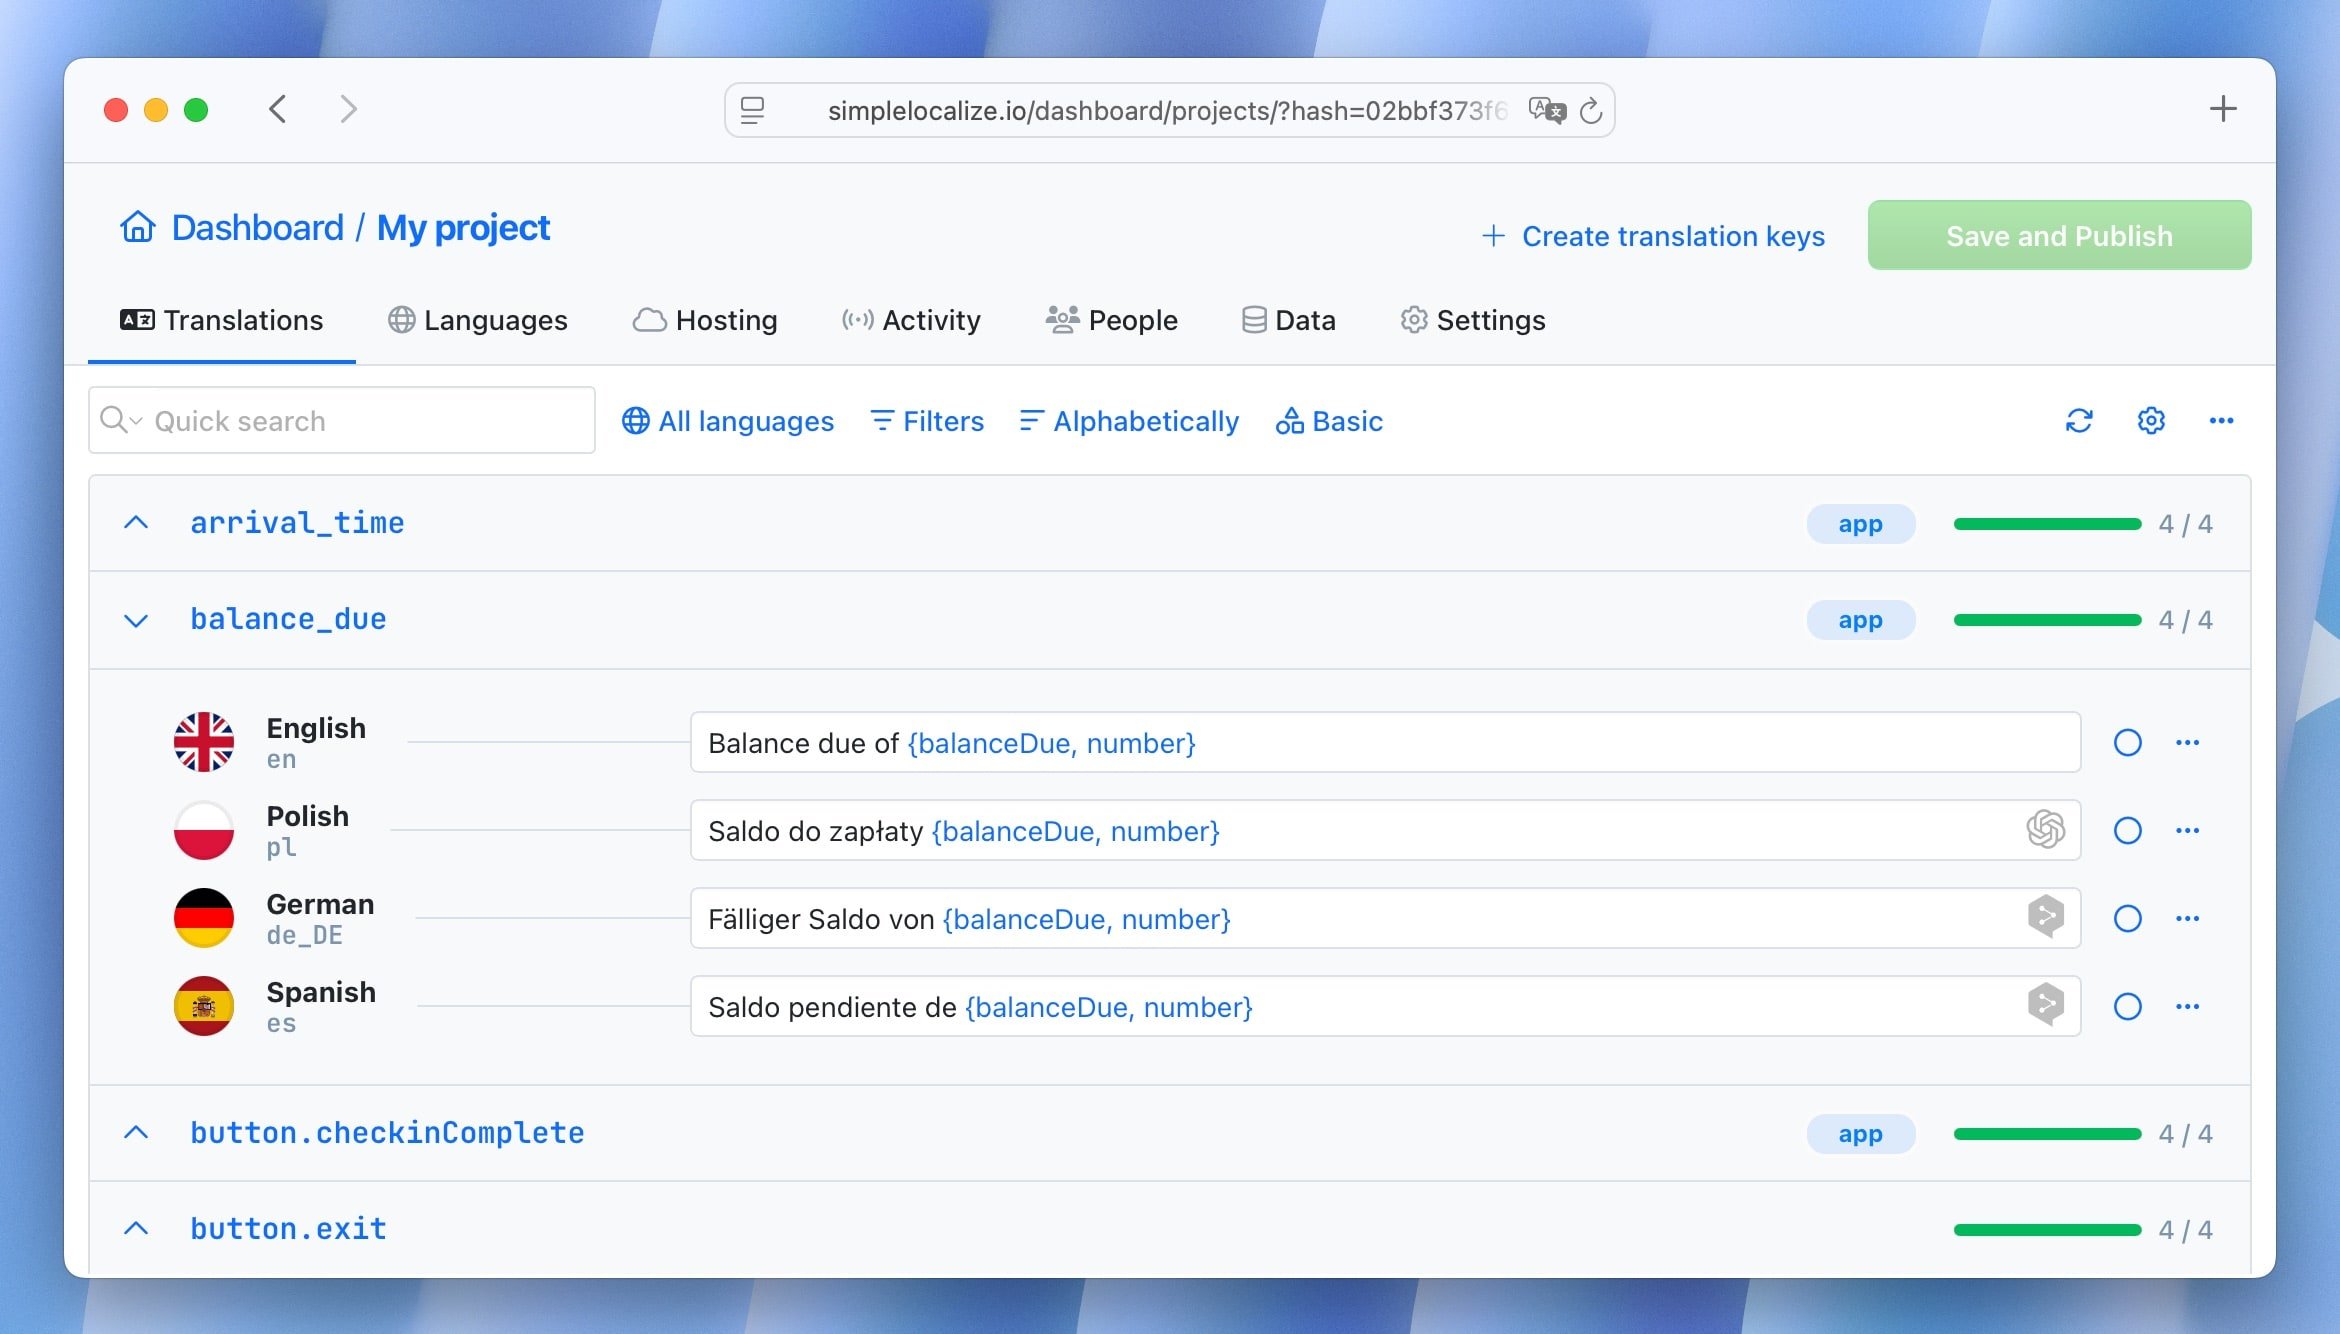
Bonus tip: Integrate a localization platform
Localization is more than just switching languages. It's about managing translations, reviewing content, and keeping things in sync. A tool like SimpleLocalize can help you:
- Manage translations in one place
- Collaborate with translators
- Use locale files directly in your code
- Integrate with popular frameworks like Next.js and React
Learn more: What is translation management?
Choosing the right language selector style
Depending on your website or app design, you can choose from various language selector styles. Here are some common options:
- A dropdown menu in the header and/or footer
- A modal or popup with a full list of languages and search
- A language picker screen before onboarding or login
- A settings panel option for logged-in users
The key is to match your user flow and keep language switching intuitive.
Start localizing with confidence
Designing a scalable language selector is easier when your localization workflow is organized.
With SimpleLocalize, you can manage translations, collaborate with translators, and integrate locale files directly into your codebase, without messy spreadsheets.
Explore how to build a custom language selector using Next.js and Tailwind CSS


")

