


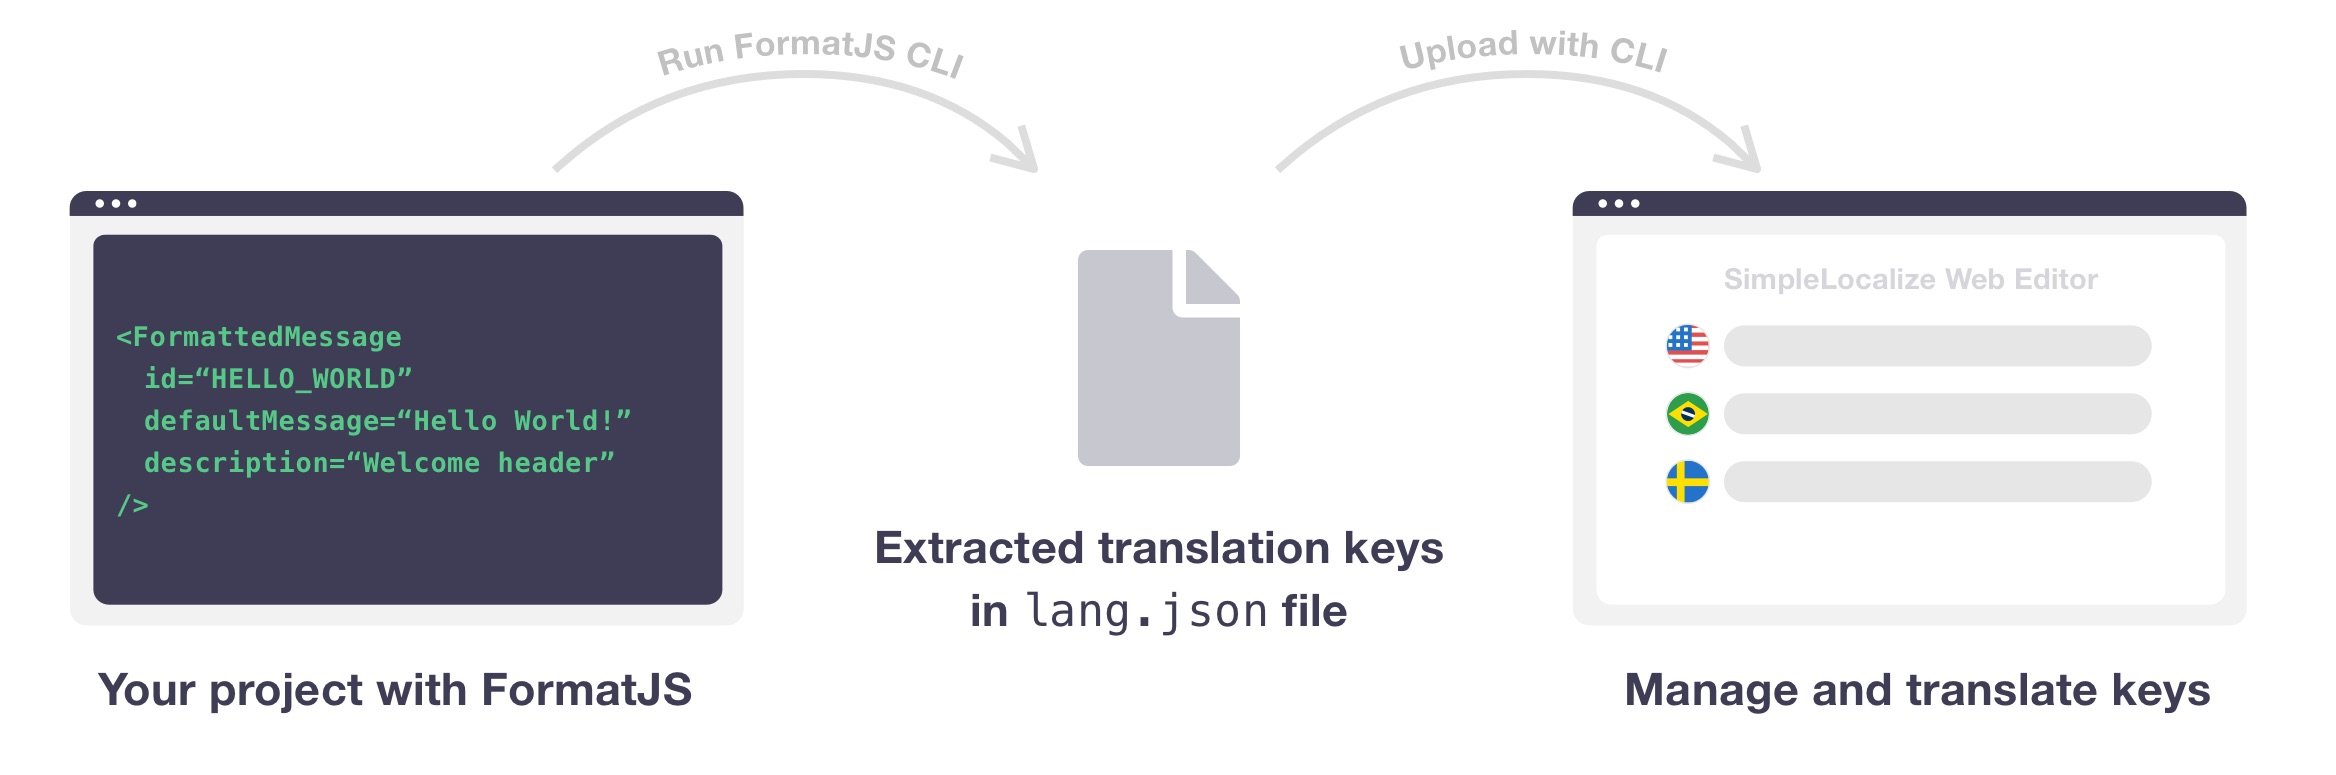
In this article, we will focus only on message extraction from FormatJS using a dedicated CLI from FormatJS team. After that, I will show you how to configure and upload the output to SimpleLocalize and automate the workflow. We also prepared a full tutorial with configuring FormatJS and FormatJS CLI.
Add dependencies
Install FormatJS CLI as a development dependency to your project.
npm install --save-dev @formatjs/cli
Install SimpleLocalize CLI
Install SimpleLocalize locally, to it will help us to automate the process of uploading and downloading translations from the translation editor.
# macOS / Linux / Windows (WSL)
curl -s https://get.simplelocalize.io/2.10/install | bash

# Windows (PowerShell)
. { iwr -useb https://get.simplelocalize.io/2.10/install-windows } | iex;

# npm
npm install @simplelocalize/cli
Add scripts
Add the following command to your package.json scripts:
{
  "scripts": {
    "i18n:extract": "formatjs extract 'src/**/*.{ts,js,tsx,jsx}' --out-file ./lang/enq.json",
    "i18n:auto-translate": "simplelocalize auto-translate --apiKey <PROJECT_API_KEY>"
  }
}
Extract source translations
Use an extract script to start FormatJS CLI extraction. It will save all translation keys in extracted.json file.
npm run i18n:extract
Upload source translations
Now you can use SimpleLocalize CLI to upload the exported file to the translation editor.
simplelocalize upload
  --apiKey <PROJECT_API_KEY>
  --uploadPath ./lang/en.json
  --uploadFormat simplelocalize-json
  --uploadLanguageKey en
Manage translations
Your translations now should be visible in the translation editor. Validate if all keys have been extracted correctly and have proper translations.
If you want to translate your app in multiple languages fast, you can add new languages in the Languages tab, and use auto-translation features to speed up the process.
Download translations
Download JSON file with translation to your project files with CLI.
Run simplelocalize download command like below to download JSON files with translations.
$ simplelocalize download \
        --apiKey YOUR_API_KEY \
        --downloadFormat single-language-json \
        --downloadPath ./i18n/messages_{lang}.json
CLI will download the files to the ./i18n/messages_{lang}.json files,
where {lang} is the language code set in Languages tab.
You can choose a different format for the downloaded files. Check the list of available formats.
To download just one JSON file with all languages, you can use the multi-language-json format.
$ simplelocalize download \
        --apiKey YOUR_API_KEY \
        --downloadFormat multi-language-json \
        --downloadPath ./i18n/messages.json