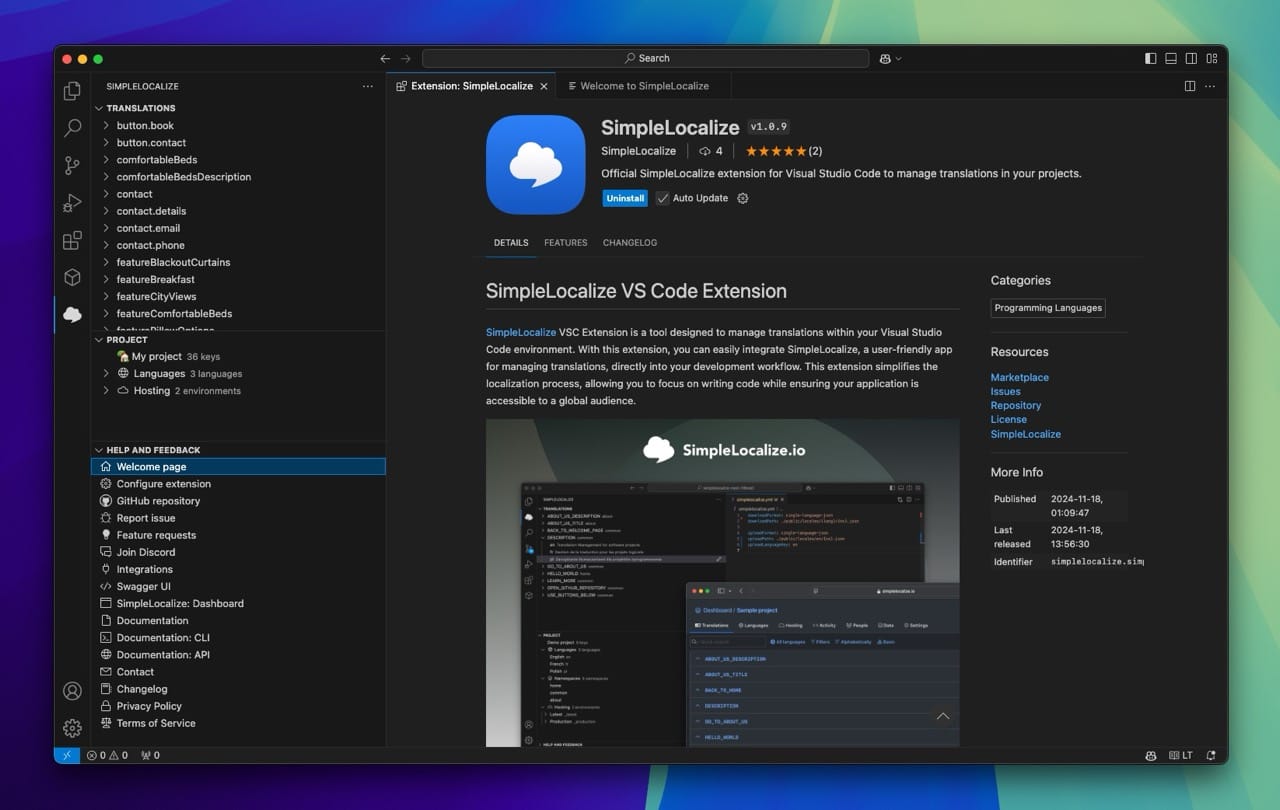
In this article, you will learn how to configure Visual Studio Code extension for SimpleLocalize to manage translations directly from your code editor.

Features
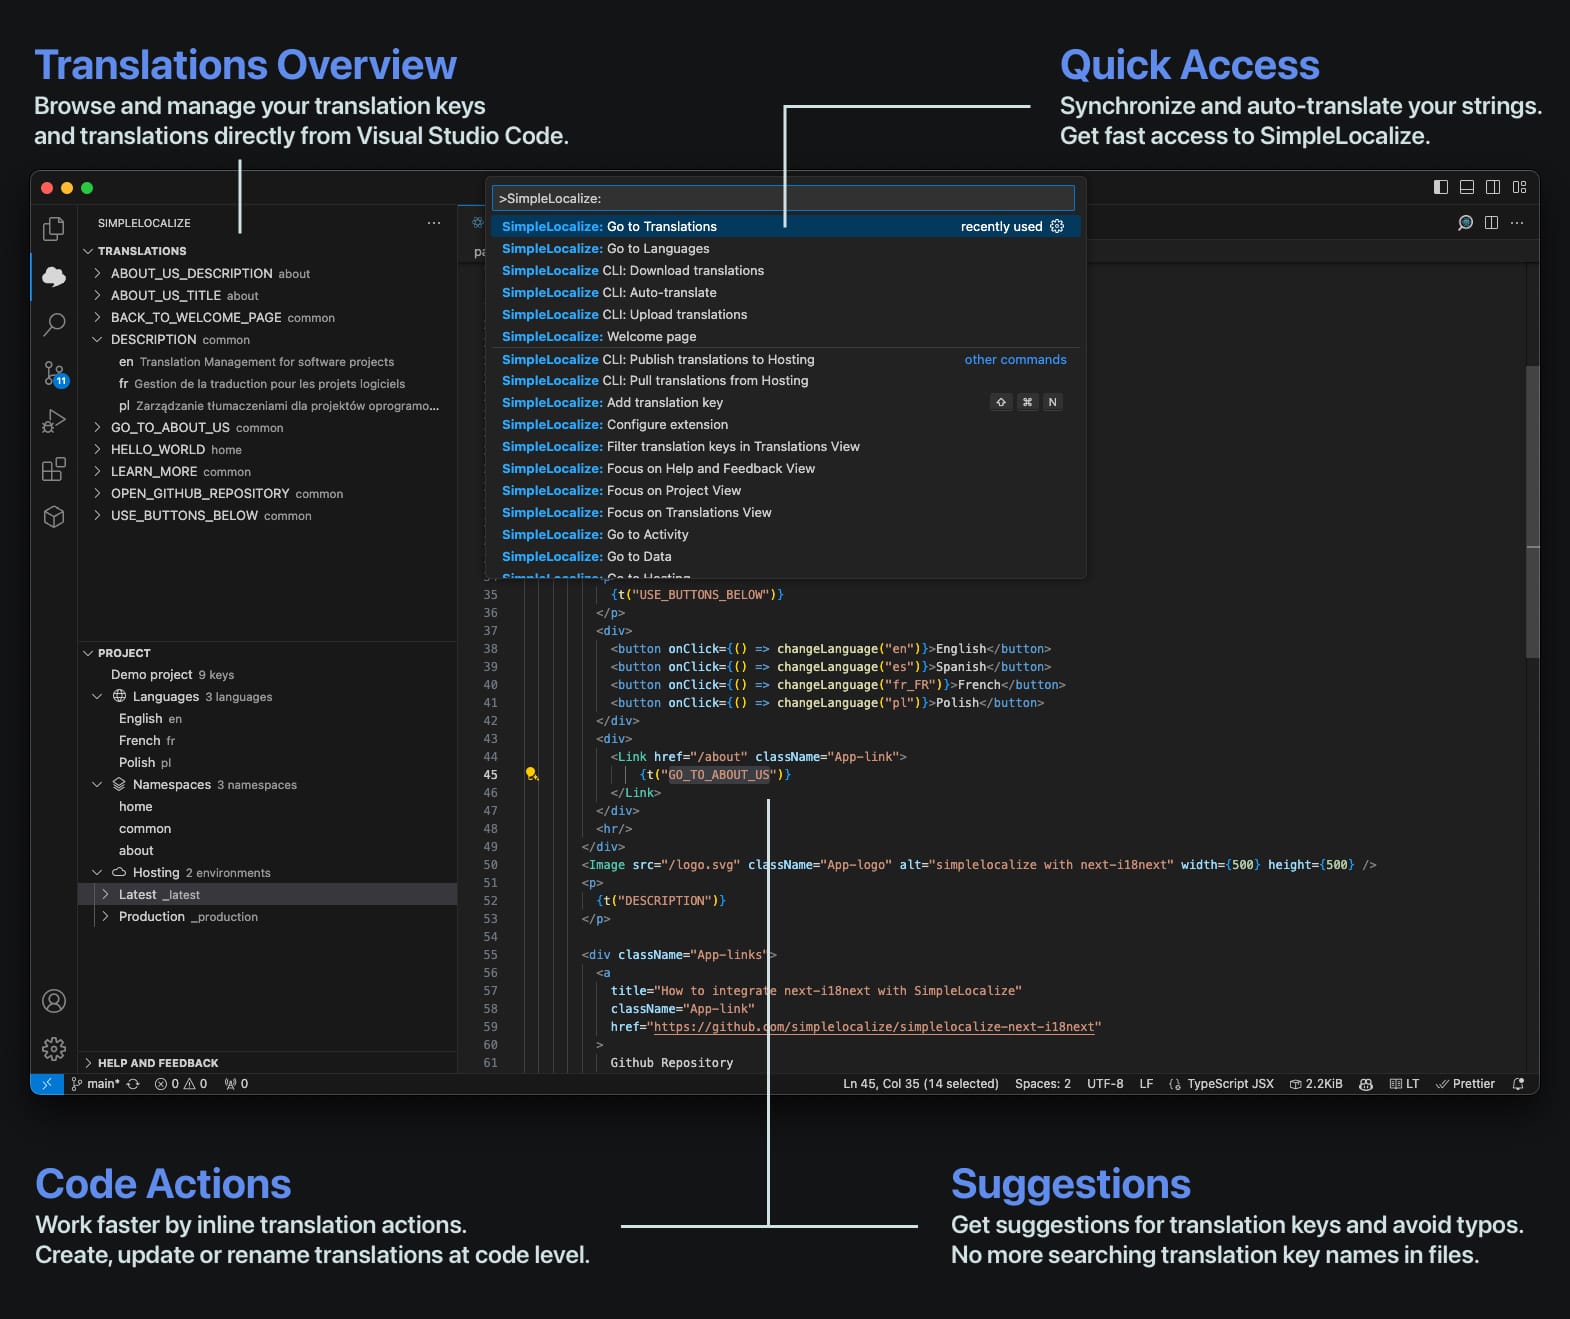
The extensions add a set of commands to the Visual Studio command palette to help you manage translations and keys. Optionally, it can also be used with the SimpleLocalize CLI to synchronize translations between your project and SimpleLocalize, run auto-translation, and more. Watch videos to learn more about all the features.

Installation
- Open Visual Studio Code.
- Go to the Extensions view by clicking on the square icon in the sidebar on the left or by pressing
Ctrl+Shift+X. - Search for
SimpleLocalizein the Extensions view search box. - Click "Install" next to the SimpleLocalize extension.
Optionally, you can install the extension Visual Studio Code Marketplace, or by clicking here: Install SimpleLocalize Extension.
Configuration
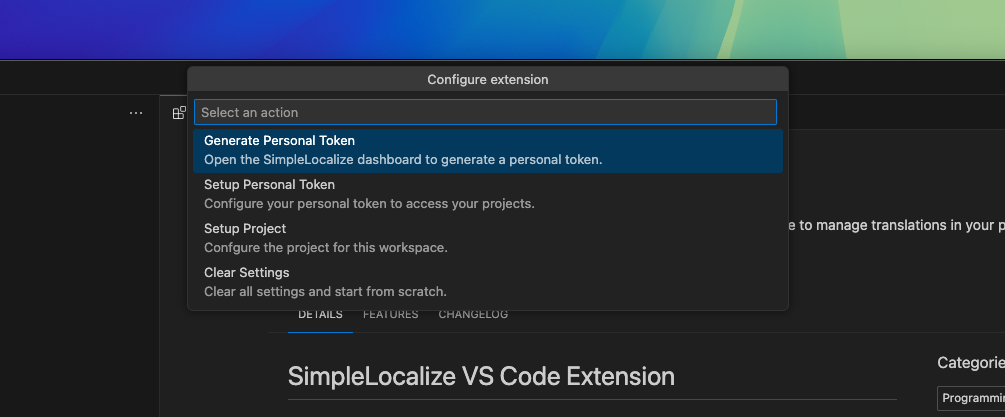
- Generate new personal token for your account,
- Open the command palette by pressing
Ctrl+Shift+P. - Search for
SimpleLocalize: Configure extension. - Choose "Setup personal token" and paste your token.
- Now, you can choose a project for your current workspace.

CLI Integration
The extension can be used with the SimpleLocalize CLI to synchronize translations between your project and SimpleLocalize, run auto-translation, and more. To install the CLI, follow the instructions in the CLI installation guide.