


An online translation editor can be a great help in getting started with translation management, and also it can improve the translation process experience for more advanced teams. It's easier, more intuitive and user-friendly than an Excel file, and multiple users can work on translations in one place.
In this section, you will learn how to use the SimpleLocalize translation editor and set it to your and your team needs. Adjust the views and learn all editor options to take full advantage of its features.
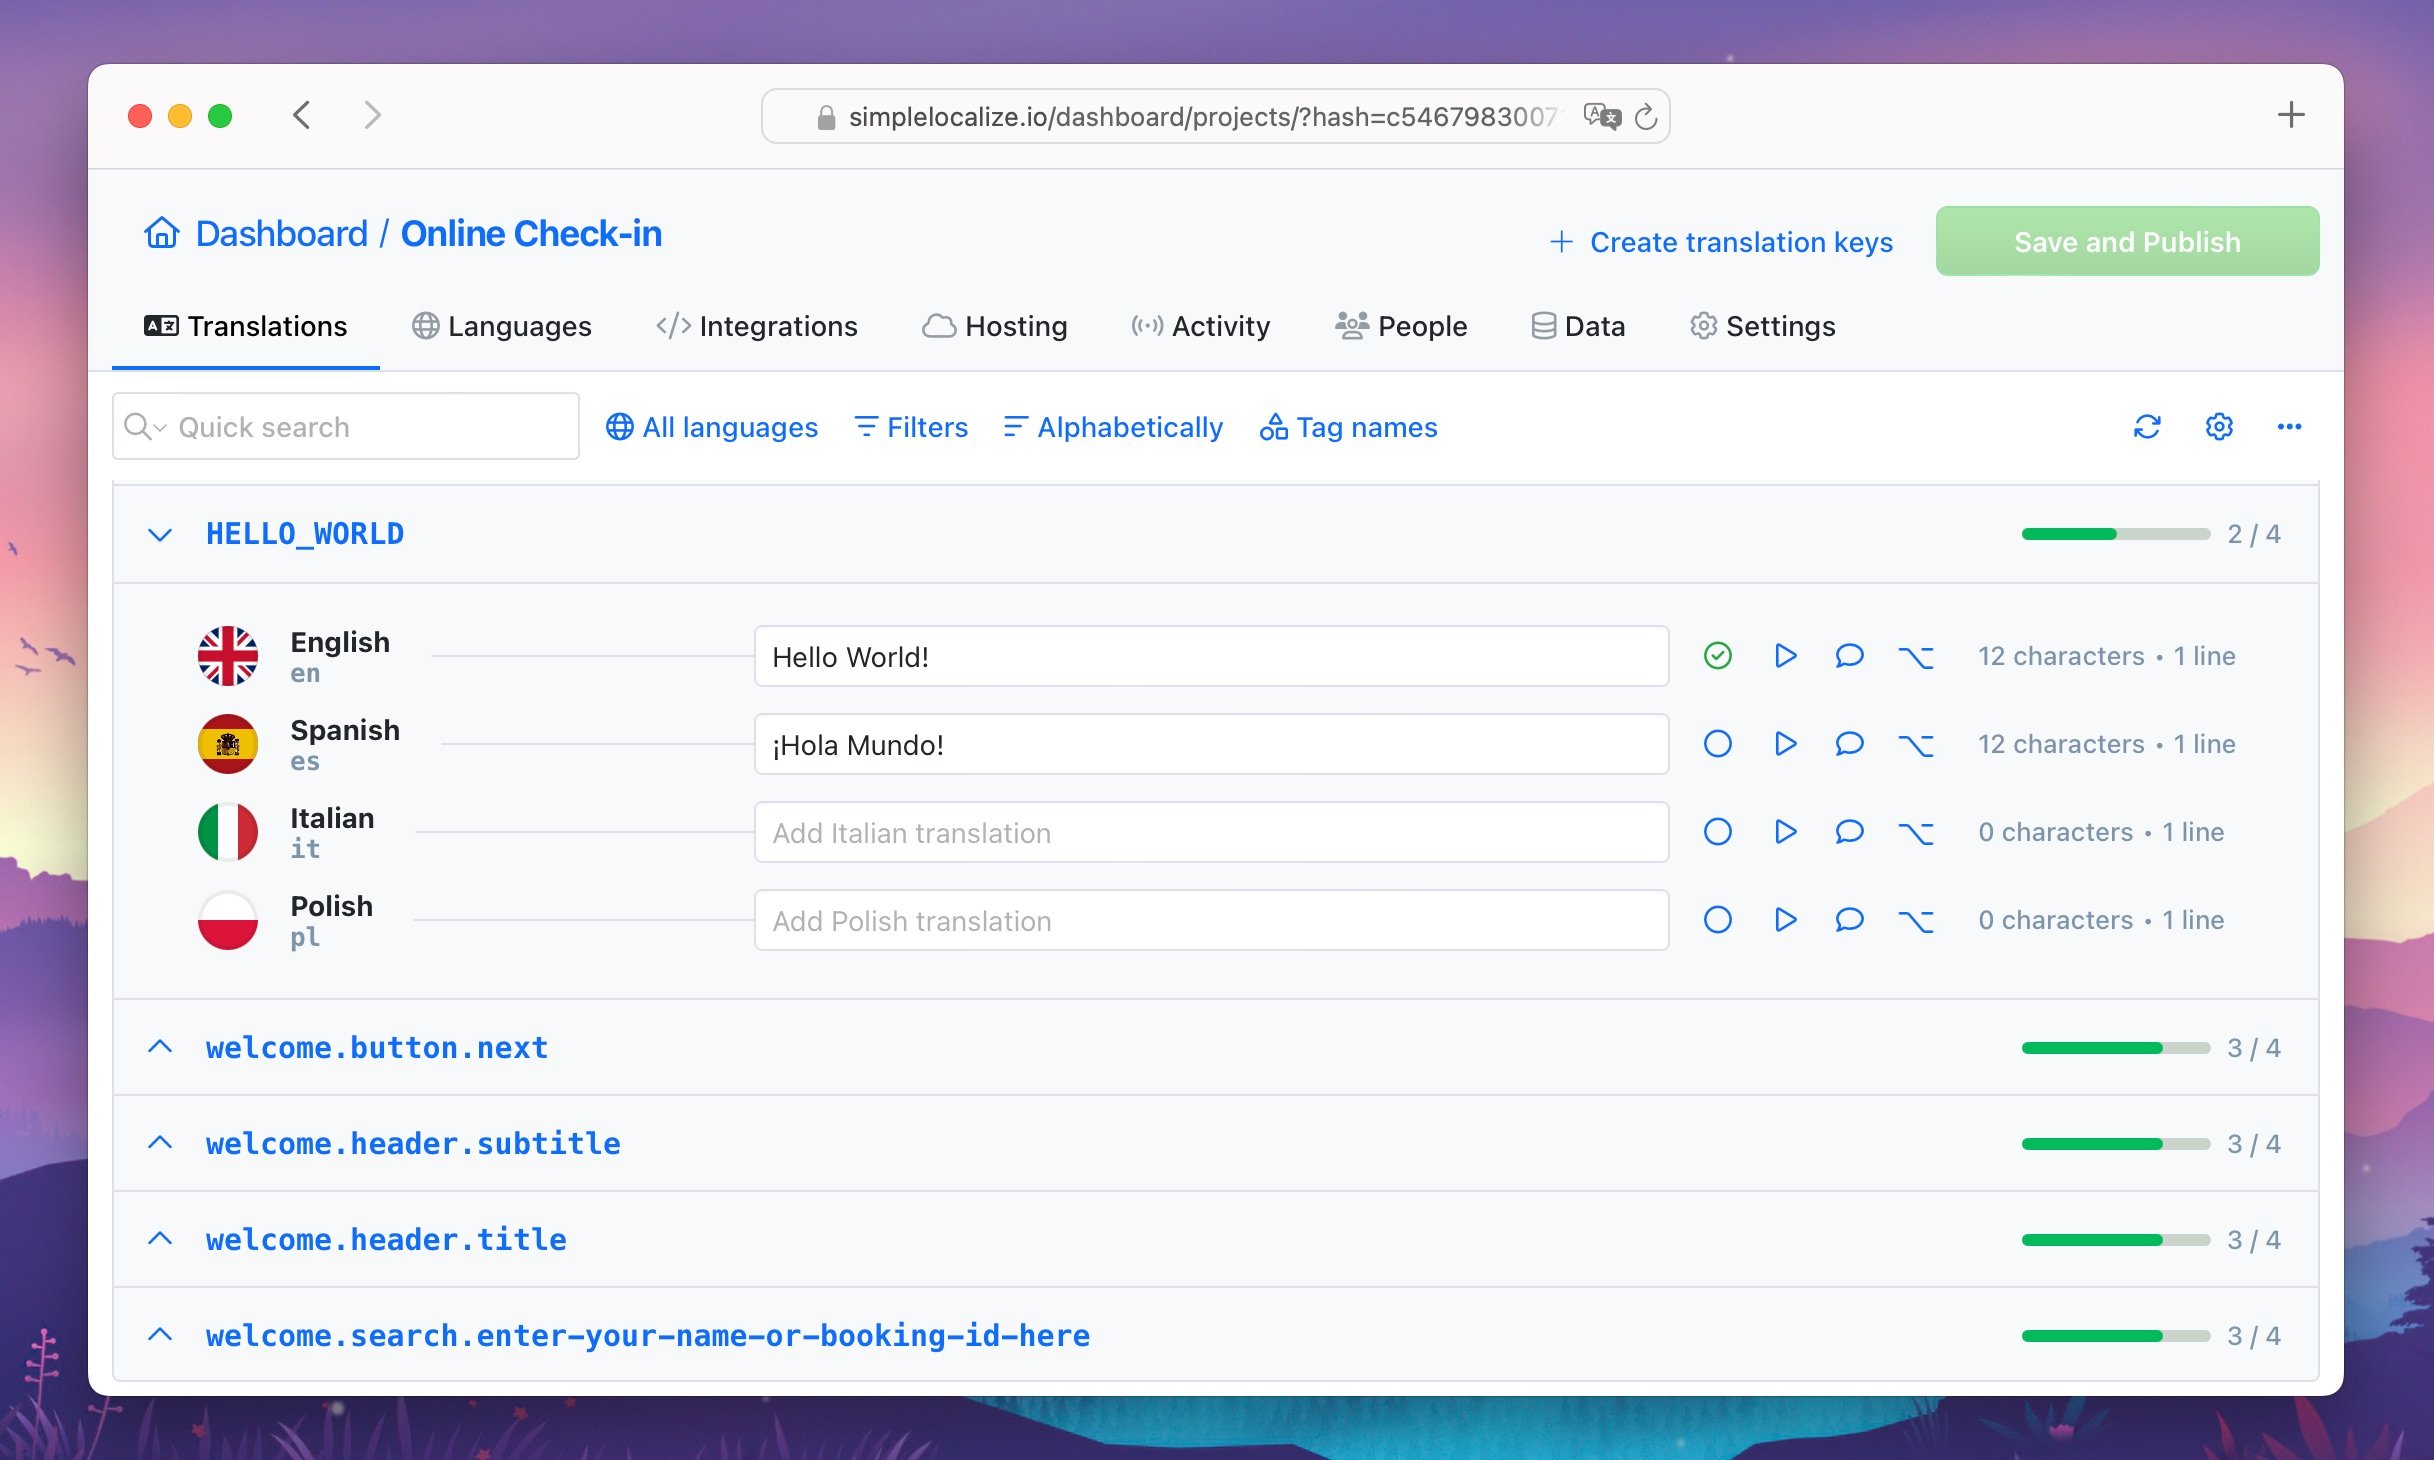
How to start
To start using the translation editor, please make sure that you have at least one language added to your project. If you don't have any languages yet, you can add them in the Languages tab of your project.
Next, you can import translations from file. If you don't have any translations yet, you can create a few translation keys manually in the Translations tab, by clicking the plus button and choosing Create translation key.
Later, you can automate importing new source translations using CLI, REST API, GitHub App or any of our other integrations.
Built-in translation tools
The translation editor comes with several built-in tools to help you manage and improve your translations, such as:
- Auto-translation using AI and MT services
- Translation reviews to mark translations as reviewed
- Comments and suggestions for better communication
- Translation history to track changes
- QA checks to find and fix common translation issues
- AI Actions to enhance translation quality
- Screenshots to provide visual context
- Tags to organize translations
- Bulk actions to perform actions on multiple translations at once
- Translation memory to reuse previous translations
Live collaboration
The translation editor supports live collaboration, which means that multiple users can work on translations simultaneously, and get instant updates about changes made by others.
View settings
The translation editor provides several view settings to customize your experience. You can choose between:
- List View with all translations
- List View with two side-by-side translations
- Table View with a spreadsheet-like interface
You can also choose which actions you want to see in the editor, such as:
- Auto-translate button
- Review status
- AI Actions to improve translations
- QA checks with translation issues
- Translation history
- Comments & Suggestions
- Copy translation text or key
- Clear translations for other languages
View settings are saved per user, so each team member can customize their own view without affecting others.
Learn more about view settings.
Context menu
Editor uses a custom right-click context menu to provide quick access to common actions. You can right-click on a translation key or value to see the available options, such as auto-translate missing translations, duplicate translation key, delete translation key, and more.