Getting started: Invite team members and translators
Ready to take your software localization to the next level? Look no further than SimpleLocalize, an easy-to-use and intuitive platform designed to streamline the localization process. In this guide, we'll walk you through the simple steps to invite team members and translators to your SimpleLocalize project. Let's get started!
Collaborate and translate
Collaboration between different teams is the key to successful project localization. With SimpleLocalize, you can work seamlessly with your team members and translators to ensure that your software speaks the language of your target audience. Here's why it matters:
- Efficiency: Working together reduces the time and effort needed to translate and maintain multiple languages.
- Quality: A diverse team of translators ensures accuracy and cultural sensitivity in your translations.
- Scaling: As your project grows, adding more team members and translators becomes effortless.
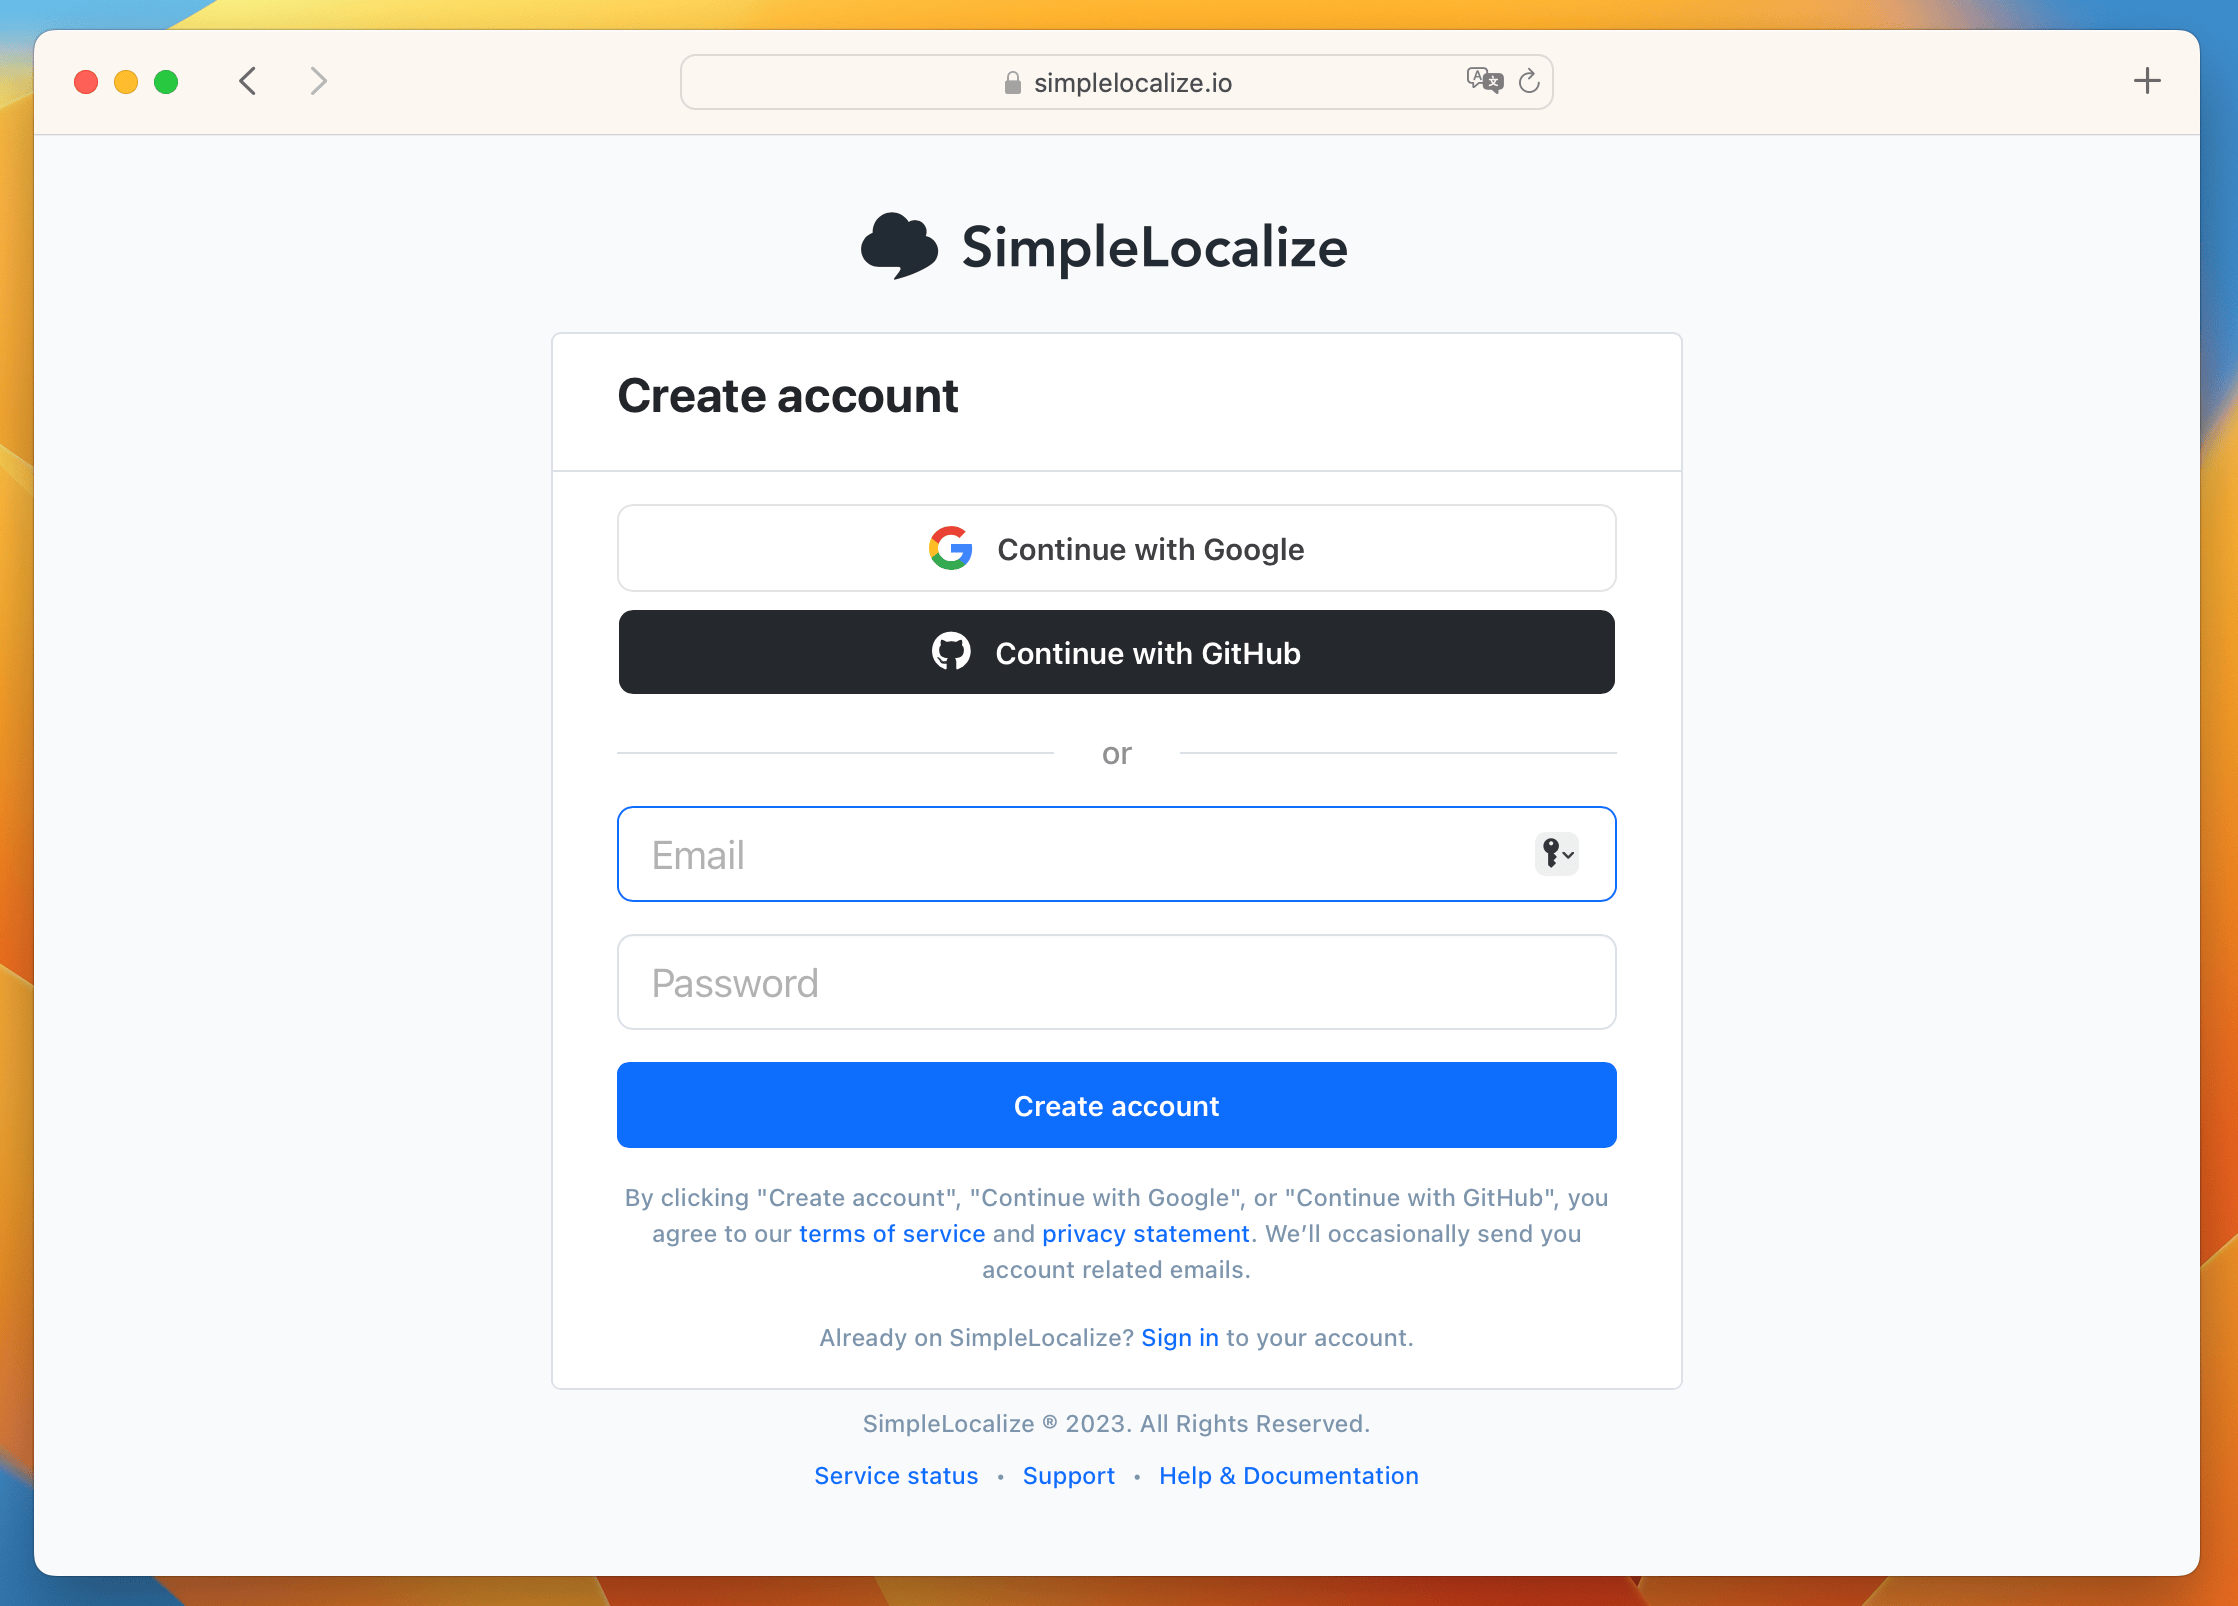
Sign in to your SimpleLocalize account
If you haven't already done so, sign up for a SimpleLocalize account. You will start with a 14-day free trial and after the free trial, your account will be automatically set to the free Community plan. You can check out the feature comparison for different plans on our pricing page.
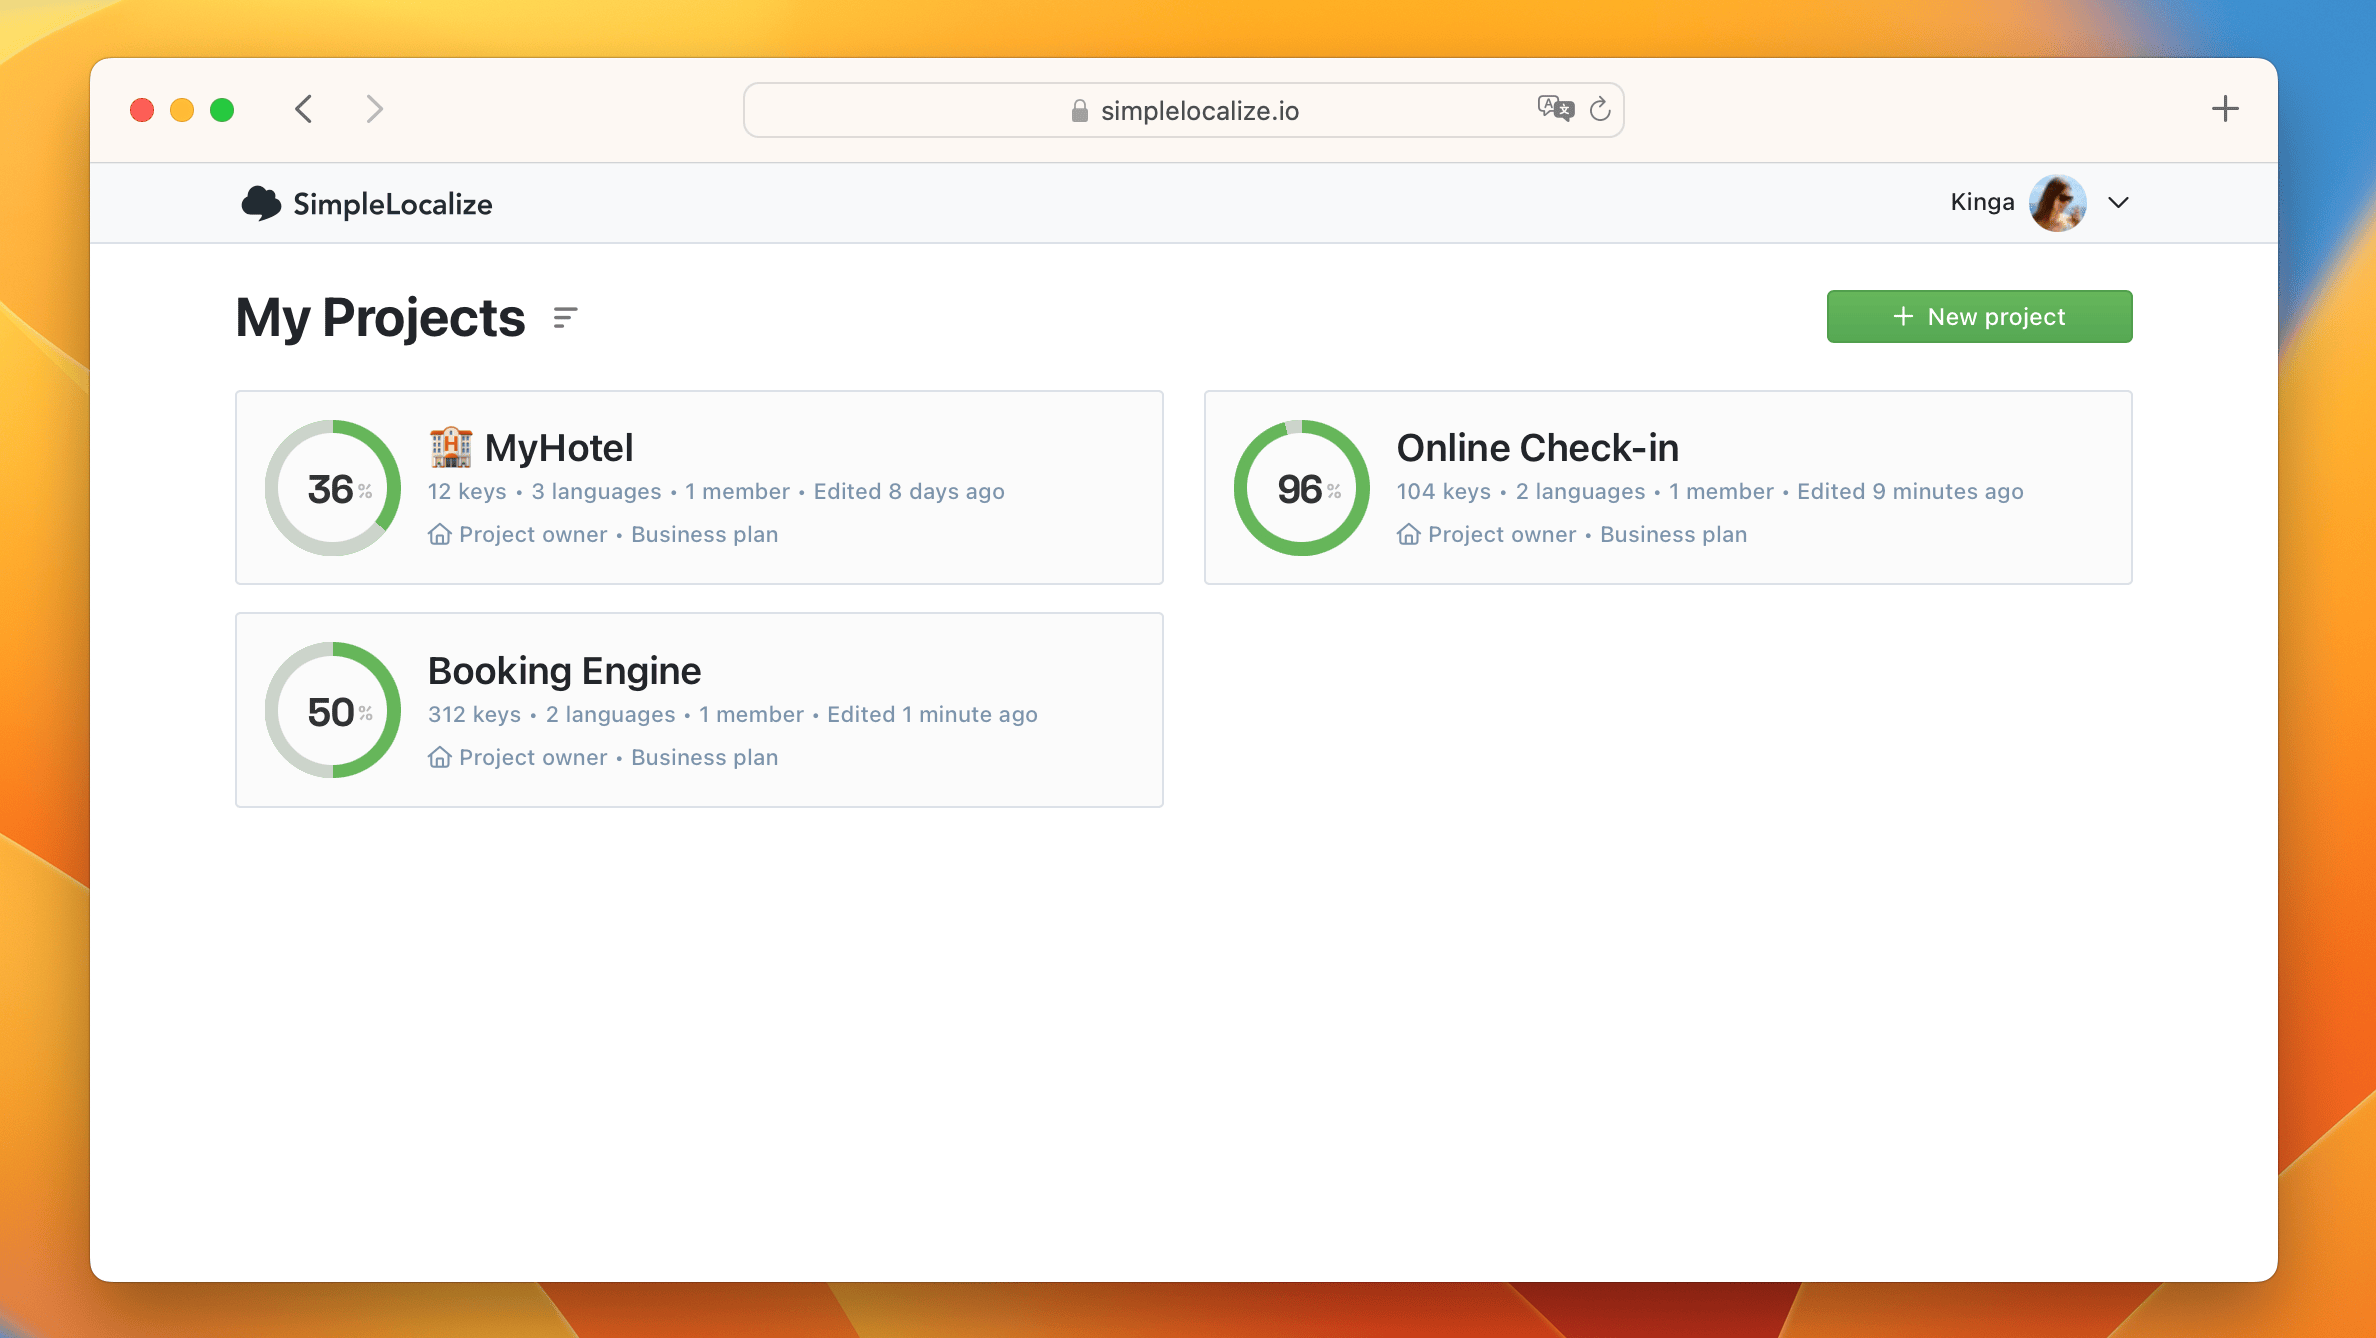
Once you're logged in, you'll have access to the dashboard for your localization projects.
Create and set up a project
If you're starting from scratch, create a new project by clicking the New project button. If you already have a project set up, click on it to open the project view.
At that point, if you haven't imported your translations, now is the time to import them. See the instructions below to import your existing translation files, or add your translation keys manually.
Invite team members
Invite your team members: developers, designers, product managers, support team and others involved in the translation and localization process. Invite them directly to specific projects, or grant them access to all your projects as a Team Administrator.
Team administrators
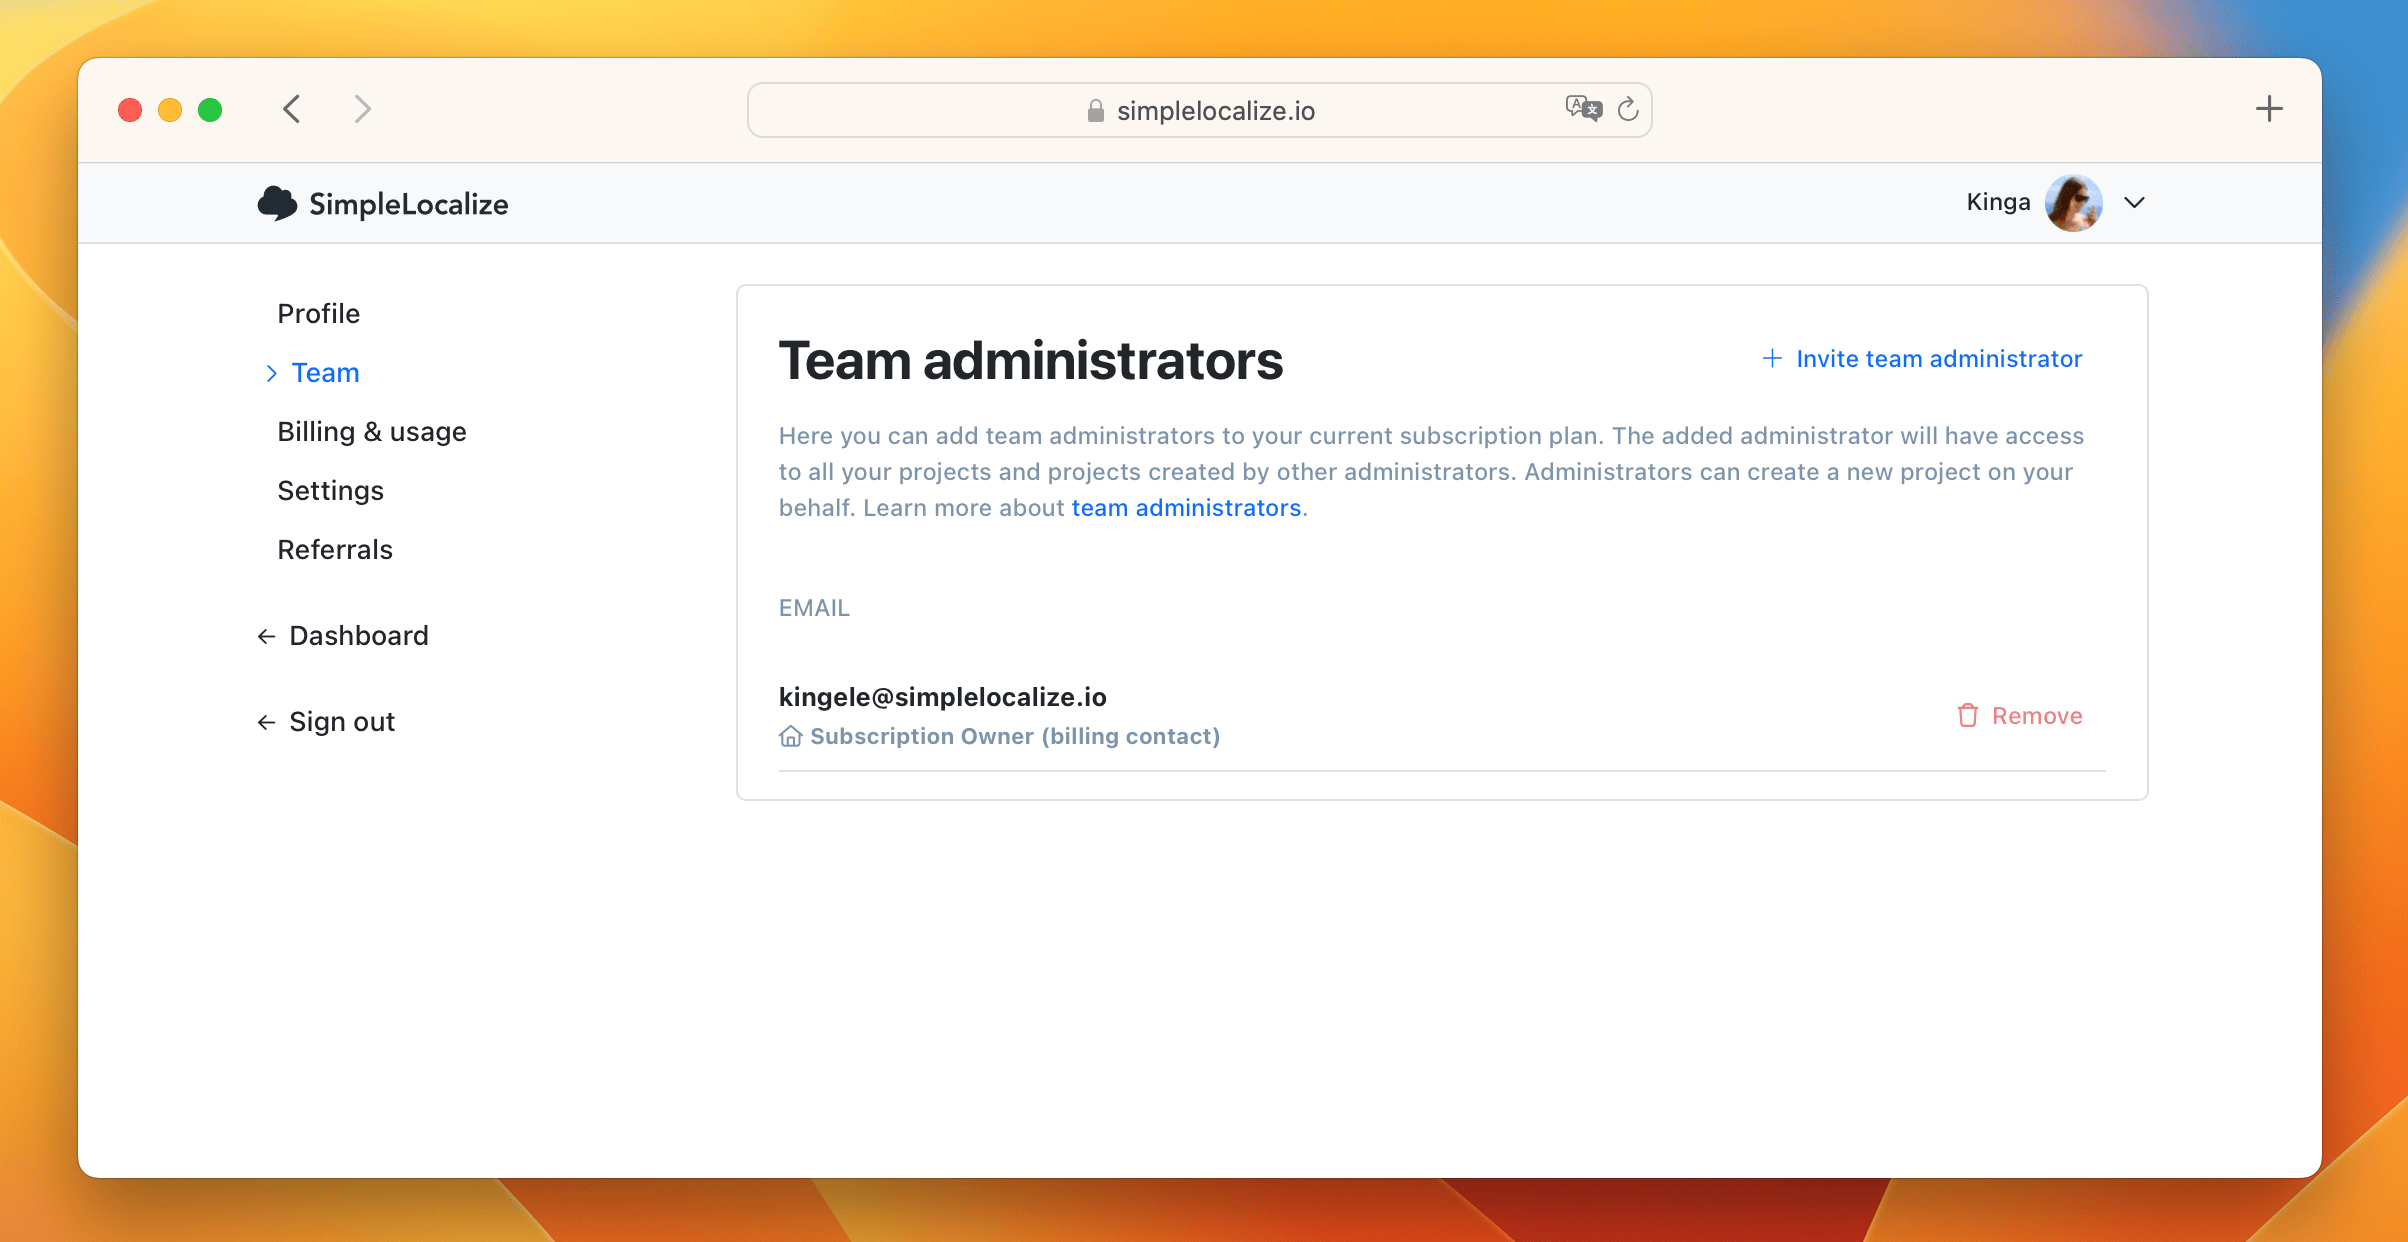
As the Subscription Owner and Team Administrator in SimpleLocalize, you have the power to invite others into the fold. Team administrators gain access to all your projects, including those created by fellow administrators. Here's how to add a new Team Administrator:
- Go to your Profile (located in the top right corner)
- Open the Team settings - there you will find the list of your current Team administrators.
- Click on the Invite team administrator button.
- Enter the email address of the team member you wish to invite.
The invited user will receive an invitation email. They must accept this invitation to join the team. Until they do, their status will appear as pending in the list of team administrators. Once accepted, they'll have full access to all your projects.
✅ Team administrators are allowed to:
- create new projects on behalf of the Subscription owner,
- manage translation projects,
- invite other project members with Translator or Administrator role.
⛔️ Team administrators are not allowed to:
- delete projects,
- manage subscription and view invoices,
- manage team administrators,
- increase auto-translation limit.
Project administrators
Project administrators have access to specific projects, and you can assign them this role directly from the project itself. Administrator rights for project administrators are identical to those of project owners (you). The only distinction between these two roles is that project administrators cannot delete projects.
To invite a project administrator, follow these steps:
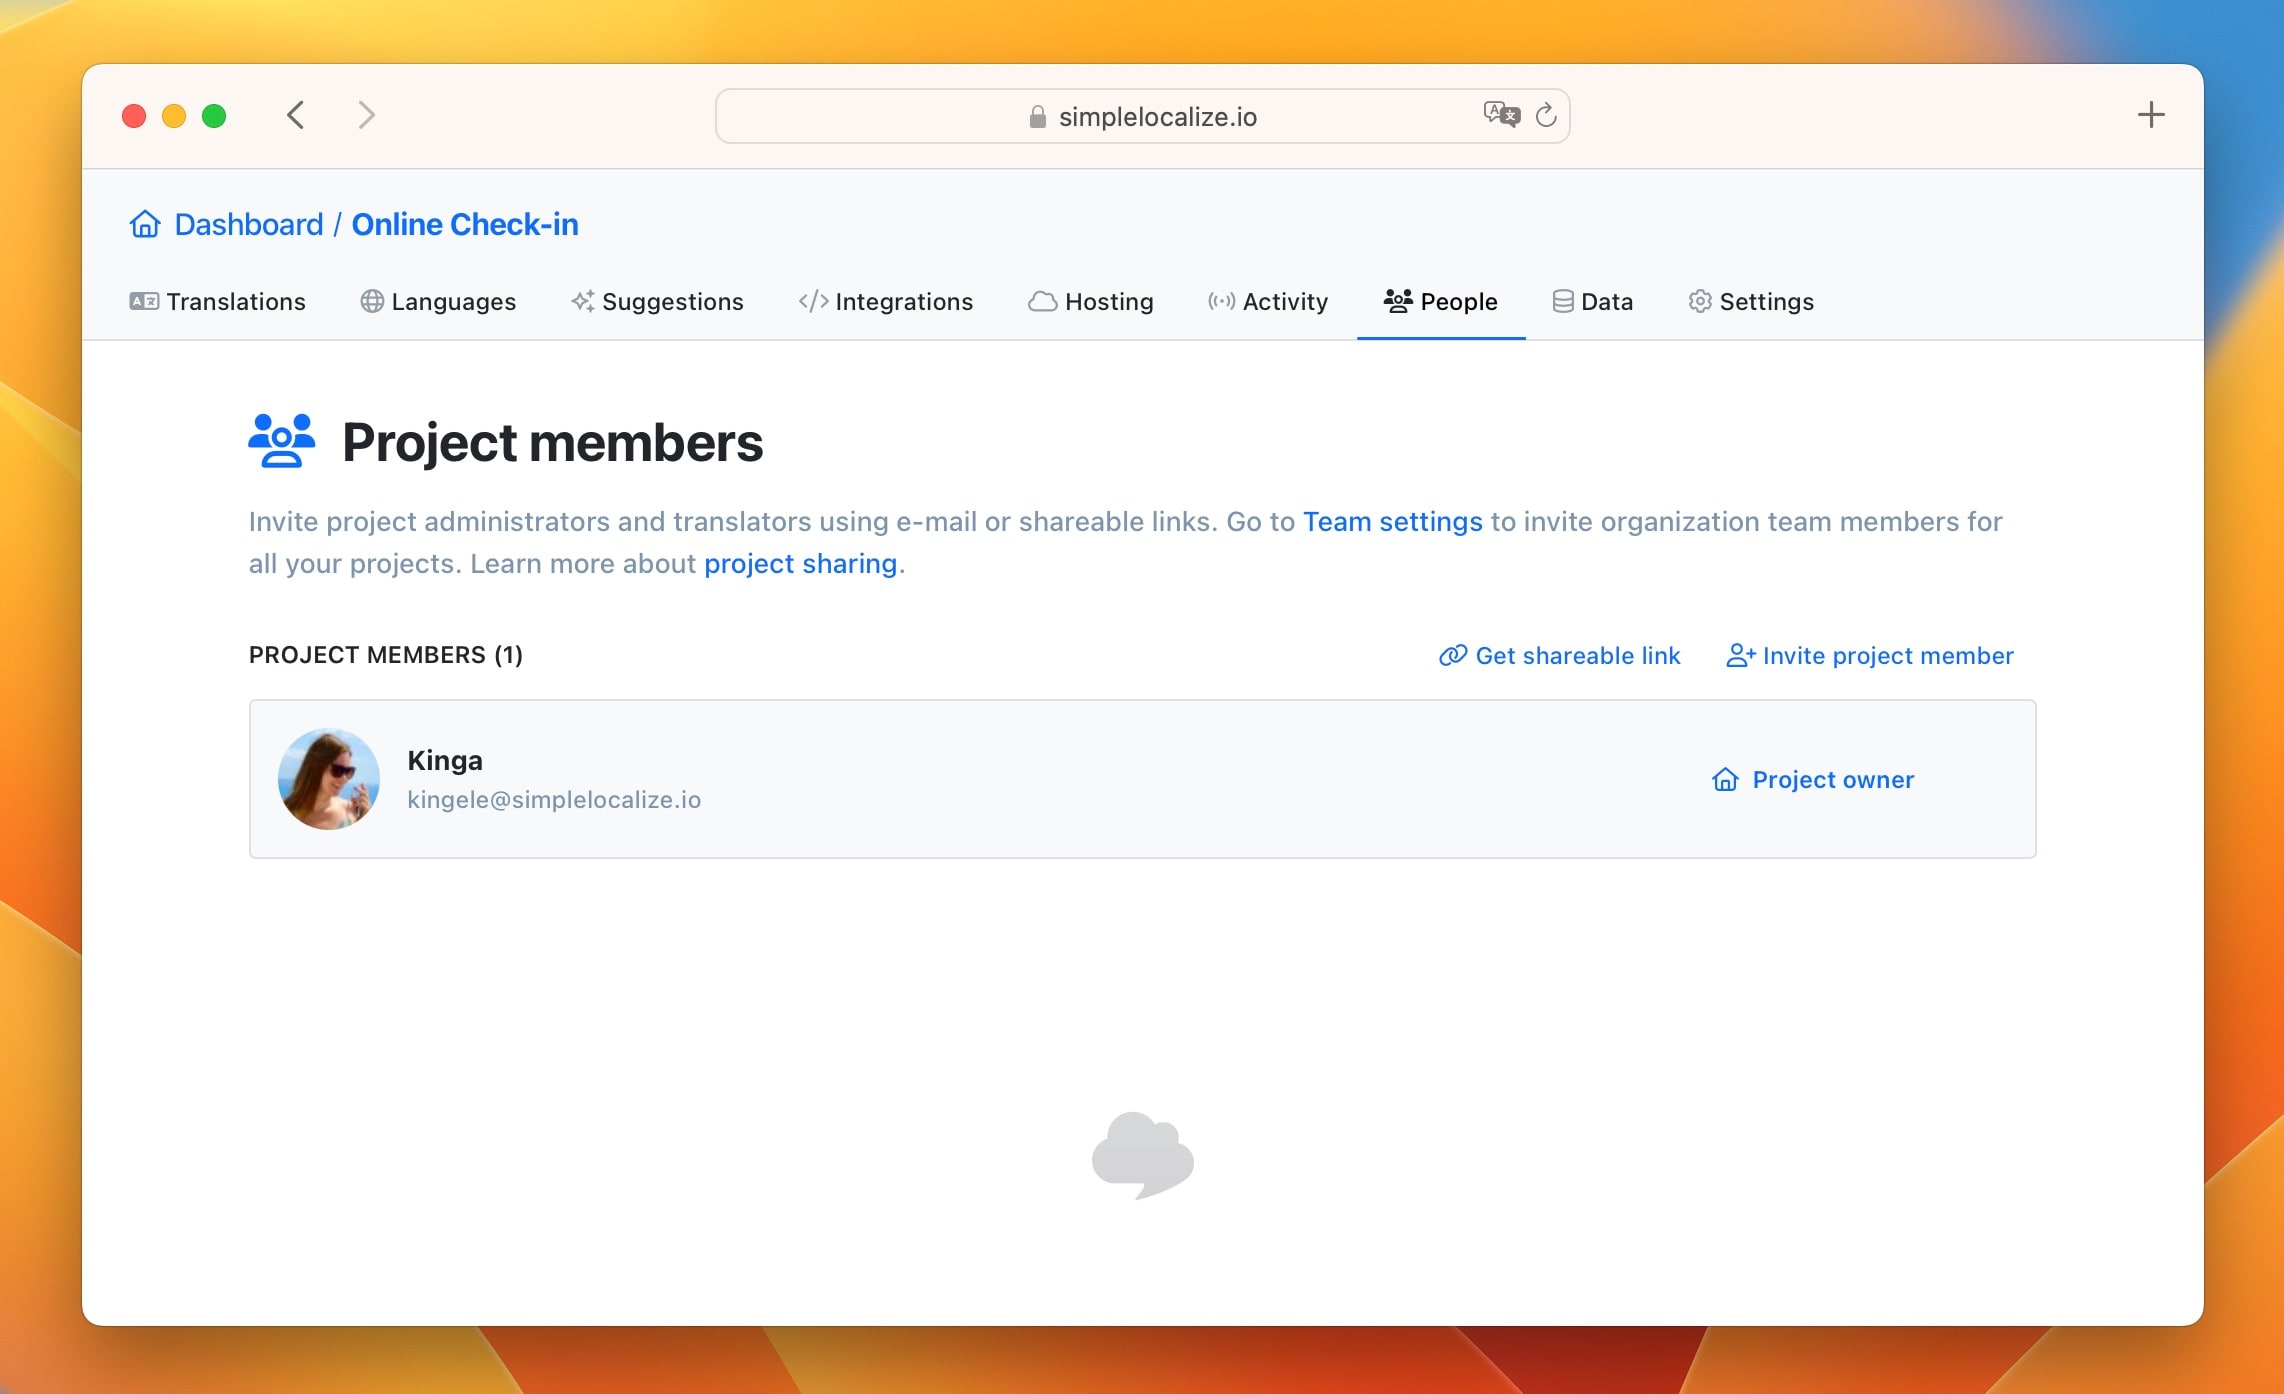
- Open the project and navigate to the People tab.
- In Project members section, click the Invite project member button.
- Enter the email address of the team member you want to invite.
- Select the user role as an Administator and send the invitation.
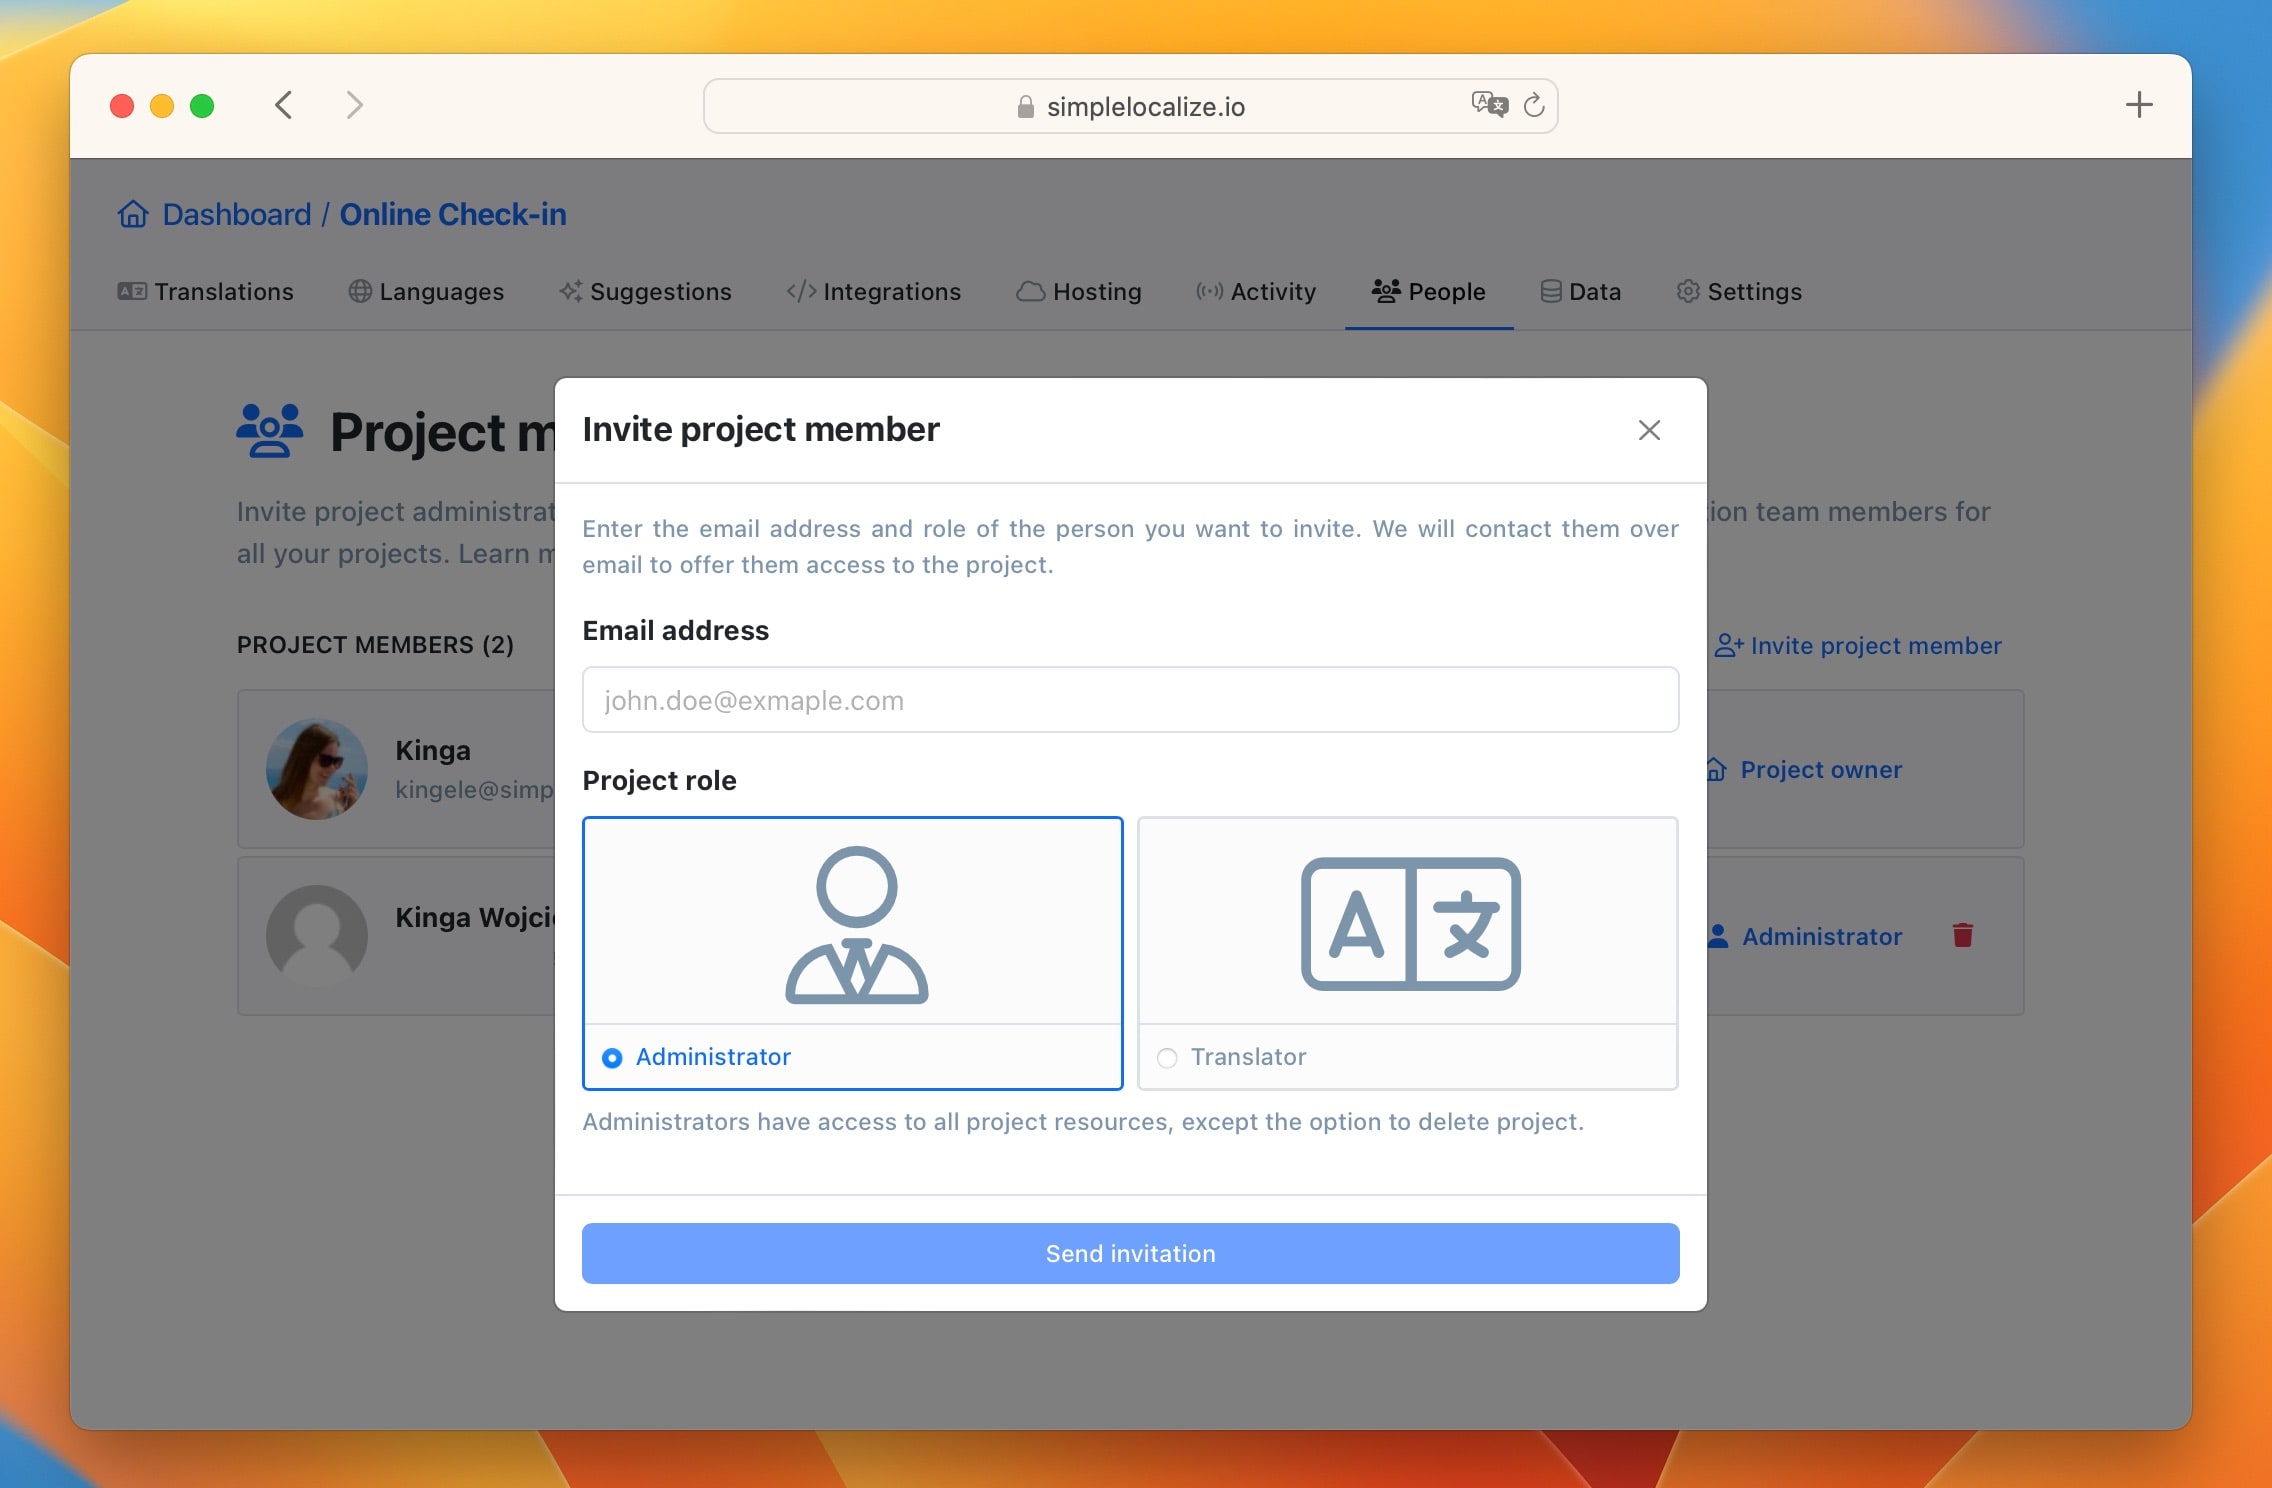
The invited user will appear in the list of "Pending invitations." They will receive an email containing an invitation link, which they must click to accept. Once they accept the invitation, they will gain access to the project.
Invite Translators
SimpleLocalize offers a robust role-based permission system to ensure that each team member has the appropriate level of access. When inviting Translators, you retain control over the specific access rights granted to them.
By default, translators are granted access to the following project tabs: 'Translations', 'Languages', 'Activity', and 'Data'.
To invite a Translator, follow these steps:
- Open the project and navigate to the People tab.
- In Project members section, click the Invite project member button.
- Enter the email address of the translator you want to invite.
- Select the user role as a Translator.
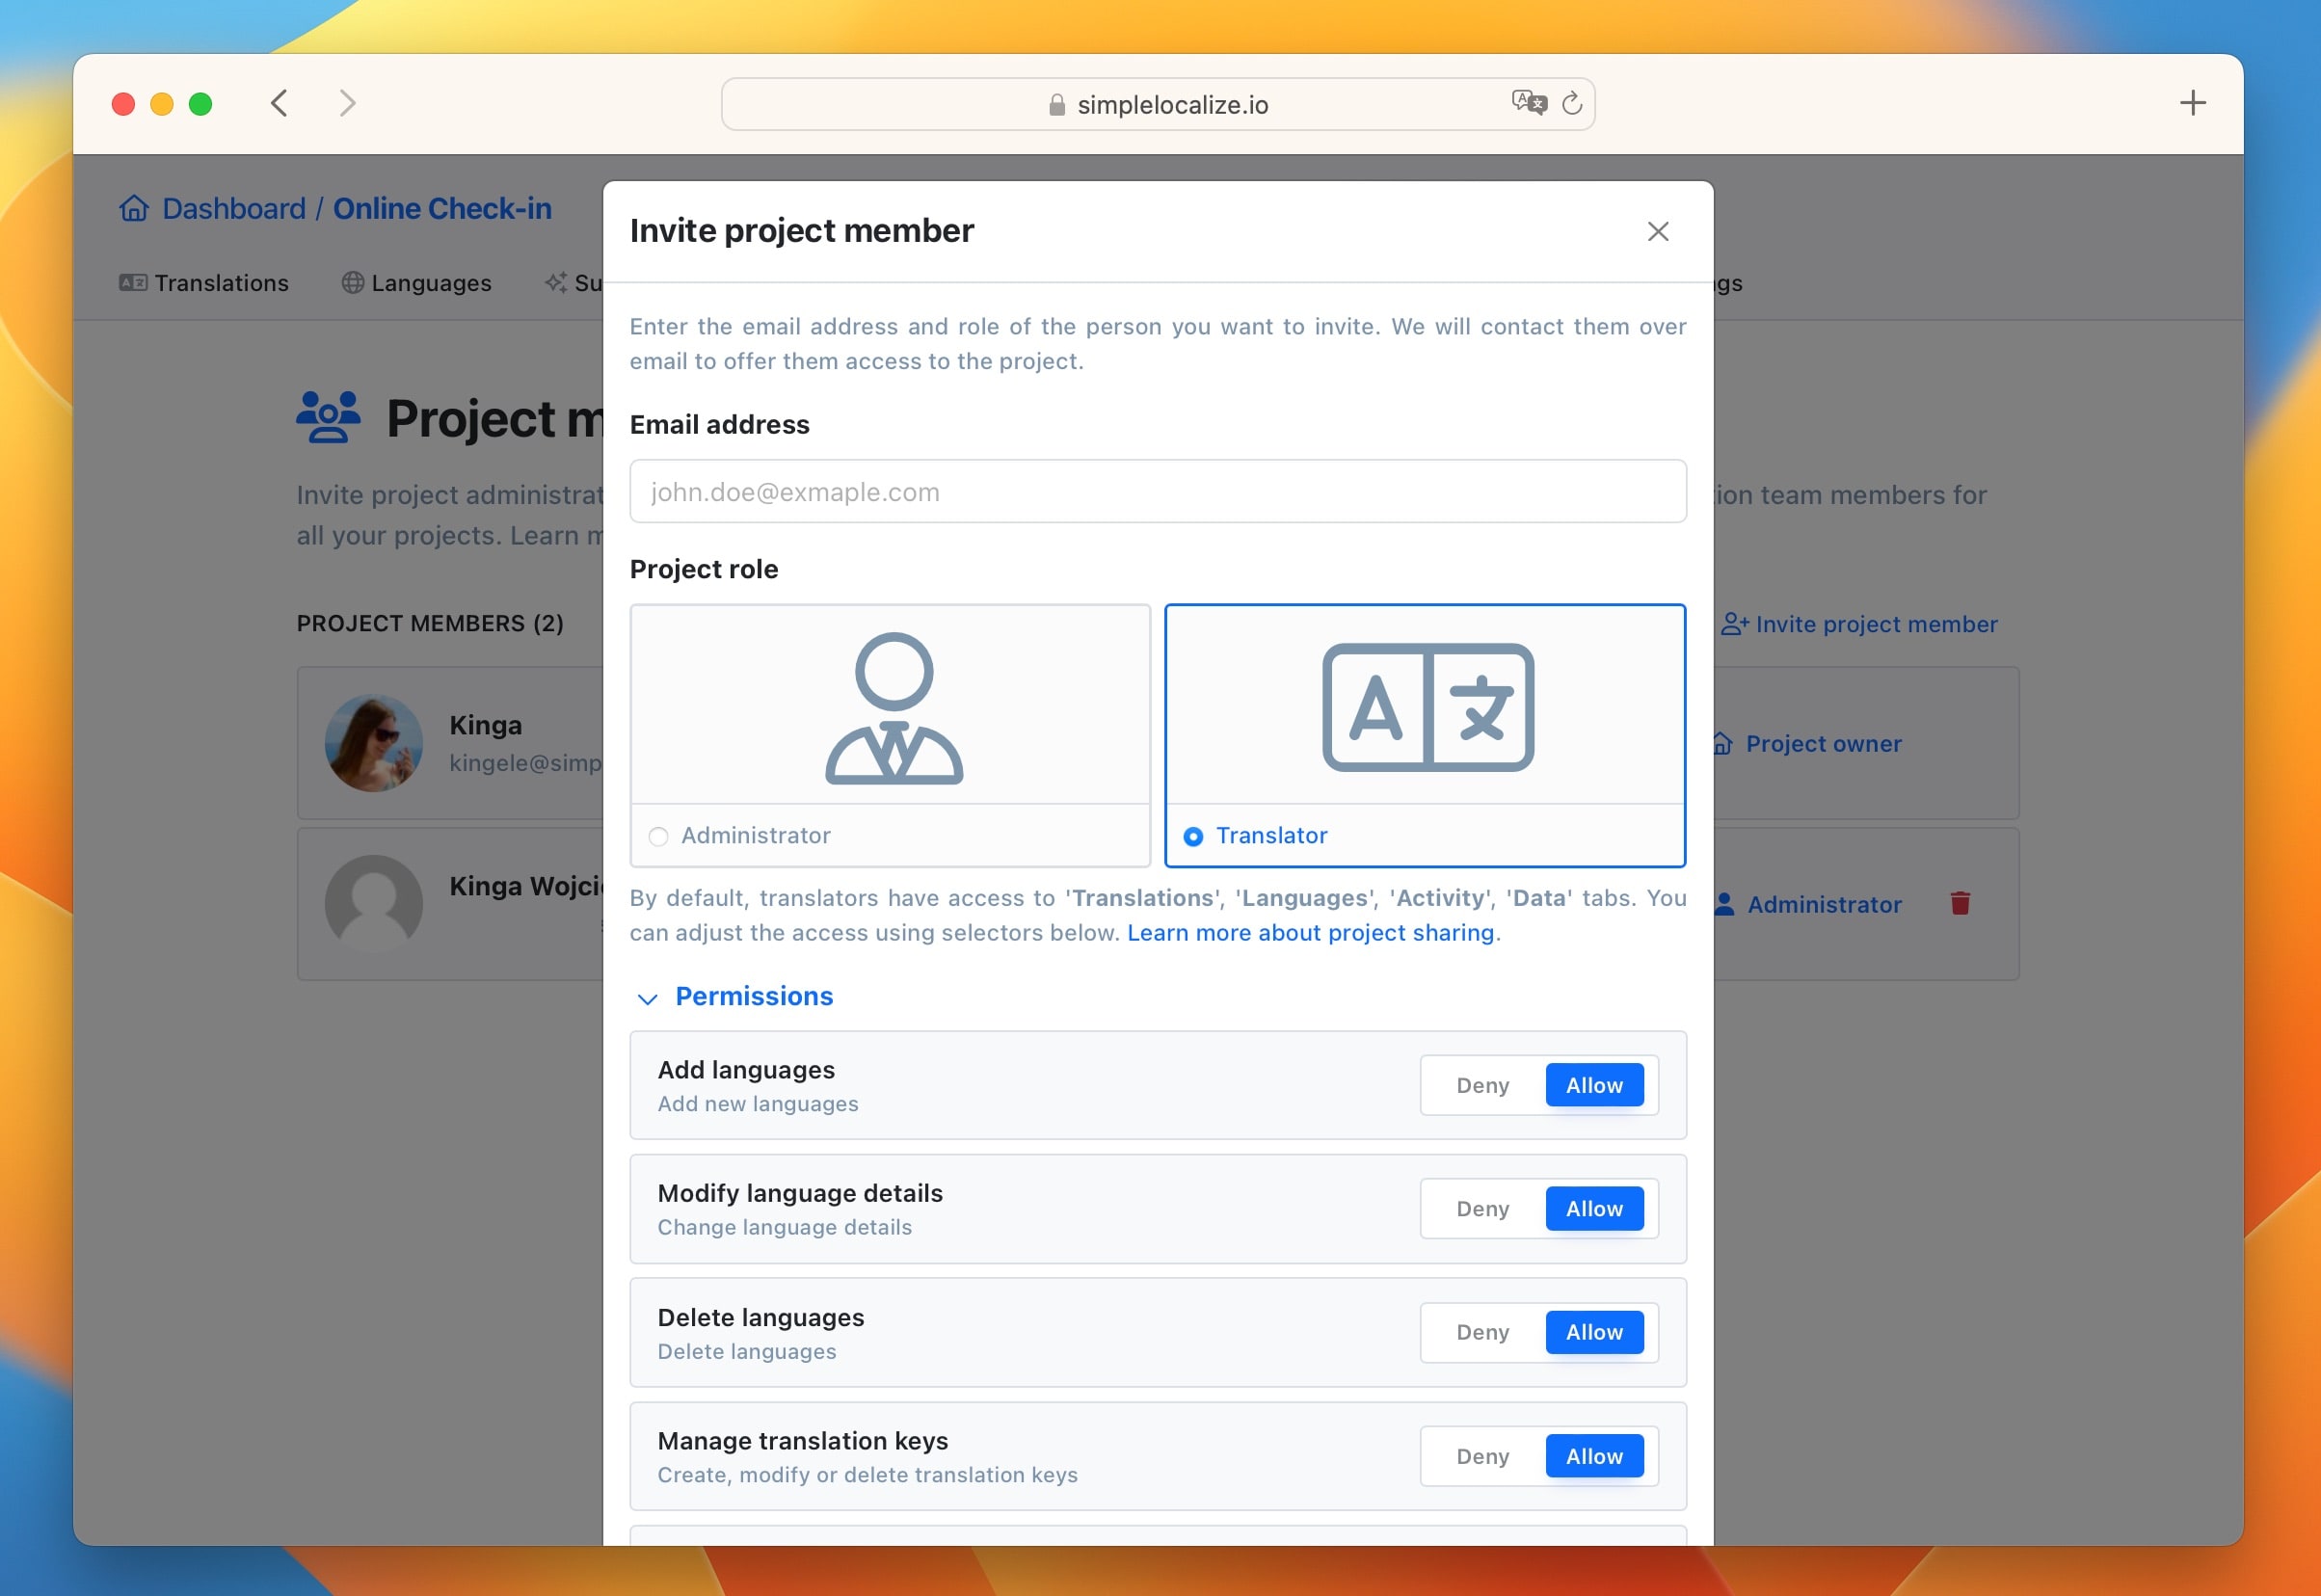
Here you can fine-tune the user permissions according to your needs before sending the invitation:
- Grant or restrict the ability to add, edit, or delete languages.
- Control access to manage translation keys.
- Enable or disable the Auto-translation option.
- Allow publishing of translations to hosting environment.
- Allow import / export of translation files.
- Allow access to project Activity.
Additionally, you can precisely specify language access, determining which languages the user can view and edit.
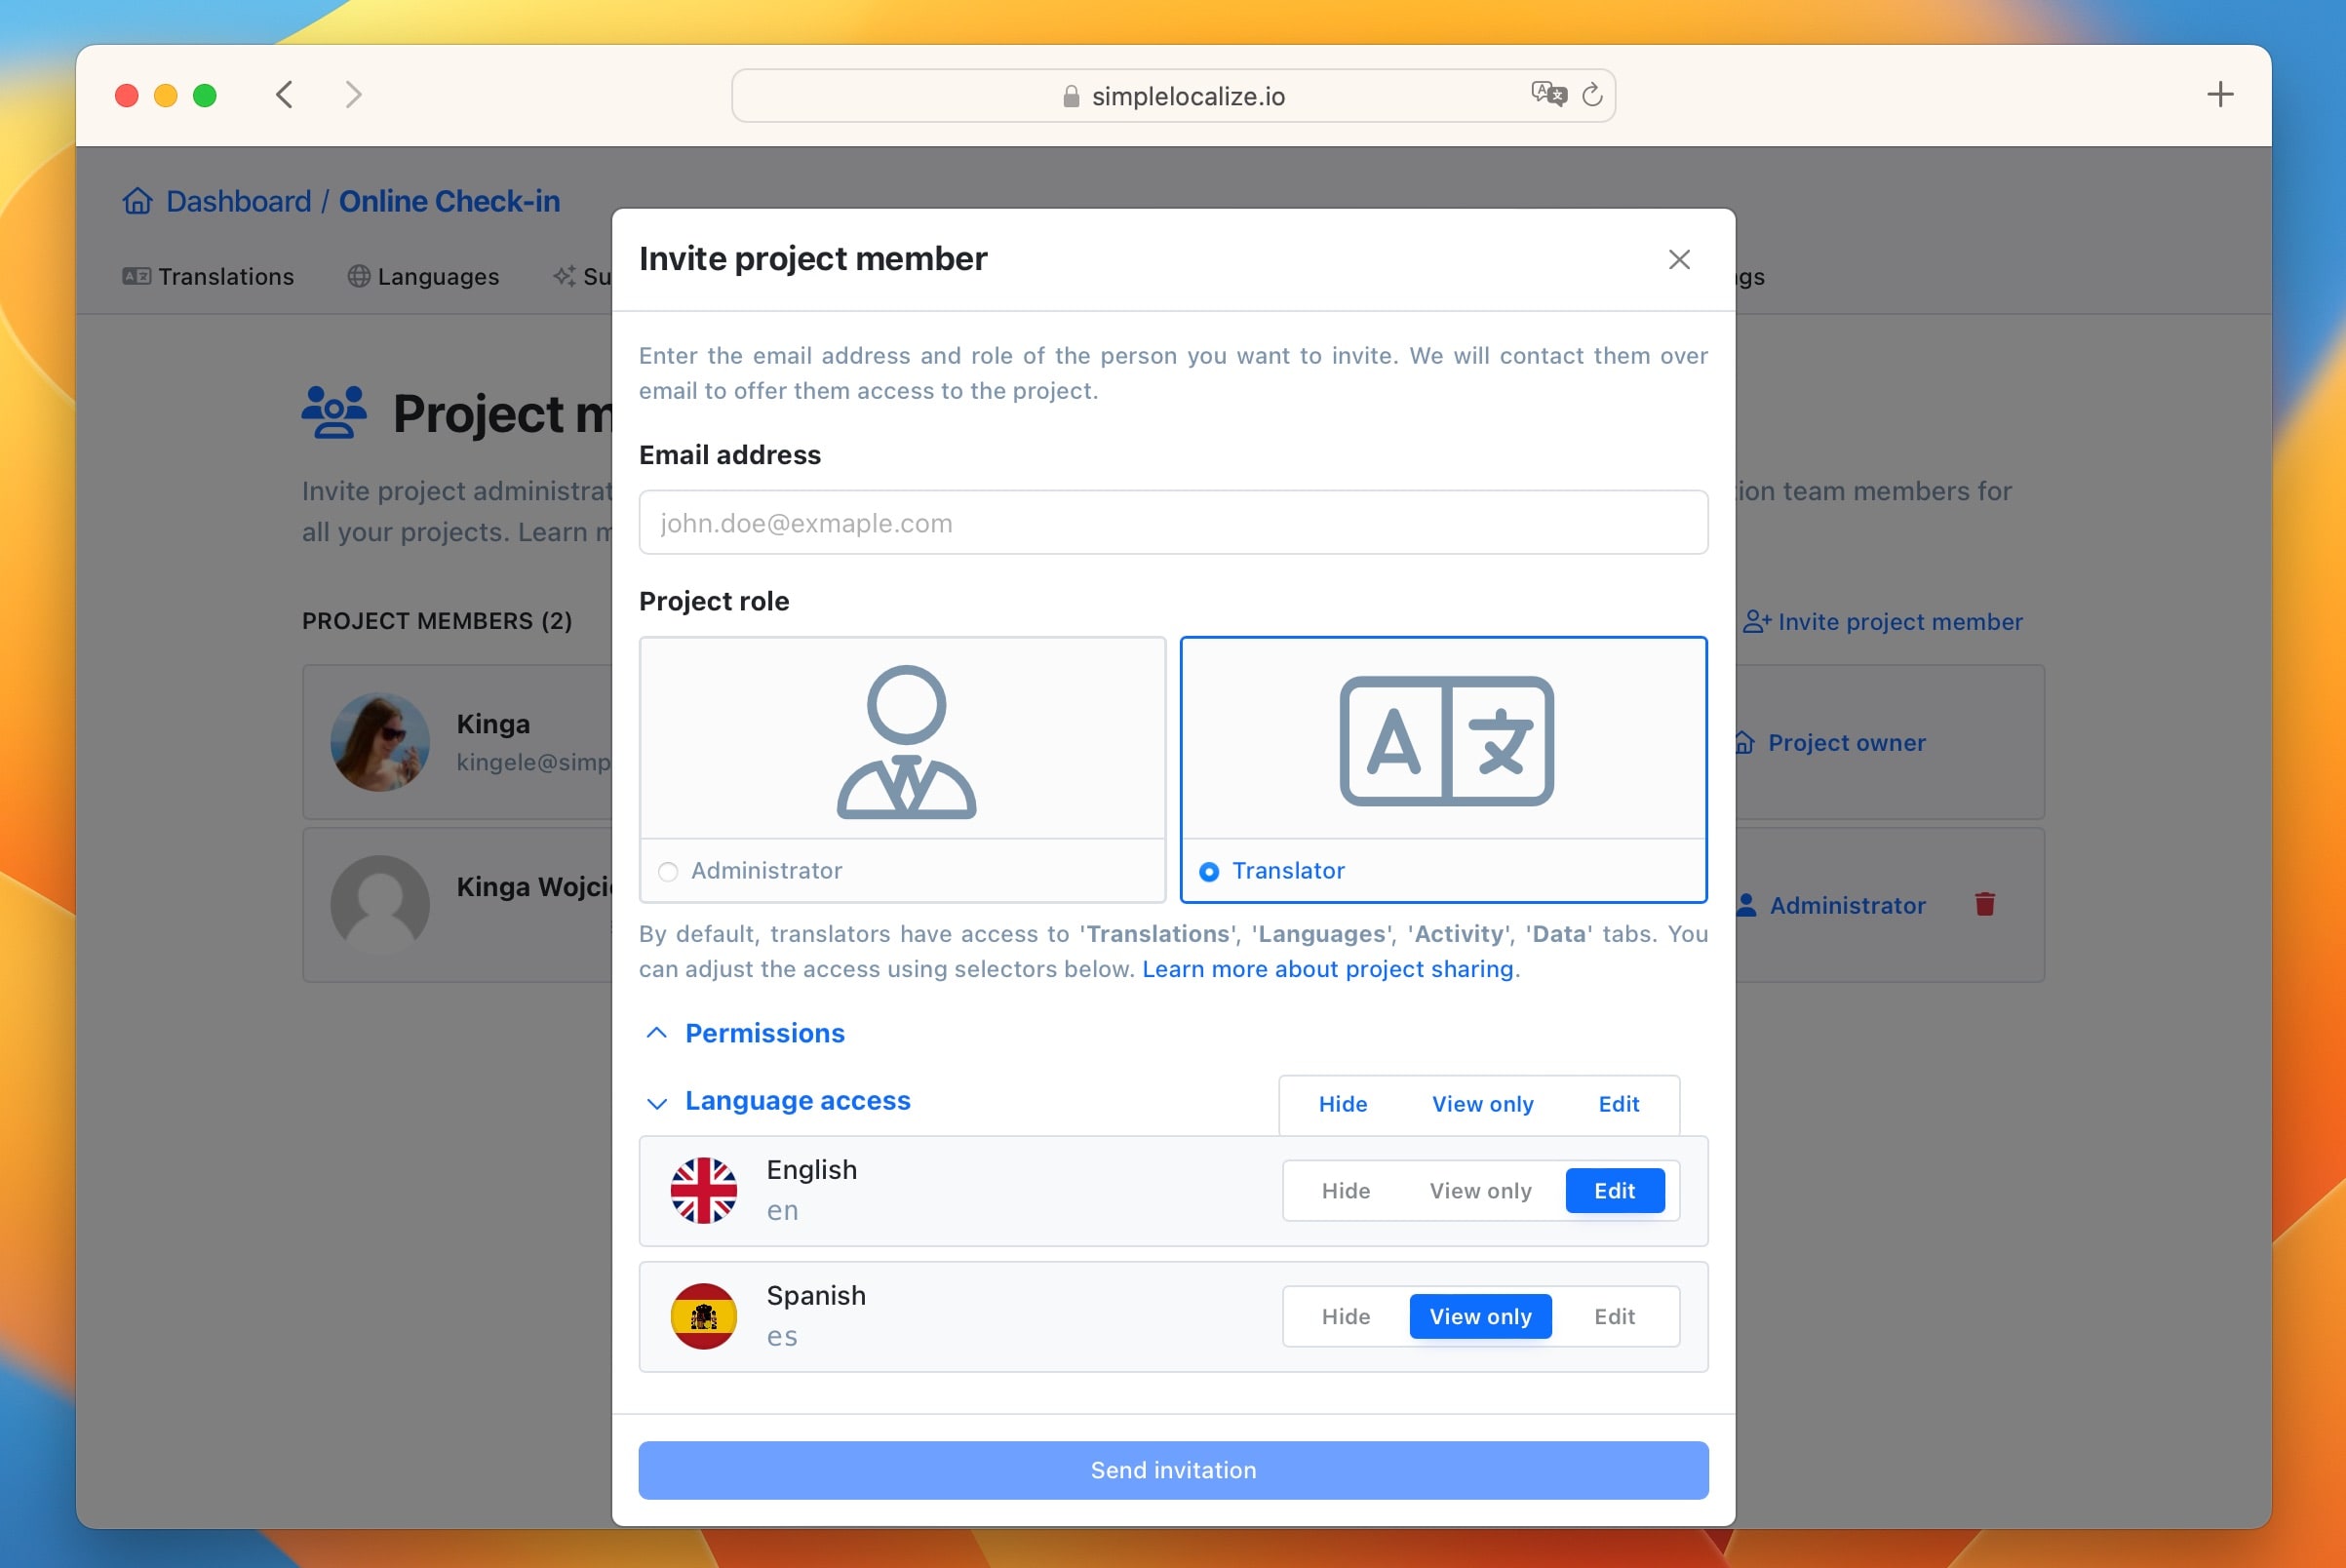
Once the invitation is sent, the Translator receives an email with an invitation link that provides them with access to your project. They can then start translating based on the permissions you've set up for them.
Share project access with more people
In every project, you have the option to create a shareable access link with specific permissions, including Administrator and Translator roles. This allows you to easily share access to the project with groups of Translators or Volunteers, enabling them to directly access the project and start working on translations.
To generate a shareable access link for your project, go to People tab and click the Get shareable link button. SimpleLocalize will then generate unique links for each Administrator and Translator role, which you can share publicly with your intended audience or collaborators.
You also have the option to reset or delete these links to deactivate any previously shared access.
Managing access and permissions
As the project owner, you have full control over who can do what within your project. Use the role-based permission system to assign specific roles and access levels to team members and translators. This ensures the security and integrity of your project data.
To change user permissions, click on the role in the project members list to change the user settings.
And there you have it - you've successfully invited team members and translators to your SimpleLocalize project! Now you can collaborate efficiently to make your software accessible to a global audience.
Remember, SimpleLocalize is designed to simplify the localization process, so you can focus on building amazing products while we handle the translation intricacies. Happy localizing!


