Cloudflare Workers and Website Localization (2/5)
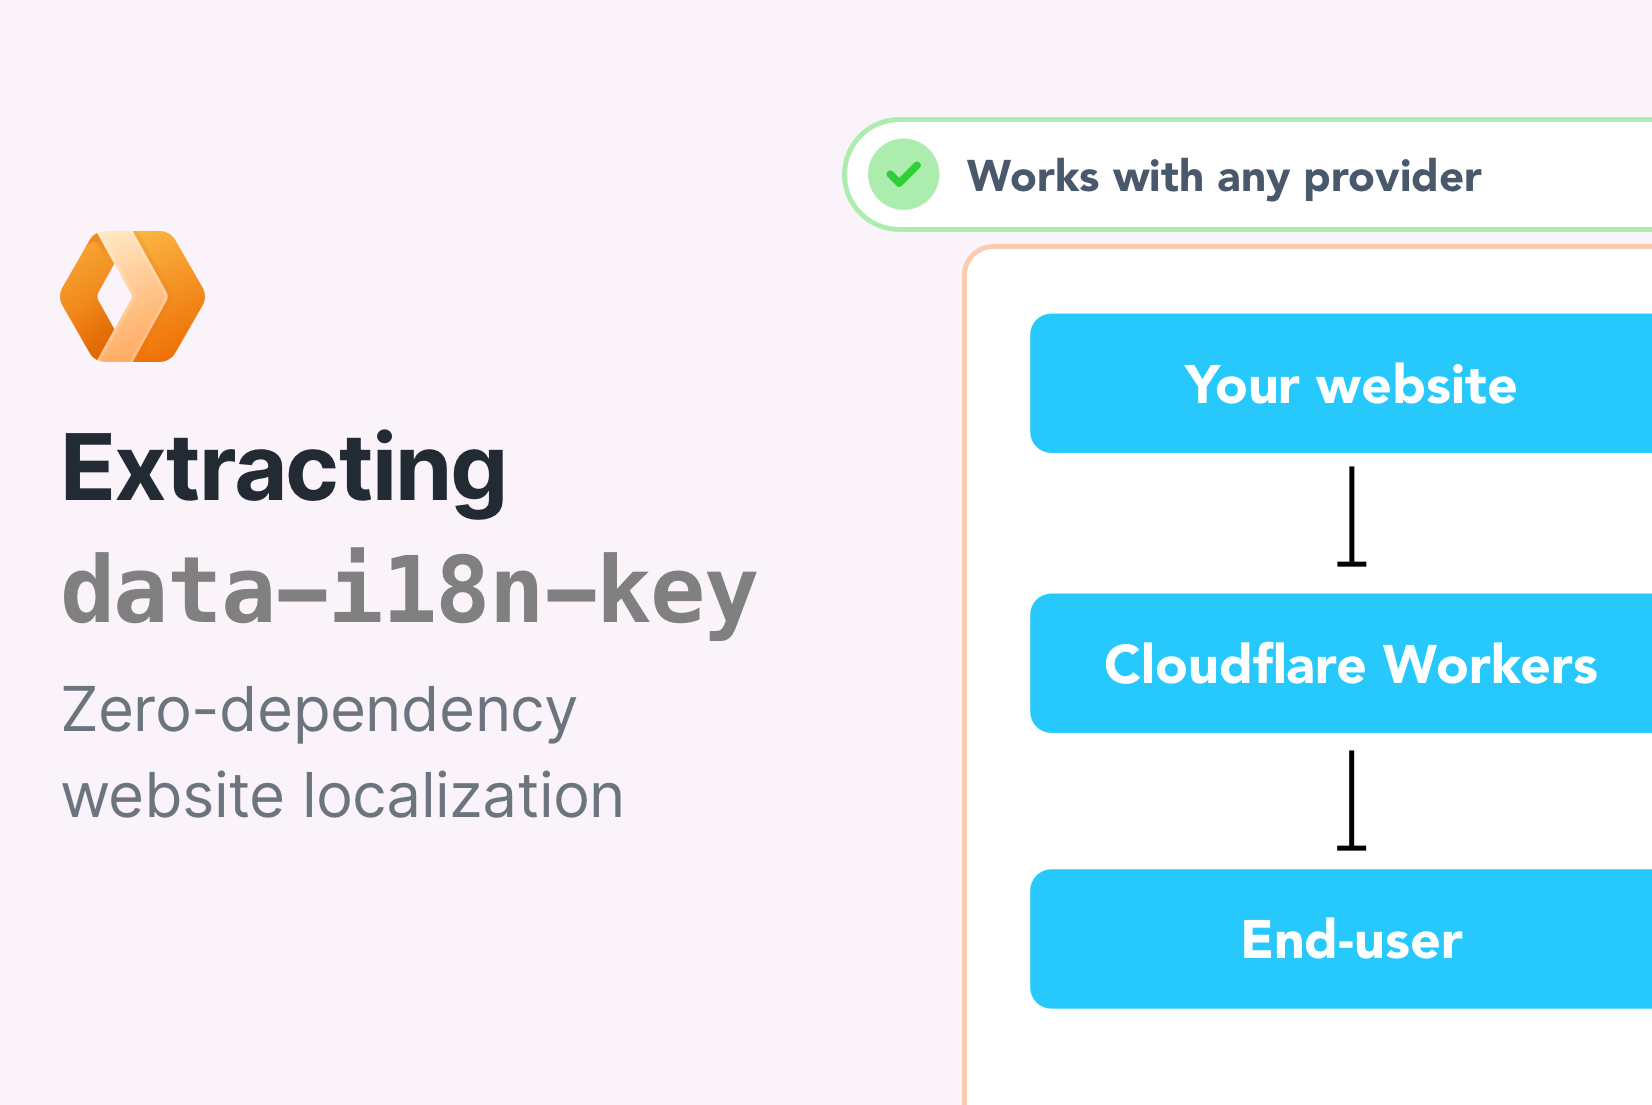
In the previous tutorial, we showed you how to use Cloudflare Workers to localize any website with no additional dependencies. Today we will show you how to extract translation keys and translations from HTML files and upload them to SimpleLocalize using the SimpleLocalize CLI. Key extraction and upload automation are part of the broader CI/CD localization patterns covered in our complete technical guide to internationalization and software localization.
Let's get started!
Prerequisites
Before you begin, you will need a SimpleLocalize account, and a website with 'data-i18n-key' attributes in HTML elements containing the strings that need to be localized. HTML files must be stored in a directory that the SimpleLocalize CLI can search for.
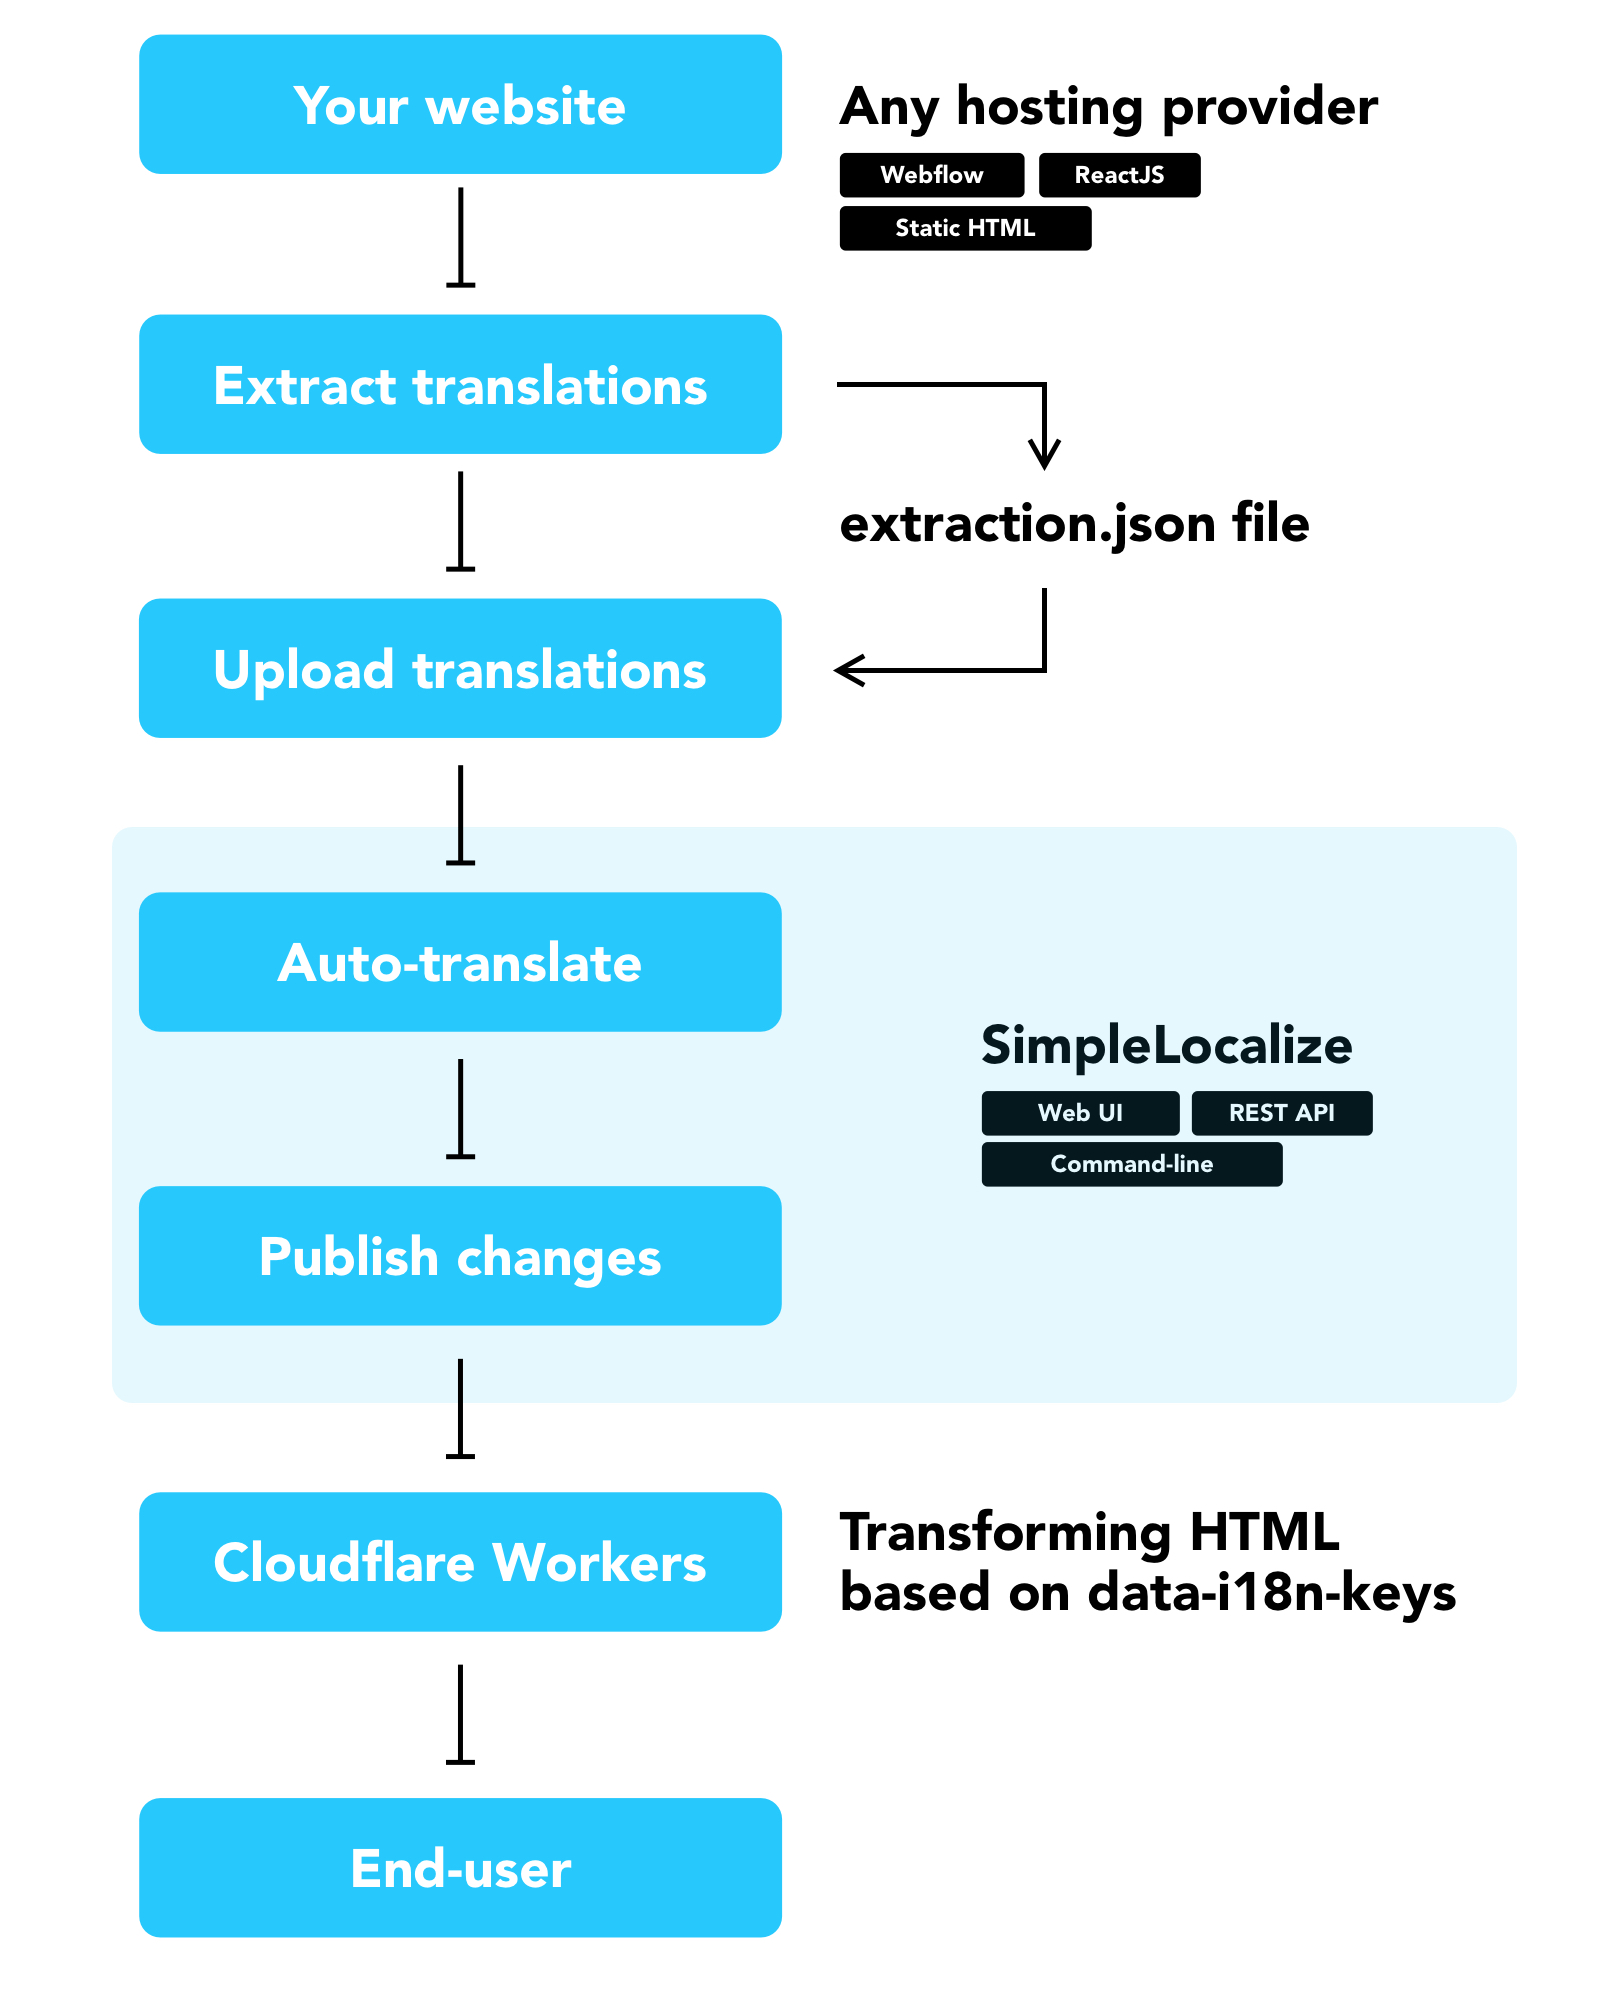
How it works
We will run a command-line tool that will find all translation keys and translations in HTML files to store them in a JSON file. The JSON file will be uploaded to SimpleLocalize where you will be able to manage translations. From there, you can auto-translate the keys and translations and publish them to the CDN to serve localized content to the users, thanks to the Cloudflare Workers that we have configured in the previous tutorial.
Sample website
For this tutorial, we will use a simple HTML website with a few strings that we have created before. It has a few strings with 'data-i18n-key' attributes that need to be localized, and three buttons to switch between languages.
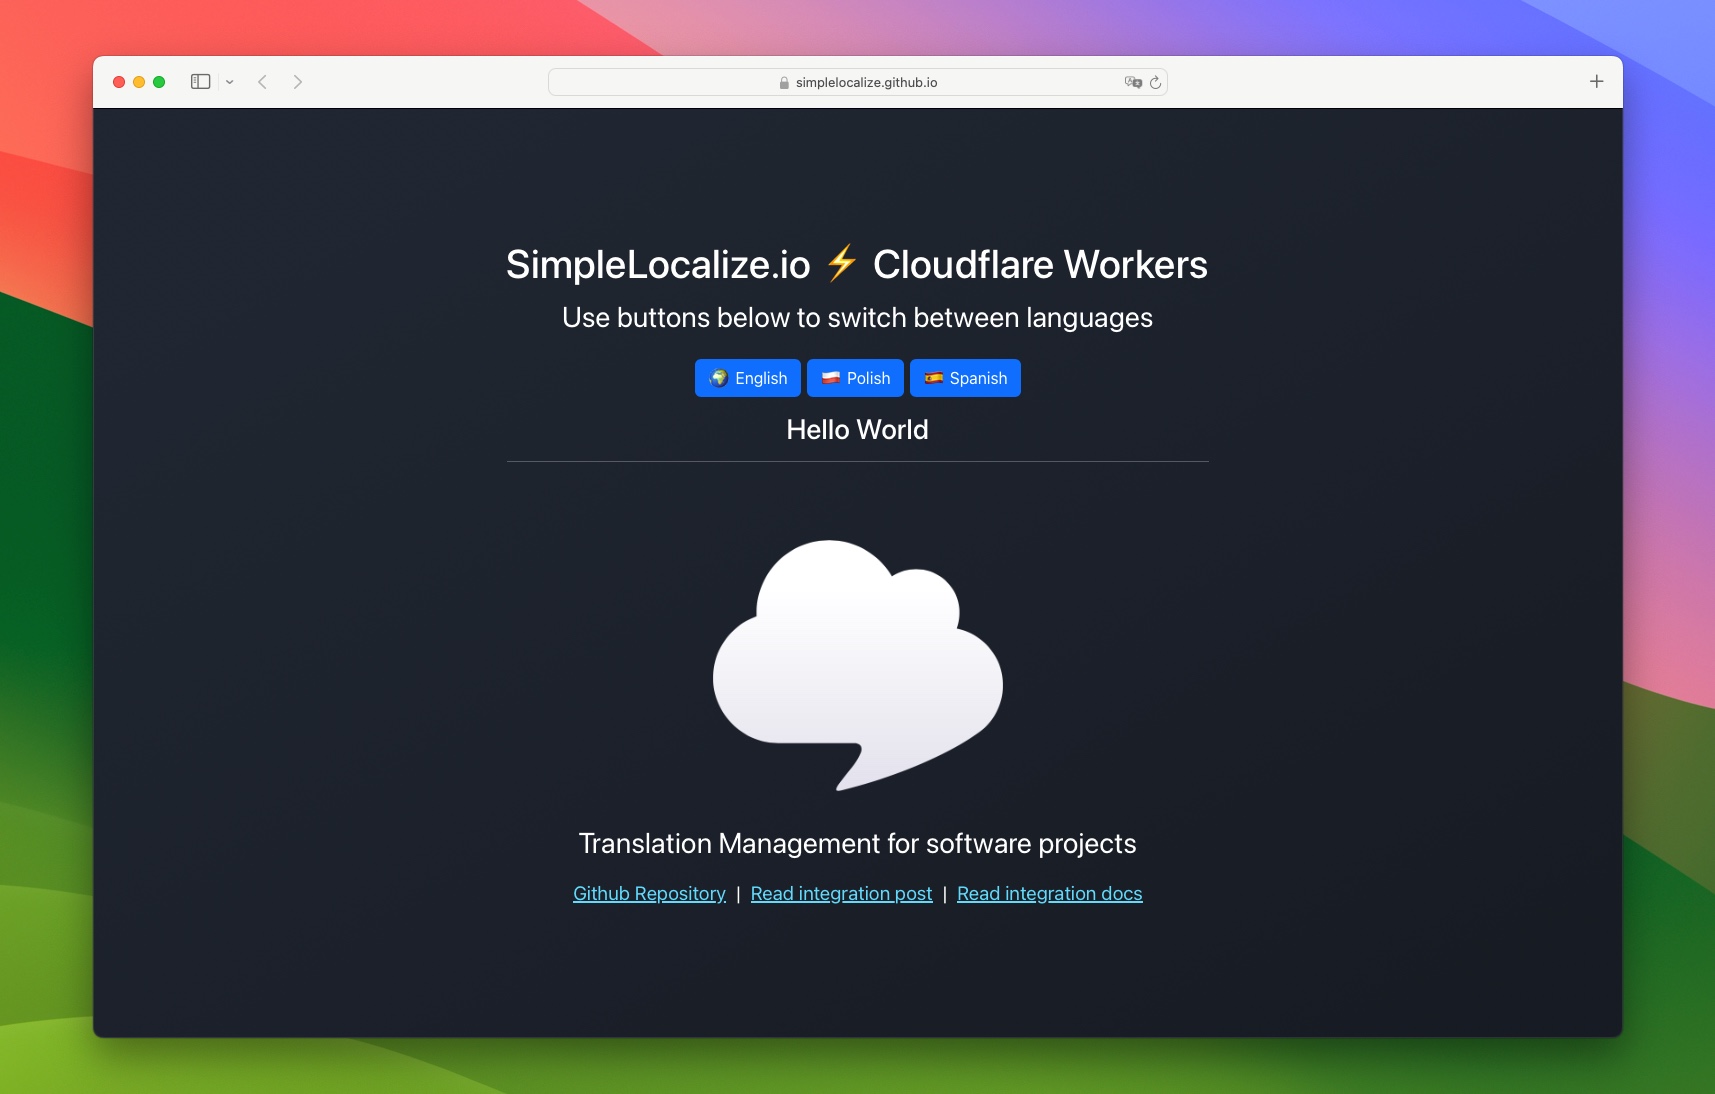
Example of the HTML element with the 'data-i18n-key' attribute:
<a data-i18n-key="read_integration_post">Read integration post</a>
Setting up SimpleLocalize CLI
Before we configure the CLI, we need to create a new project to get the API Key for it.
Then, we need to install the SimpleLocalize CLI. You can do it using one of the following commands depending on your operating system:
# macOS / Linux / Windows (WSL)
curl -s https://get.simplelocalize.io/2.11/install | bash

# Windows (PowerShell)
. { iwr -useb https://get.simplelocalize.io/2.11/install-windows } | iex;
Once it's done, you can run the following command to verify the installation:
simplelocalize --version
and you should see the version of the CLI, for example:
Version: 2.6.0 (aarch64)
Releases: https://github.com/simplelocalize/simplelocalize-cli/releases
Next, let's create a configuration file for the CLI, in the main folder of our website project, and name it simplelocalize.yml:
apiKey: YOUR_API_KEY

projectType: simplelocalize/data-i18n-key
searchDir: ./public

uploadPath: ./extraction.json
uploadFormat: simplelocalize-json
uploadOptions:
  - UPDATE_TRANSLATIONS
Replace the YOUR_API_KEY with your SimpleLocalize API key. You can find it in the 'Settings > Credentials' section of your project.
In the configuration, we have specified the following options:
projectType- type of project that the CLI will use to extract translation keys and translations,searchDir- directory where the CLI will search for matching files for the project type,uploadPath- specifies the file which should be uploaded,uploadFormat- specifies the format of the file that will be uploaded,uploadOptions- additional options for the upload process, e.g.,UPDATE_TRANSLATIONSBy default, translations will only be added if they are not found.
You can learn more about the configuration options in the Getting started with CLI page.
Extracting translation keys and translations
Now, we can run the following command to extract translation keys and translations from the website and upload them to SimpleLocalize:
simplelocalize extract
The CLI will search for all HTML files in the ./public directory and extract translation keys and translations from the elements with the data-i18n-key attribute,
and store them in the extractions.json file. Next, we will upload the file to SimpleLocalize:
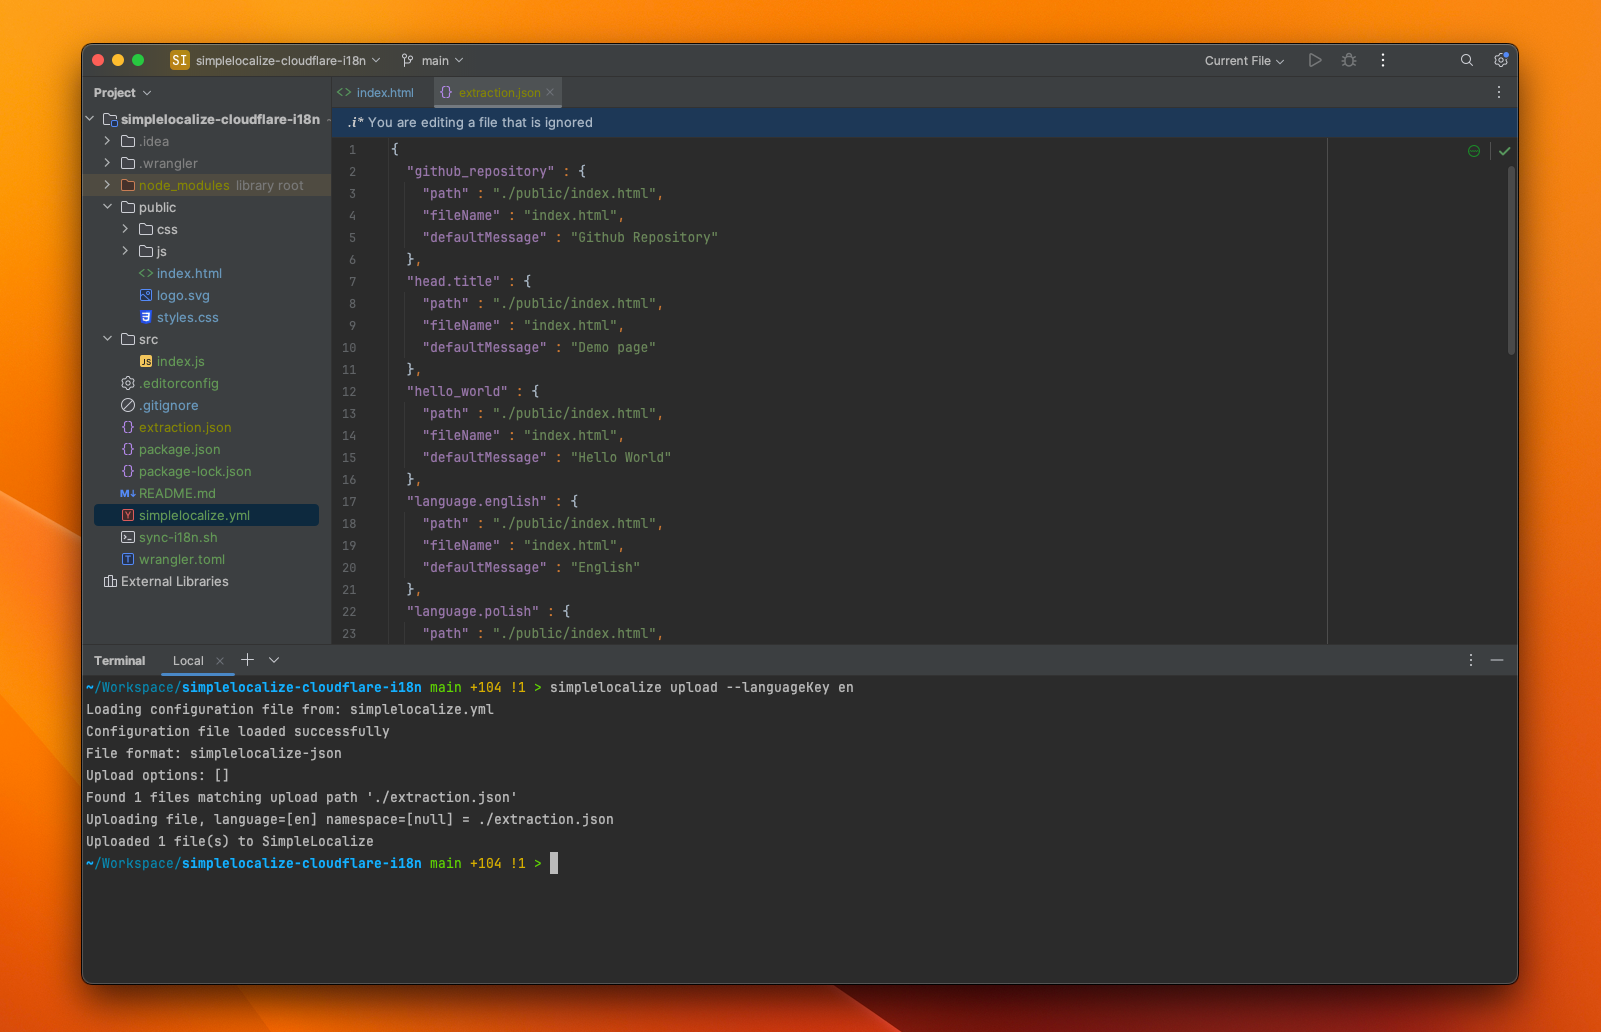
simplelocalize upload --languageKey en
The CLI will upload the extractions.json file to the SimpleLocalize project specified in the configuration file.
The --languageKey option specifies the language in which the translations have been extracted.
Make sure to replace en with the correct language code, and make sure that the language exists in the project.
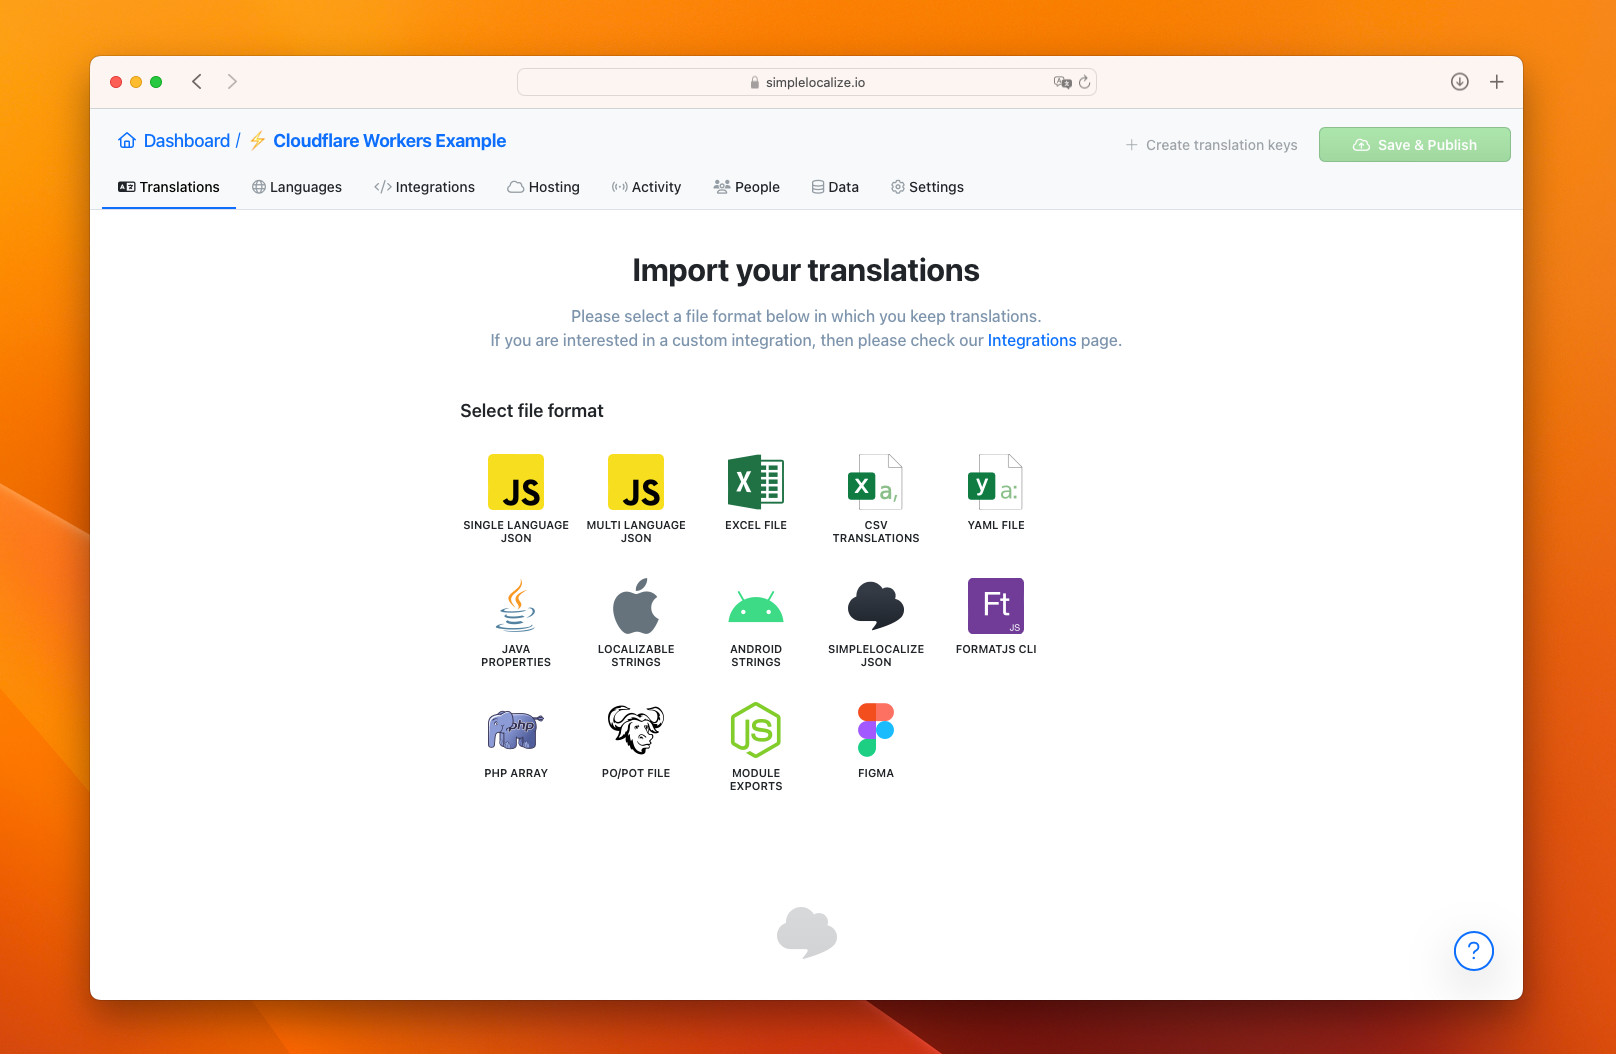
After the upload is complete, you can see the translation keys and translations in the SimpleLocalize Translation Editor.
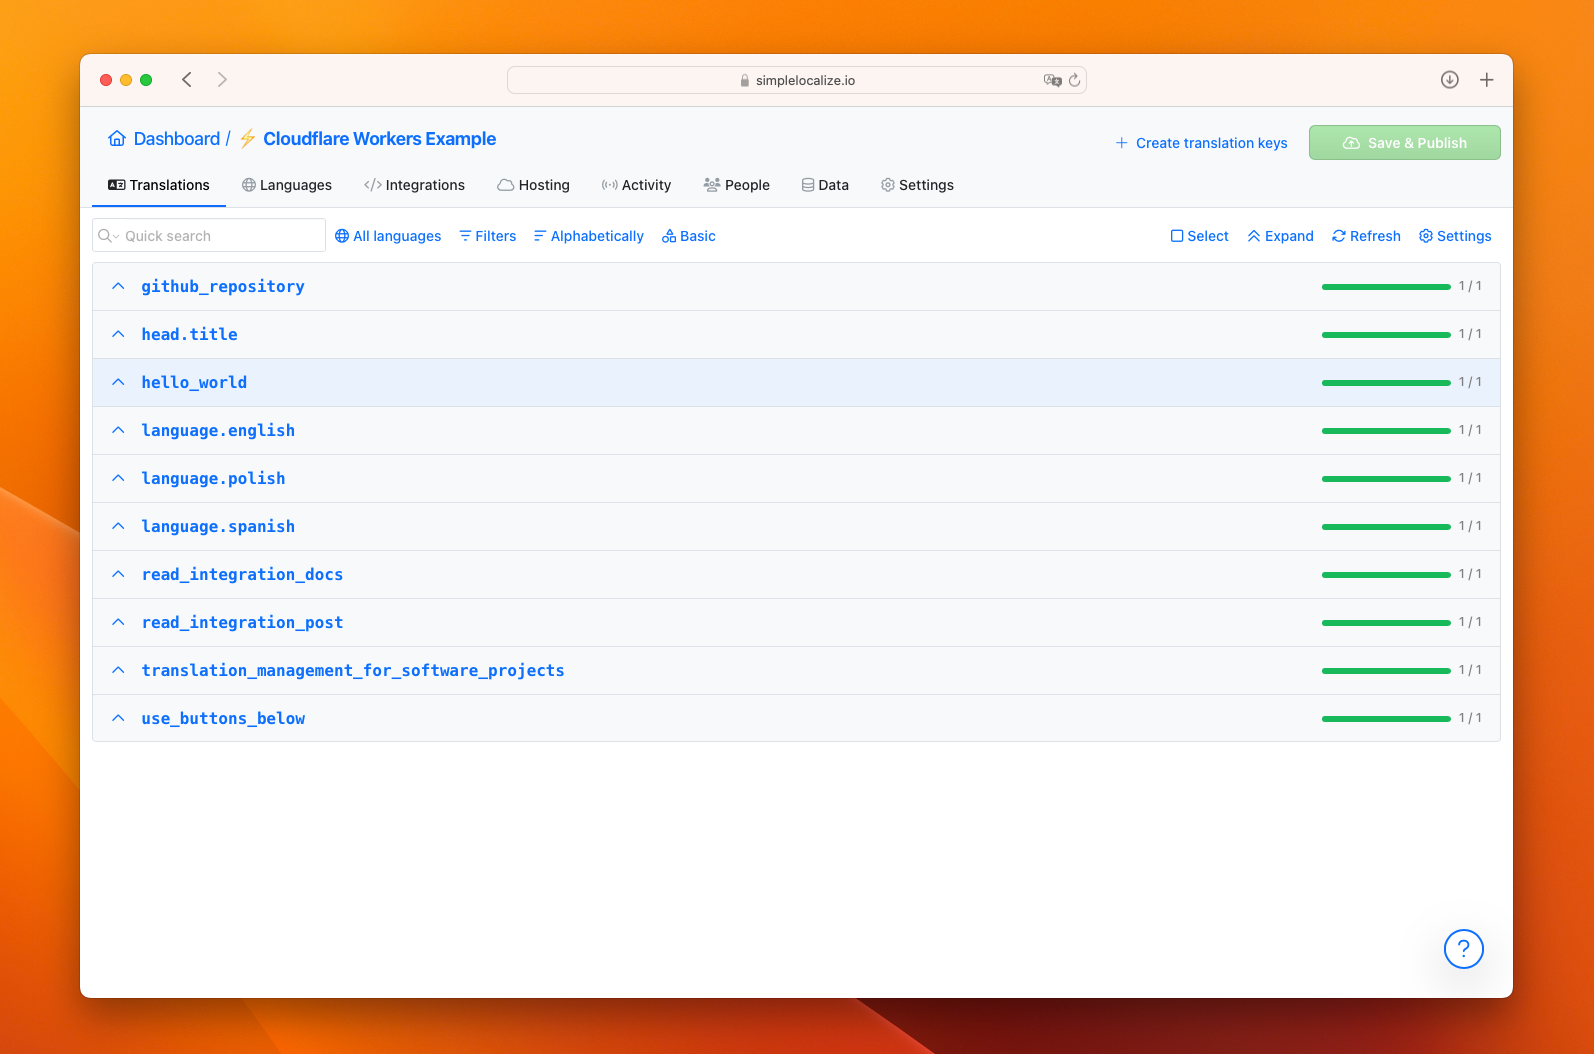
Managing translations
From now on, you can manage translations in the SimpleLocalize Translation Editor. You can add more languages to the project and run auto-translation to translate the content. Once you are done, you can publish the translations to the CDN to serve localized content to the users. The Cloudflare Workers that we configured in the previous tutorial will handle the routing and serve the localized content based on the user's preferred language.
Conclusion
In this tutorial, we've shown you how to extract translation keys and translations from a website and upload them to SimpleLocalize using the SimpleLocalize CLI.
In the following tutorials, we will show you how to:
- use the
accept-languageheader to detect the user's preferred language, - use the Cloudflare Workers KV to store and serve the localized content, and
- configure Worker routes to match your website domain and path.
Stay tuned for the next tutorials!


")


: The complete guide for iOS localization")