i18next and React application localization in 3 steps

i18next - Background
We took original post inspiration from an awesome guy called Aryclenio Xavier Barros, who presented a sample app for localizing app with i18next. You can read it here. We expanded the idea by adding a section about integrating i18next with translation management system.
How to start with i18n in ReactJS?
Thanks to that ReactJS is super popular library, we got so many options. The most popular i18n libraries are i18next and yahoo/react-intl. Today, I will show you how to integrate i18next into your ReactJS application.
Create a sample project
I will start with very beginning, and I will create sample app in ReactJS with TypeScript
yarn create react-app simplelocalize-i18next-example --template typescript
Install dependencies
# Using NPM
npm install --save react-i18next i18next i18next-http-backend i18next-browser-languagedetector axios

# Using yarn
yarn add react-i18next i18next i18next-http-backend i18next-browser-languagedetector axios
Now we are ready to start!
Configuring i18next
I will create i18n.ts file where I will put whole i18next configuration, and after that, we will import this file in index.ts.
My i18n.ts looks as following:
import i18n from 'i18next'
import Backend from 'i18next-http-backend'
import LanguageDetector from 'i18next-browser-languagedetector'
import { initReactI18next } from 'react-i18next'
import axios from "axios";


const isProductionCode = process.env.NODE_ENV === 'production';
const fallbackLanguage = 'en'

const projectToken = "XXXXXXXXXXXXXX"; // YOUR PROJECT TOKEN
const apiKey = "XXXXXXXXXXXXXX"; // YOUR API KEY

const apiBaseUrl = "https://api.simplelocalize.io/api";
const cdnBaseUrl = "https://cdn.simplelocalize.io";
const environment = "_latest"; // or "_production"
const loadPath = `${cdnBaseUrl}/${projectToken}/${environment}/{{lng}}`;
const loadPathWithNamespaces = `${cdnBaseUrl}/${projectToken}/${environment}/{{lng}}/{{ns}}`;
const configuration = {
    headers: {
        'X-SimpleLocalize-Token': apiKey
    }
};

const createTranslationKeys = async (requestBody: any) => axios.post(`${apiBaseUrl}/v1/translation-keys/bulk`, requestBody, configuration)
const updateTranslations = async (requestBody: any) => axios.patch(`${apiBaseUrl}/v2/translations/bulk`, requestBody, configuration)

const missing: any[] = [];
const saveMissing = async () => {
    if (missing.length === 0 || isProductionCode) {
        return;
    }
    console.info(`Saving ${missing.length} missing translation keys`);

    const translationKeys = missing.map((element) => ({
        key: element.translationKey,
        namespace: element.namespace,
    }));

    await createTranslationKeys({translationKeys})
        .catch((error) => console.error(`Error during creating translation keys: ${error}`));

    const translations = missing.map((element) => ({
        key: element.translationKey,
        namespace: element.namespace,
        language: element.language,
        text: element.fallbackValue,
    }));
    await updateTranslations({translations})
        .catch((error) => console.error(`Error during updating translations: ${error}`));
    missing.length = 0;
}

setInterval(async () => {
    await saveMissing();
}, 30_000); // decreasing this value may lead to the API rate limit


i18n
  .use(Backend)
  .use(LanguageDetector)
  .use (initReactI18next)
  .init({
    fallbackLng: fallbackLanguage,
    backend: {
      loadPath: loadPath, // or loadPathWithNamespaces, if you use namespaces
    },
    saveMissing: !isProductionCode,
    defaultNS: "", // you can set default namespace here
    missingKeyHandler: async (languages, namespace, translationKey, fallbackValue) => {
        console.debug(`[${namespace}][${translationKey}] not available in Translation Hosting`);
        missing.push({
            translationKey: translationKey,
            namespace: namespace ?? "",
            language: languages[0] ?? fallbackLanguage,
            fallbackValue: fallbackValue ?? ""
        });
    }
  })

export default i18n;
Project loadPath variable
Create a SimpleLocalize.io project to get your unique loadPath variable. For this demo project, you can use the loadPath from the example above!
Create missing translation keys automatically
I used property saveMissing with value true to tell i18next to function missingKeyHandler to automatically when the library won't find a translation key.
Create on backend missing translation keys with default translation.
Enable i18next in application
Configuration is completed when you import i18n.ts file in index.ts just by adding import './i18n'; Whole index.ts file should look like this:
import React from 'react';
import ReactDOM from 'react-dom';
import './index.css';
import App from './App';
import './i18n'; // import i18next configuration (!!)

ReactDOM.render (
  <React.StrictMode>
    <Suspense fallback={<div>Loading...</div>}>
        <App />
    </Suspense>
  </React.StrictMode>,
  document.getElementById('root')
);
We are done! i18next library is ready to use.
Using translations in the app
Now, let's use translations, and create a basic web page.
Import useTranslation hook
To import the i18next hook, we use the following code:
import {useTranslation} from "react-i18next";

function App () {
  const {t, i18n} = useTranslation ();
  //...
The t variable is a function used to load translations for a given key.
Using t in application code
t usage is very simple and clean:
t("USE_BUTTONS_BELOW")
in HTML, it would look like the following:
<p>{t("USE_BUTTONS_BELOW")}</p>
Switching between language
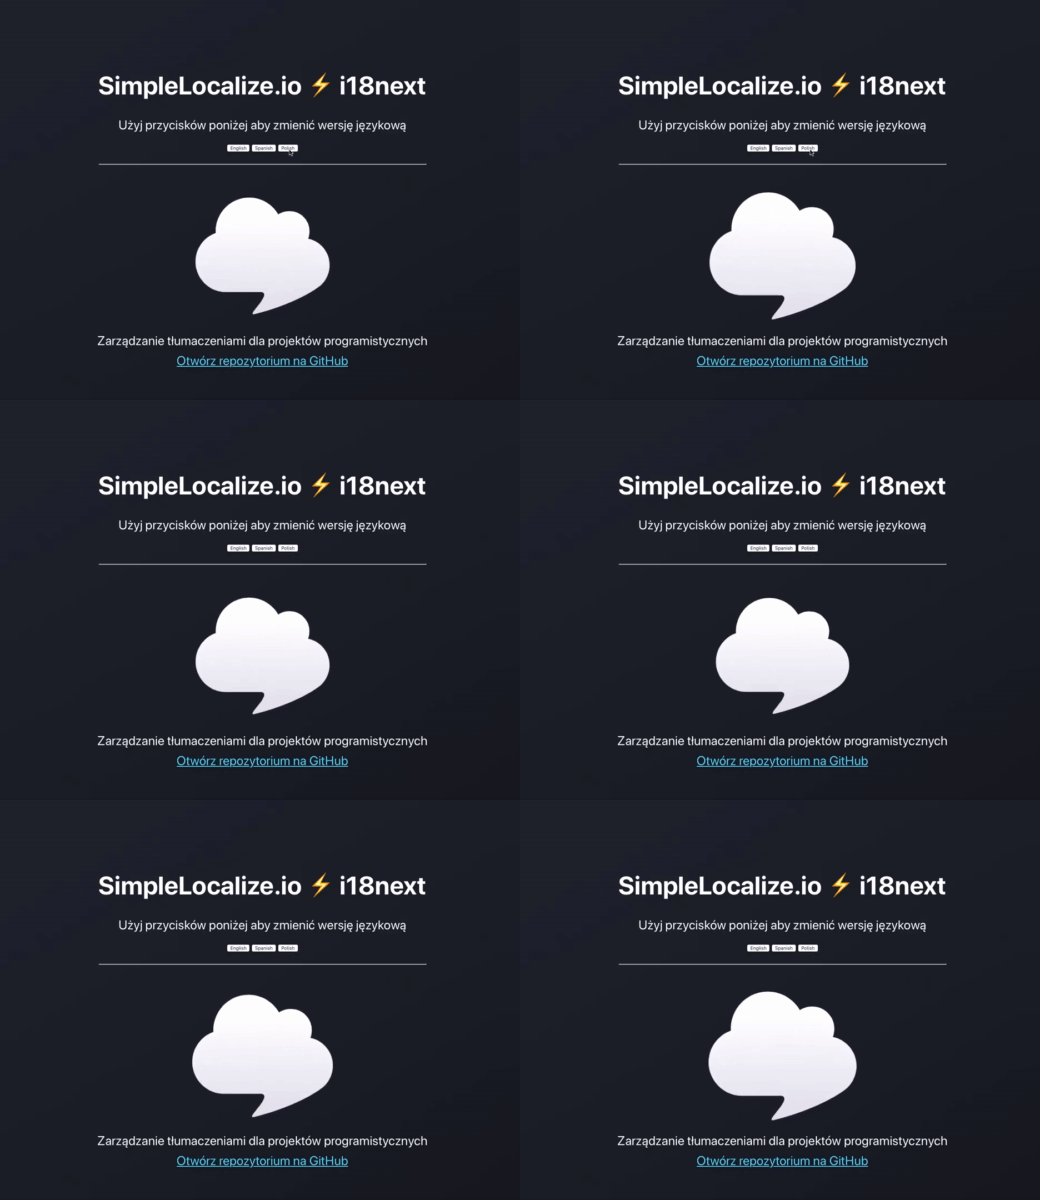
Now it's a time to add option to switch languages. I will use simple buttons without any fancy CSS styles. :) I added 3 buttons for English, Spanish and Polish language.
import React from "react";
import "./App.css";
import { useTranslation } from "react-i18next";

function App() {
  const { t, i18n } = useTranslation();
  return (
    <div>
          <p>
            {t("USE_BUTTONS_BELOW")}
          </p>
          <button onClick={() => i18n.changeLanguage("en")}>English</button>
          <button onClick={() => i18n.changeLanguage("es")}>Spanish</button>
          <button onClick={() => i18n.changeLanguage("pl")}>Polish</button>
        </div>
  );
}

export default App;
Let's check it!
Notice that translation is done in real-time! How cool is that? Very cool!
Project code is available on GitHub.
