Localization workflow for developers: From CLI setup to CI/CD automation
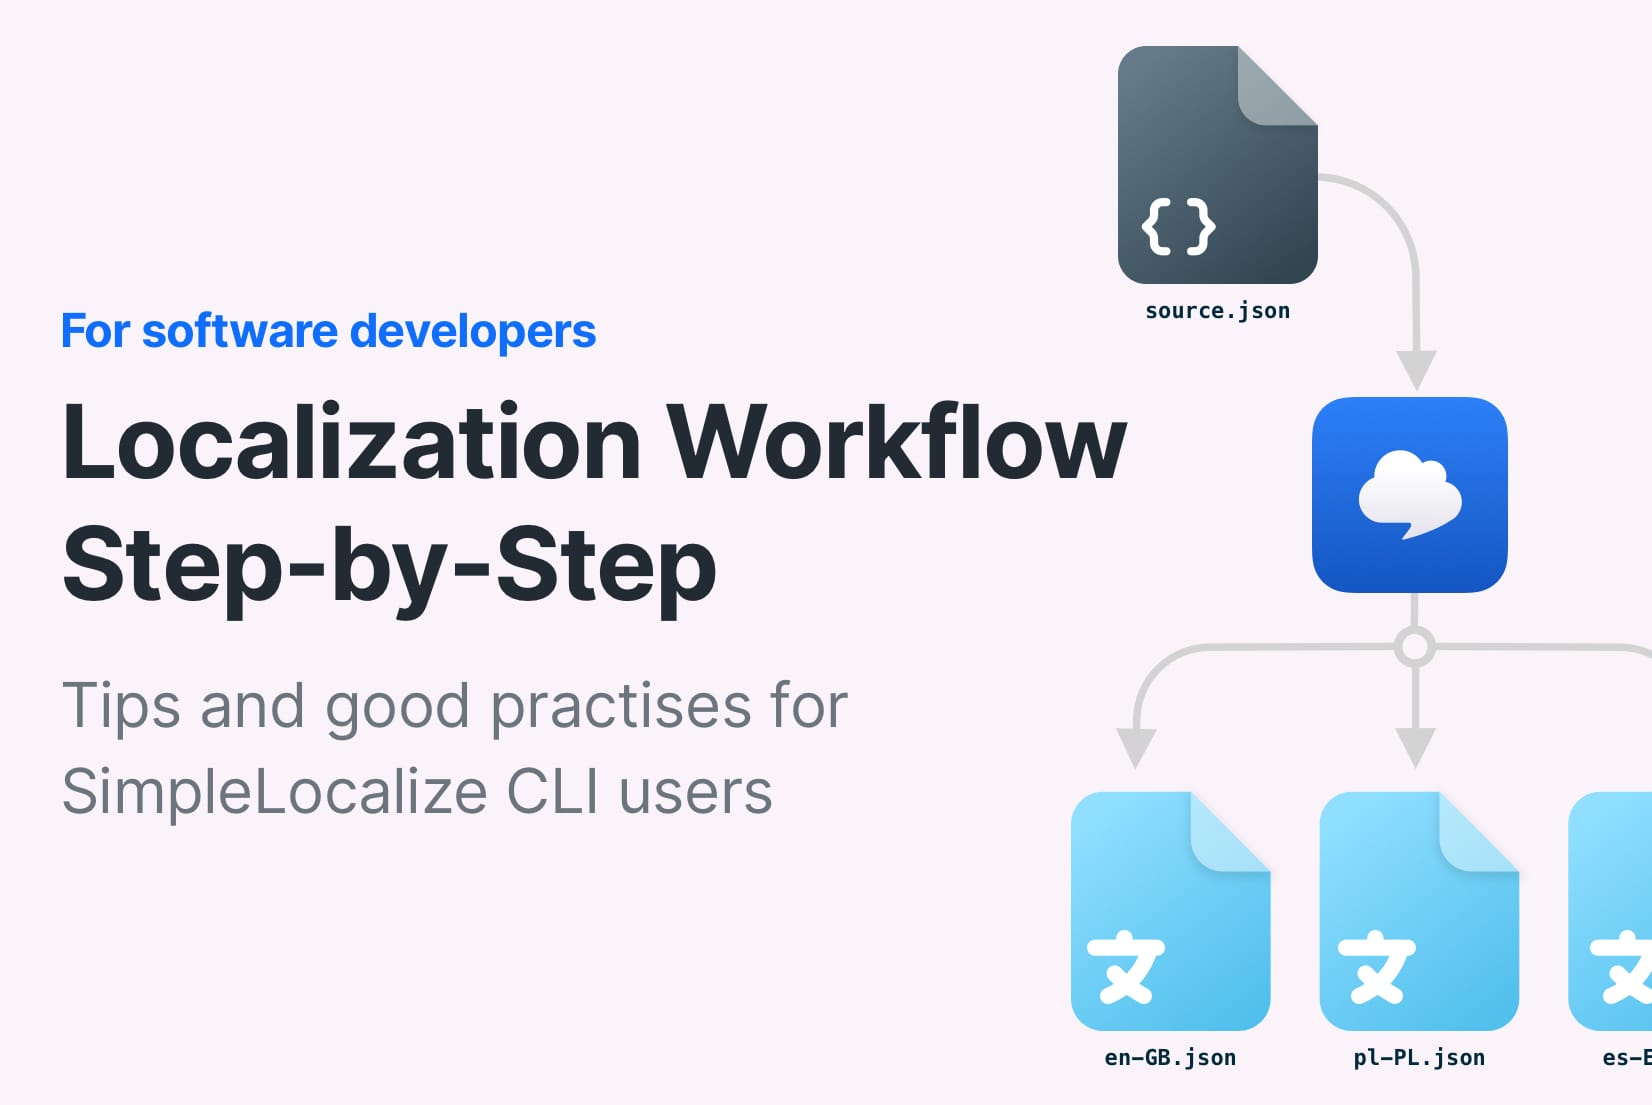
Creating a localization workflow might look straightforward when you first start adding translations to your application. After all, it's just JSON files, right?
In reality, setting up a localization workflow that doesn't slow down development, doesn't create merge conflicts, and doesn't turn into technical debt is surprisingly challenging.
Many developers make one of two mistakes:
- Over-engineering the workflow with too many steps, tools and scripts.
- Under-engineering it, keeping translations scattered across files and spreadsheets until it becomes unmanageable.
A localization workflow is not just about storing translated strings.
It's part of your product delivery architecture.
A well-designed workflow:
- Protects your release velocity
- Prevents regressions in translated content
- Reduces coordination overhead between developers and translators
- Enables scalable international growth
In this article, I'll walk you through a practical, step-by-step localization workflow for developers building web applications. The same principles apply to mobile apps, backend systems, or any software project that needs structured translation management.
You'll learn:
- How to structure translation files properly
- How to synchronize them using CLI
- How to avoid manual file editing chaos
- How to automate translation updates
- How to evolve toward CI/CD-driven continuous localization
This guide focuses on implementation. If you are still deciding when, why, and how deeply to localize your product, start with our Ultimate Guide to Localization Strategy.
Not sure which workflow is right for your team? See how to pick a translation workflow for small teams.
Most examples are based on years of experience building and optimizing localization systems at SimpleLocalize.
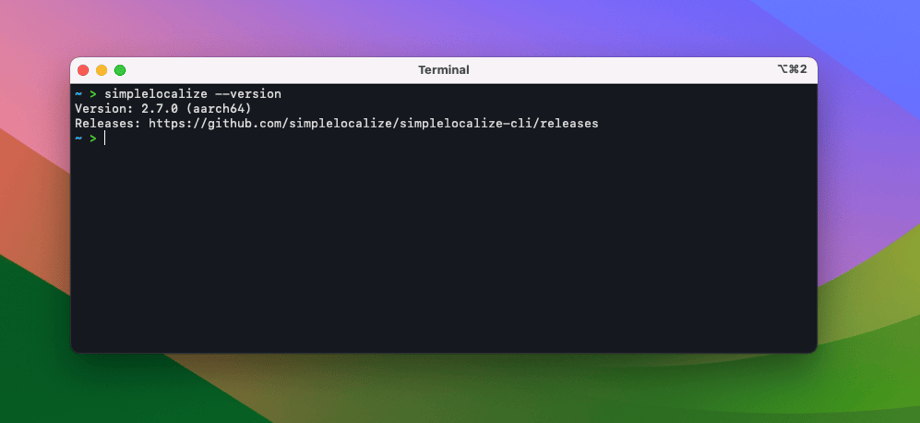
This article is based on SimpleLocalize CLI 2.7.0+. If you're using an older version, check the CLI releases before proceeding.
What a localization workflow actually includes
A localization workflow is a defined process that outlines how translations are managed throughout the development lifecycle. It covers:
- How new translation keys are inroduced
- Where translations are stored
- How translators access them
- How updates are synchronized
- How releases include translated content
Without a defined workflow, teams rely on manual coordination and memory, which leads to delays, errors, and frustration.
Where this workflow fits in your localization maturity
Not every company needs the same localization process. The right workflow depends heavily on your product stage, team size, and release frequency.
Here's a simplified localization maturity model to help you understand where you stand.
Level 1: Manual & reactive
At this stage, localization typically looks like this:
- Copying and pasting text into spreadsheets
- Editing JSON files directly in the repository
- No automation between code and translations
- Developers waiting for translators before shipping
Localization becomes a bottleneck rather than a growth enabler.
Releases are delayed, and translated content is often inconsistent or outdated.
Level 2: Structured workflow
At this stage, teams introduce structure:
- A clearly defined source language
- A centralized translation platform
- CLI-based synchronization
- Clear ownership of translation keys
Localization becomes predictable and repeatable. Developers stop manually editing exported translation files. The system starts to feel reliable instead of fragile.
This article focuses primarily on helping you move into this stage.
Level 3: Continuous localization (CI/CD integrated)
In more advanced teams, localization becomes fully integrated into the development lifecycle:
- Source translations upload automatically on PR merge
- Translations download automatically during builds
- Auto-translation handles new keys instantly
- No manual file handling required
Localization becomes part of your DevOps pipeline rather than a separate process.
A well-designed localization workflow removes translation decisions from release discussions. Developers no longer ask, Are translations ready?. The system guarantees consistency automatically.
For details on localization maturity stages, see our full guide on the Localization Maturity Model for SaaS.
If you're aiming for this level, you should also read our deep dive into Continuous Localization for SaaS Teams.
Core principle: Generated files should not be edited
One of the most important architectural decisions in localization workflows is this:
Exported translation files should be treated as generated artifacts, not manually maintained files.
Many teams fall into the habit of editing translated JSON files directly, reordering keys manually and fixing translation typos in the repository.
This creates long-term issues:
- Merge conflicts between branches
- Inconsistent translations across environments
- Accidental overwrites
- Unclear source of truth
Instead, your workflow should clearly separate:
- The source translation file (editable)
- Generated language files (read-only artifacts)
This separation dramatically reduces complexity over time.
Step 1: Keep source translations in a separate file
The most scalable approach is to keep your source translations in a dedicated file, for example:
/i18n/source.json
This file contains your base language (e.g., English).
You can format it however you prefer, include developer notes, and structure it logically for your team.
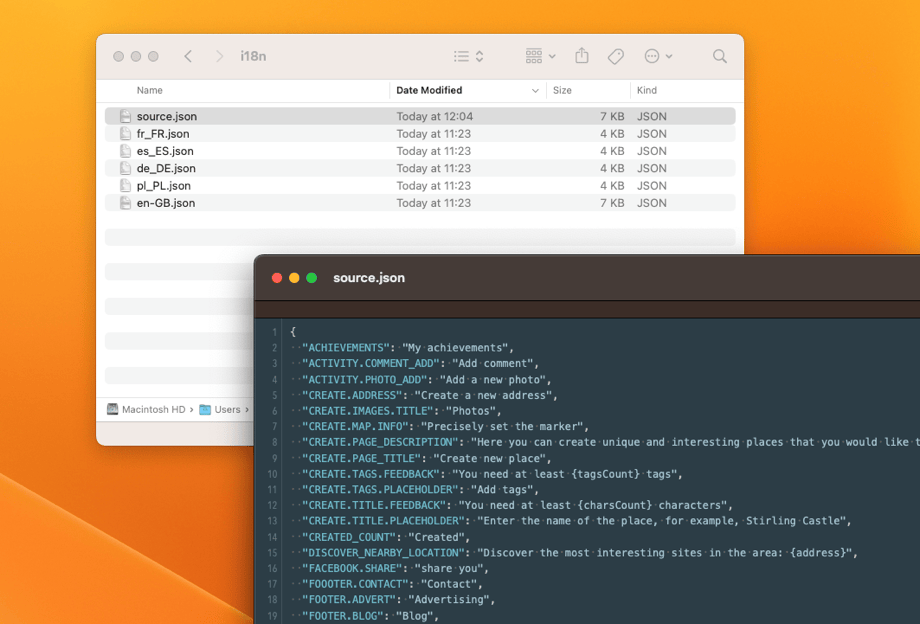
Example folder structure:
i18n/
  source.json
  en.json
  de.json
  fr.json
Yes, you will technically have two files for English. That is completely fine.
source.json→ Editable source of truthen.json→ Generated export from translation system
This separation ensures clarity and prevents accidental edits in generated files.
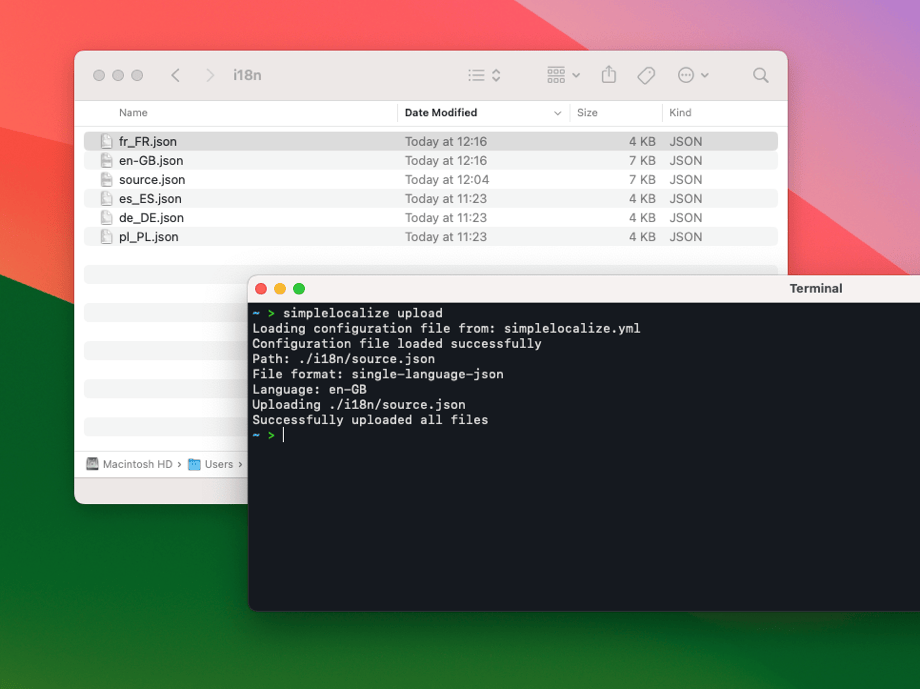
Step 2: Upload source translations
Now let's upload the source file to SimpleLocalize.
simplelocalize upload
  --apiKey YOUR_API_KEY
  --path ./i18n/source.json
  --format single-language-json
  --languageKey en-GB
Here, I specify the path to the source.json file in i18n directory, set the format to single-language-json, and use the language key en-GB for the source file.
The language key is important because it tells the system which language the source file is in, ensuring translations are matched correctly in the editor.
This keeps synchronization clean and incremental.
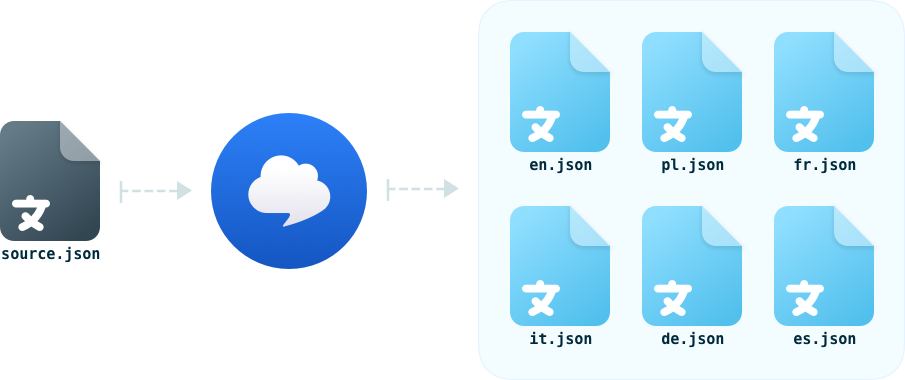
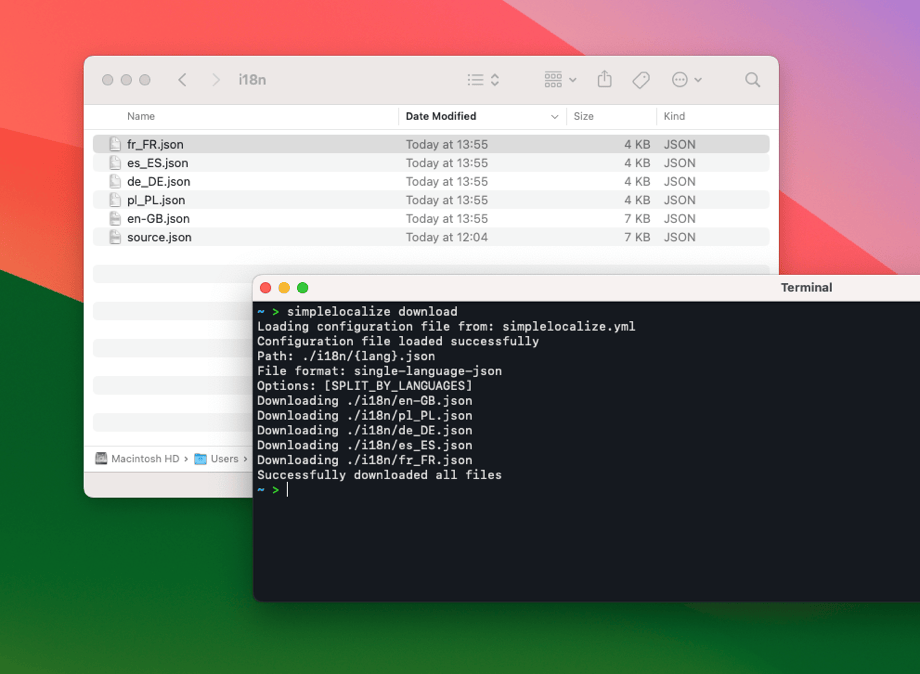
Step 3: Download generated translations
Once translations exist in the system, downloading them is straightforward:
simplelocalize download
  --apiKey YOUR_API_KEY
  --path ./i18n/{lang}.json
  --format single-language-json
The {lang} placeholder automatically expands to:
en.jsonde.jsonfr.json
You can customize directory structures if your project requires language-specific folders. The CLI automatically creates directories when needed.
This makes the workflow flexible without adding complexity.
Step 4: Use a configuration file
Typing full commands repeatedly is unnecessary and error-prone.
Create a configuration file:
# simplelocalize.yml
uploadPath: ./i18n/source.json
uploadLanguageKey: en
uploadFileFormat: single-language-json

downloadPath: ./i18n/{lang}.json
downloadFileFormat: single-language-json
Store your API key as an environment variable:
export SIMPLELOCALIZE_API_KEY=YOUR_API_KEY
You can override the API Key (or any other parameter) by passing it as a CLI argument. The order of precedence for the CLI is: Command-line Parameter -> Configuration File -> Environment Variable (API Key only).
Now your workflow becomes:
# Upload source translations
simplelocalize upload

# Download translation files
simplelocalize download
This makes it easy to integrate into scripts, CI pipelines, and automated jobs.
Source file as the source of truth
In smaller teams, especially when developers control English copy, source.json can act as the ultimate source of truth.
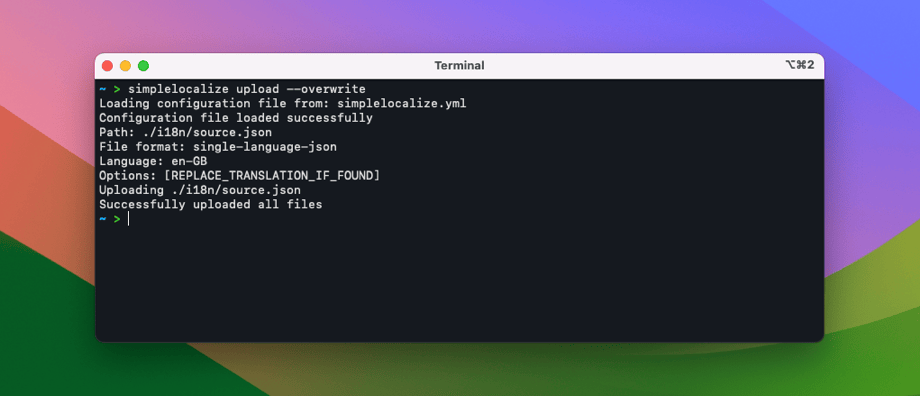
Overwriting existing translations
If you want your source file to update translations directly:
# Upload source translations and overwrite existing translations
simplelocalize upload --overwrite
This replaces existing translation text in the system without deleting unrelated keys.
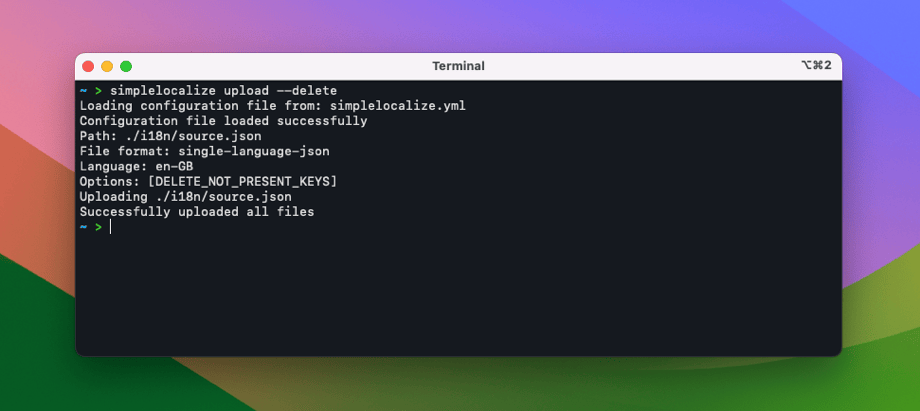
Deleting keys not present in source
# Delete translations that are not present in the source file
simplelocalize upload --dlete
Intentional typo to prevent accidental execution
This removes keys that no longer exist in your source file.
Use carefully. In larger teams, deletion should usually be handled deliberately inside the translation editor to avoid accidental data loss.
Check out our article on how to find and delete unused translation keys.
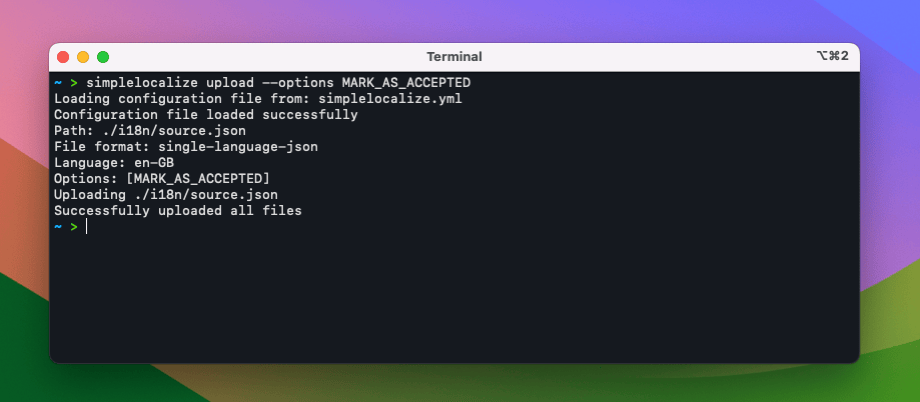
Automatically accepting source translations
simplelocalize upload --options MARK_AS_ACCEPTED
This is useful when English copy is always production-ready and does not require review.
Automating translation updates
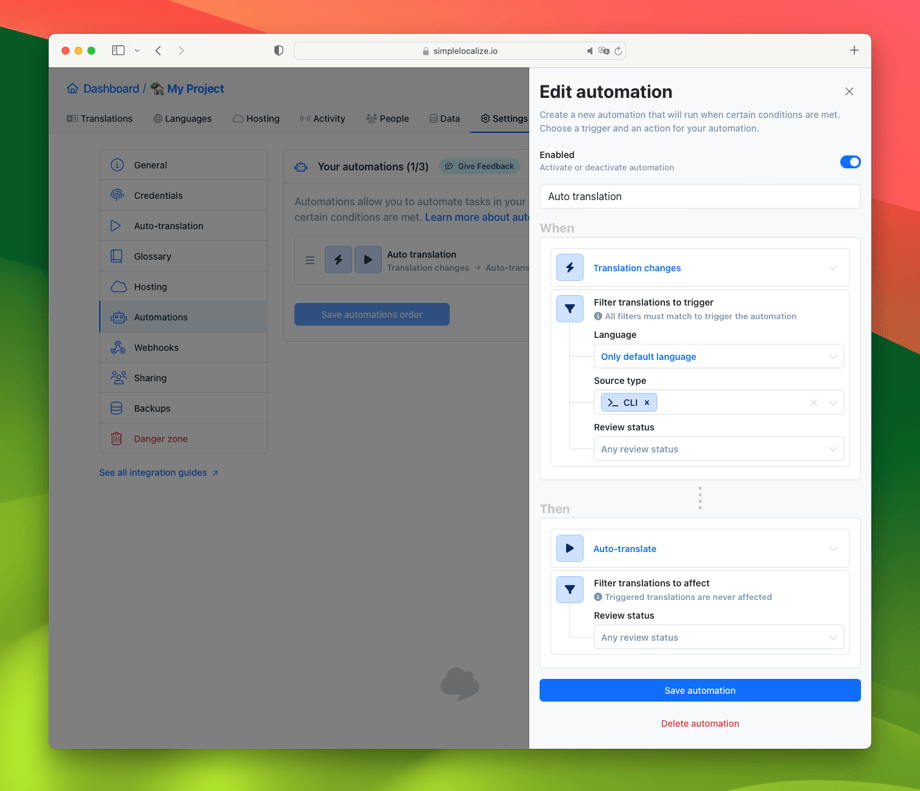
One of the most powerful capabilities in SimpleLocalize is no-code automations.
For example:
- Trigger: Source file upload
- Action: Automatically translate new keys
- Scope: Only changed or newly added strings
This means that when a developer adds a new translation key and pushes it to the system:
- The key uploads
- Automation detects the change
- Target languages receive translations instantly
Instead of waiting days for translations, your app can ship new features in multiple languages almost immediately.
This is the bridge between structured workflow and continuous localization.
In the below video, you can see how the automation is triggered after uploading the source file with changed translations for ACHIEVEMENTS and ACTIVITY.COMMENT_ADD.
The system recognizes the changes and triggers the automation that automatically translates the updated keys into other languages.
Integrating localization into CI/CD
Once your CLI workflow is stable, the next step is integration into your CI/CD pipeline.
Instead of running commands manually, let automation handle it.
Example CI/CD workflow
On Pull Request merge:
- Run
simplelocalize uploadto sync new source keys - Trigger translation automations
- Optionally notify translators for review
During production build:
- Run
simplelocalize downloadto get the latest translations - Bundle translation files into build artifact
- Optionally validate that required translations exist
This ensures:
- No one forgets to update translations
- No releases ship with outdated files
- Localization is not a manual checklist item
Localization becomes part of your release infrastructure. That is what continuous localization looks like in practice.
In more advanced setups, teams add validation checks during CI that fail the build if required translations are missing or outdated. This prevents production deployments with incomplete localization and enforces translation completeness as part of release quality standards.
Check out some ideas on AI-powered localization workflows for more ways to automate translation management.
When this workflow is not ideal
This CLI-based workflow works best for:
- SaaS products
- Applications with frequent releases
- Git-based teams
- API-driven systems
It may not be ideal for:
- One-time translation projects
- Static marketing-only localization
- Teams without version control
Always align your workflow with your product complexity and release cadence.
You can also integrate with GitHub App or use our REST API for more customized workflows.
Common localization workflow mistakes
After working with many development teams, I've seen the same patterns repeatedly:
- Editing generated files directly
- Mixing source and exported translations
- No clear deletion policy
- No automation triggers
- No CI validation
Most localization failures are architectural decisions, not linguistic quality issues.
Conclusion
A localization workflow is not just about moving files between systems.
It defines:
- How fast you can ship globally
- How much coordination overhead your team has
- How much technical debt you accumulate over time
Start with a structured CLI-based workflow.
Separate source and generated files.
Automate synchronization.
Then evolve toward CI/CD integration and continuous localization.
Localization maturity is not about adding complexity.
It is about removing friction from global growth.
And your workflow is the foundation of that system.


