How to localize a Next.js app with next-translate

next-translate is a lightweight i18n library for Next.js built around one principle: load only the translations a page actually needs, and nothing more. It weighs around 1 KB, has zero dependencies, and works across both the Pages Router and App Router.
Before diving into the setup, it helps to understand the broader architecture decisions your project will build on. The patterns here fit into a larger picture covered in the technical guide to i18n and software localization.
If your project is App Router-first and you want a Next.js-native alternative, see our next-intl guide for Next.js.
How next-translate loads translations
next-translate organizes translations into namespaces, where each namespace is a JSON file scoped to a page or feature area. Only the namespaces required for the current page are loaded, which keeps bundle sizes small regardless of how many locales you support.
locales/
├── en/
│   ├── common.json
│   └── booking.json
├── de/
│   ├── common.json
│   └── booking.json
└── fr/
    ├── common.json
    └── booking.json
The pages configuration maps each route to its required namespaces:
{
  "locales": ["en", "de", "fr"],
  "defaultLocale": "en",
  "pages": {
    "*": ["common"],
    "/": ["home"],
    "/booking": ["booking"]
  }
}
With 100 locales, a user visiting /booking loads only the booking and common namespaces for their language, not everything at once.
Installation
Install the runtime package and the build plugin separately:
npm install next-translate
npm install next-translate-plugin --save-dev
The plugin handles the webpack (or Turbopack) transformation that injects namespace loading into your pages automatically.
Pages Router setup
1. Create i18n.json
Add i18n.json to the project root:
{
  "locales": ["en", "de", "fr"],
  "defaultLocale": "en",
  "pages": {
    "*": ["common"],
    "/": ["home"],
    "/booking": ["booking"],
    "/booking/[id]": ["booking"]
  }
}
2. Update next.config.js
// next.config.js
const nextTranslate = require('next-translate-plugin')

module.exports = nextTranslate({
  // your existing Next.js config here
})
3. Create translation files
// locales/en/common.json
{
  "nav": {
    "home": "Home",
    "bookings": "Bookings"
  },
  "actions": {
    "save": "Save changes",
    "cancel": "Cancel"
  }
}
// locales/en/booking.json
{
  "title": "Book your stay at Pillow Hotel",
  "checkin": "Check-in date",
  "checkout": "Check-out date",
  "guests": "Number of guests",
  "confirm": "Confirm booking",
  "summary": "You are booking {{count}} night at Pillow Hotel",
  "summary_other": "You are booking {{count}} nights at Pillow Hotel"
}
4. Use translations in a component
// components/BookingForm.tsx
import useTranslation from 'next-translate/useTranslation'

export default function BookingForm() {
  const { t } = useTranslation('booking')

  return (
    <div>
      <h1>{t('title')}</h1>
      <label>{t('checkin')}</label>
      <label>{t('checkout')}</label>
      <label>{t('guests')}</label>
      <button>{t('confirm')}</button>
    </div>
  )
}
To use keys from a different namespace in the same component, prefix the key with the namespace name:
const { t } = useTranslation('booking')

// booking namespace (default)
t('title')

// common namespace accessed from booking context
t('common:actions.save')
5. HTML inside translations with Trans
When a translation contains inline HTML or React components, use the Trans component:
// locales/en/booking.json
{
  "cancellation": "Free cancellation until <b>48 hours before arrival</b> at Pillow Hotel."
}
import Trans from 'next-translate/Trans'

<Trans
  i18nKey="booking:cancellation"
  components={[<b className="font-semibold" />]}
/>
Next-translate demo app
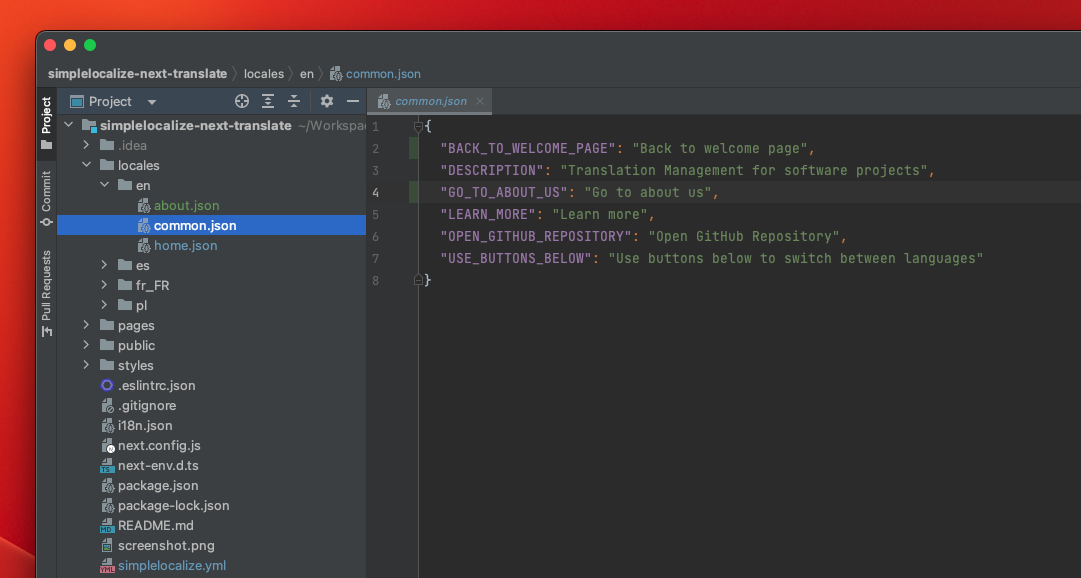
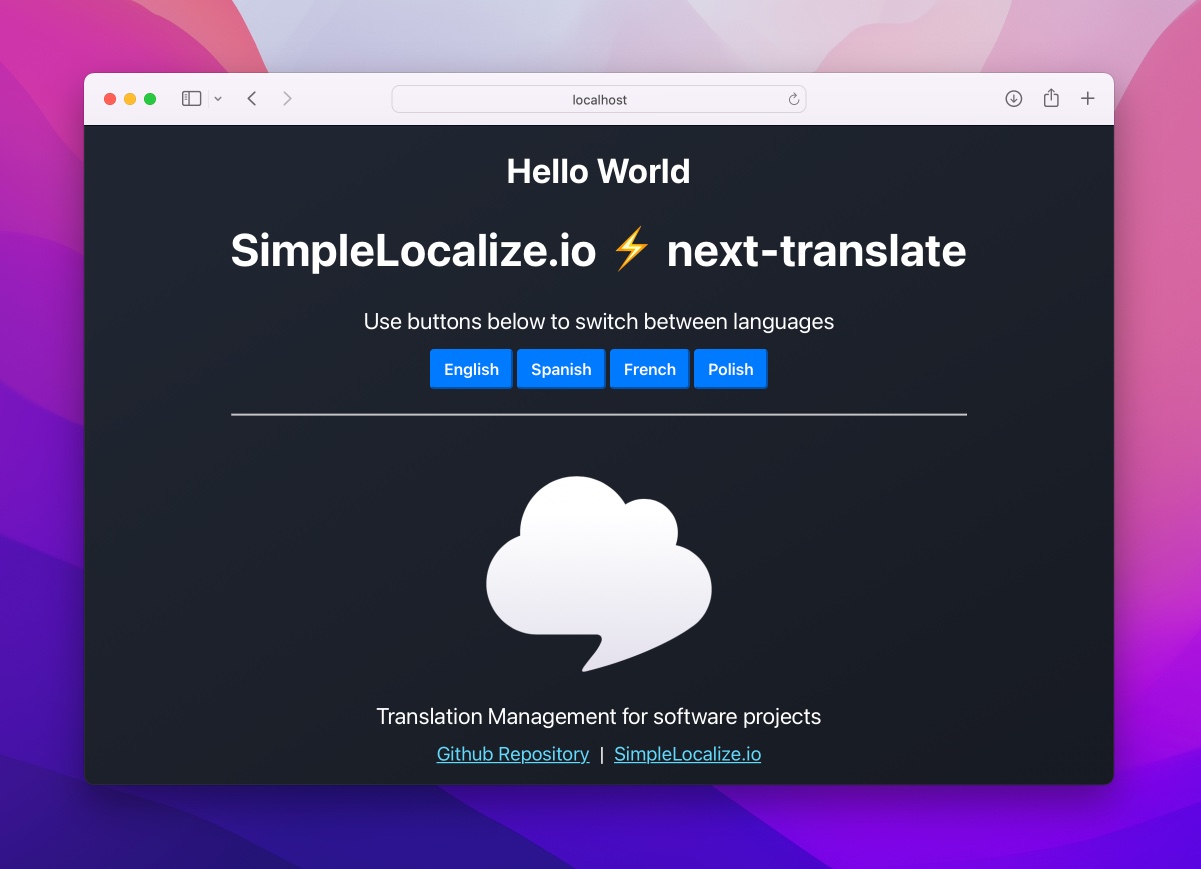
You can try how i18n next-translate library works in a NextJS app with our demo. Check the GitHub repository and run it locally on your computer.
App Router setup
The App Router changes how translations are loaded because server components and client components serialize differently. next-translate handles both, but the setup differs slightly from the Pages Router.
Config file with loadLocaleFrom
Use i18n.js (not i18n.json) when using the App Router so you can export a function:
// i18n.js
module.exports = {
  locales: ['en', 'de', 'fr'],
  defaultLocale: 'en',
  pages: {
    '*': ['common'],
    '/[lang]': ['home'],
    '/[lang]/booking': ['booking'],
    '/[lang]/booking/[id]': ['booking'],
  },
}
Routing with [lang] segment
The App Router does not support Next.js 10-style i18n routing natively. The recommended pattern is to add a [lang] dynamic segment at the top level:
app/
├── [lang]/
│   ├── page.tsx           → /en, /de, /fr
│   ├── booking/
│   │   ├── page.tsx       → /en/booking
│   │   └── [id]/
│   │       └── page.tsx   → /en/booking/123
│   └── layout.tsx
└── layout.tsx
Update the i18n.js pages map to include [lang]:
pages: {
  '*': ['common'],
  '/[lang]': ['home'],
  '/[lang]/booking': ['booking'],
}
Server component
// app/[lang]/booking/page.tsx
import useTranslation from 'next-translate/useTranslation'

export default function BookingPage() {
  const { t } = useTranslation('booking')

  return (
    <main>
      <h1>{t('title')}</h1>
    </main>
  )
}
Client component
// app/[lang]/booking/BookingForm.tsx
'use client'
import useTranslation from 'next-translate/useTranslation'

export default function BookingForm() {
  const { t } = useTranslation('booking')

  return (
    <form>
      <label>{t('checkin')}</label>
      <button type="submit">{t('confirm')}</button>
    </form>
  )
}
The useTranslation hook works in both server and client components without any changes to the call signature.
Turbopack (Next.js 16+)
Next.js 16 enables Turbopack by default.
Pass { turbopack: true } to the plugin:
// next.config.js
const nextTranslate = require('next-translate-plugin')

const isTurbopack = !process.argv.includes('--webpack')

module.exports = nextTranslate({}, { turbopack: isTurbopack })
Without this flag, the plugin injects webpack configuration that Turbopack rejects at startup.
TypeScript support
next-translate works with TypeScript out of the box. The t function returns string by default. For stricter typing, you can use module augmentation to constrain which keys are valid for a given namespace. The community package @types/next-translate or manual augmentation via interface I18nNamespaces covers this use case.
A practical starting point without extra setup:
import useTranslation from 'next-translate/useTranslation'

type BookingKeys = 'title' | 'checkin' | 'checkout' | 'guests' | 'confirm'

export default function BookingForm() {
  const { t } = useTranslation('booking')

  const translate = (key: BookingKeys) => t(key)

  return <button>{translate('confirm')}</button>
}
Middleware for locale detection
For automatic locale detection and redirects, add Next.js middleware. This runs at the edge before any page renders and handles the initial locale negotiation.
// middleware.ts
import { NextRequest, NextResponse } from 'next/server'

const locales = ['en', 'de', 'fr']
const defaultLocale = 'en'

function getPreferredLocale(request: NextRequest): string {
  const acceptLanguage = request.headers.get('accept-language') ?? ''
  const preferred = acceptLanguage
    .split(',')
    .map((entry) => entry.split(';')[0].trim().substring(0, 2))
    .find((lang) => locales.includes(lang))

  return preferred ?? defaultLocale
}

export function middleware(request: NextRequest) {
  const { pathname } = request.nextUrl

  // Skip middleware for static files and API routes
  if (
    pathname.startsWith('/_next') ||
    pathname.startsWith('/api') ||
    pathname.includes('.')
  ) {
    return NextResponse.next()
  }

  // Check if a locale is already in the URL
  const hasLocale = locales.some(
    (locale) => pathname.startsWith(`/${locale}/`) || pathname === `/${locale}`
  )

  if (!hasLocale) {
    const locale = getPreferredLocale(request)
    return NextResponse.redirect(new URL(`/${locale}${pathname}`, request.url))
  }

  return NextResponse.next()
}

export const config = {
  matcher: ['/((?!_next|api|.*\\..*).*)'],
}
This detects the browser's preferred language and redirects on first visit. The locale is then encoded in the URL, which is the right choice for SEO: each language version gets its own crawlable URL.
SSR vs SSG behavior
Understanding when translations are resolved matters for performance and caching:
Static Site Generation (SSG): Pages using getStaticProps resolve translations at build time. next-translate injects the namespace loading into getStaticProps automatically via the webpack plugin. This is the default for most pages and produces the fastest possible delivery.
Server-Side Rendering (SSR): Pages using getServerSideProps load translations at request time. next-translate detects dynamic routes (like [slug].js) and defaults them to getServerSideProps because the locale context requires knowledge of the request.
App Router: In the App Router, server components run at render time by definition. next-translate reads the lang param from the URL segment (params.lang) to determine the locale before rendering.
The practical rule: SSG delivers pre-built, fully translated HTML with no per-request cost. SSR is necessary when translation content depends on request context, such as user-specific content or dynamic routes that cannot be statically generated.
Pluralization
next-translate handles plural forms using CLDR rules. Add suffixed keys for each plural form your language needs:
// locales/en/booking.json
{
  "nights_one": "{{count}} night",
  "nights_other": "{{count}} nights"
}
// locales/de/booking.json
{
  "nights_one": "{{count}} Nacht",
  "nights_other": "{{count}} Nächte"
}
// count variable must be named "count"
t('booking:nights', { count: 3 })
// → "3 nights" (en) / "3 Nächte" (de)
Supported suffixes: _zero, _one, _two, _few, _many, _other. You can also match exact values with _0, _1, _999. Only _other is required as it covers all locales.
Language selector
A minimal language selector using Next.js routing:
// components/LanguageSelector.tsx
'use client'
import { useRouter, usePathname } from 'next/navigation'
import useTranslation from 'next-translate/useTranslation'

const locales = [
  { code: 'en', label: 'English' },
  { code: 'de', label: 'Deutsch' },
  { code: 'fr', label: 'Français' },
]

export default function LanguageSelector() {
  const router = useRouter()
  const pathname = usePathname()
  const { lang } = useTranslation()

  function switchLocale(newLocale: string) {
    const segments = pathname.split('/')
    // pathname always starts with '/', so segments[0] is always ''
    // segments[1] is the locale if present (e.g. ['', 'en', 'booking'])
    // or empty string for the root '/' (e.g. ['', ''])
    if (segments.length > 1 && locales.some((l) => l.code === segments[1])) {
      segments[1] = newLocale
    } else {
      segments.splice(1, 0, newLocale)
    }
    router.push(segments.join('/') || '/')
  }

  return (
    <select value={lang} onChange={(e) => switchLocale(e.target.value)}>
      {locales.map(({ code, label }) => (
        <option key={code} value={code}>
          {label}
        </option>
      ))}
    </select>
  )
}
Avoid using country flags to represent languages. Spanish is spoken in 20+ countries; a single flag misrepresents the majority of speakers. See why flags hurt language selector UX for more context.
hreflang tags for SEO
Search engines use hreflang tags to understand which page serves which language and region. Without them, your localized pages may compete against each other in search results.
Add them to your root layout or _document.tsx:
// app/[lang]/layout.tsx
import { Metadata } from 'next'

const baseUrl = 'https://pillowhotel.com'
const locales = ['en', 'de', 'fr']

export async function generateMetadata({
  params,
}: {
  params: { lang: string }
}): Promise<Metadata> {
  return {
    alternates: {
      languages: Object.fromEntries(
        locales.map((locale) => [
          locale,
          `${baseUrl}/${locale}`,
        ])
      ),
    },
  }
}
This produces the <link rel="alternate" hreflang="..." href="..."> tags that tell Google which URL to show for each language. The x-default alternate points to the default locale and serves as a fallback for users whose language is not covered.
For a detailed breakdown of hreflang implementation and common mistakes, see the guide on hreflang usage and SEO.
Managing translations with SimpleLocalize
Once the library is set up, you need a workflow for keeping translations up to date across languages. Editing JSON files directly does not scale beyond a small number of locales or contributors.
SimpleLocalize connects to your translation files, provides an editor for translators, supports auto-translation via DeepL, Google Translate, OpenAI or custom AI models, and syncs back to your project via Localization CLI.
Install the CLI
# npm — preferred for CI/CD pipelines and version locking
npm install @simplelocalize/cli

# macOS / Linux / Windows (WSL) — global binary install
curl -s https://get.simplelocalize.io/2.11/install | bash
The npm package is the better choice for GitHub Actions, Vercel, and other CI environments where you want the CLI version tied to your package.json and installed reproducibly alongside your other dependencies.
Create simplelocalize.yml
# simplelocalize.yml
apiKey: YOUR_PROJECT_API_KEY
downloadFormat: single-language-json
downloadPath: ./locales/{lang}/{ns}.json
uploadFormat: single-language-json
uploadPath: ./locales/{lang}/{ns}.json
Upload and download
Upload your current translation files to SimpleLocalize, then pull them back after editing or auto-translating:
# Push your current translation files to SimpleLocalize
simplelocalize upload

# Pull translations back after editing or auto-translating
simplelocalize download
The {lang} and {ns} placeholders match next-translate's file structure automatically, so namespaces are preserved through the round-trip.
Learn more about the CLI commands and options in the Localization CLI documentation.
Translation Hosting CDN
If you want to update translations without redeploying your Next.js app, SimpleLocalize's Translation Hosting delivers translations via a global CDN. Your app fetches the latest translations at runtime, and translators can publish updates independently of your release cycle.
Configure loadLocaleFrom in i18n.js to fetch from the CDN:
// i18n.js
module.exports = {
  locales: ['en', 'de', 'fr'],
  defaultLocale: 'en',
  pages: {
    '*': ['common'],
    '/[lang]/booking': ['booking'],
  },
  loadLocaleFrom: (lang, ns) =>
    fetch(
      `https://cdn.simplelocalize.io/YOUR_PROJECT_TOKEN/_latest/${lang}/${ns}`
    ).then((res) => res.json()),
}
This approach decouples translation updates from code deployments entirely. A translator fixes a copy issue, publishes the change, and users see the update on the next page load without any engineering involvement.
Putting it together: a complete example
A typical Pillow Hotel booking page combining several of the patterns above:
// app/[lang]/booking/page.tsx
import useTranslation from 'next-translate/useTranslation'
import Trans from 'next-translate/Trans'
import BookingForm from './BookingForm'

export default function BookingPage() {
  const { t } = useTranslation('booking')

  return (
    <main>
      <h1>{t('title')}</h1>
      <Trans
        i18nKey="booking:cancellation"
        components={[<strong />]}
      />
      <BookingForm />
    </main>
  )
}
// app/[lang]/booking/BookingForm.tsx
'use client'
import useTranslation from 'next-translate/useTranslation'

export default function BookingForm() {
  const { t } = useTranslation('booking')

  return (
    <form>
      <div>
        <label htmlFor="checkin">{t('checkin')}</label>
        <input id="checkin" type="date" />
      </div>
      <div>
        <label htmlFor="checkout">{t('checkout')}</label>
        <input id="checkout" type="date" />
      </div>
      <div>
        <label htmlFor="guests">{t('guests')}</label>
        <input id="guests" type="number" min={1} />
      </div>
      <button type="submit">{t('confirm')}</button>
    </form>
  )
}
The server component handles static content and passes control to the client component for interactive form elements, each loading only the booking namespace.
Summary
next-translate is a practical choice for Next.js projects that want minimal bundle overhead and per-page namespace loading. It works across Pages Router and App Router, supports TypeScript, and integrates cleanly with middleware for locale detection.
The CLI workflow with SimpleLocalize keeps translation files synchronized as your product and language team grow. For teams who want to decouple translation updates from deploys, the CDN delivery option removes engineering from the translation publishing loop entirely.
For more on how this fits into a broader localization architecture, the complete technical i18n guide covers the patterns that scale from a single-language app to a fully multilingual product.


")
