In this article, we will show you how to integrate SimpleLocalize with Next.js using next-translate. next-translate is gaining popularity among developers because of its simplicity, ease of use and native support for Next.js. It provides a simple way to manage translations in Next.js apps. In this guide, we will use Next.js 14+ with Pages Router, React 18, and next-translate 2.6.2.
Installation
Install next-translate for Next.js
# with npm
npm install next-translate
Configuration
Create a i18n.json file in project root.
{
  "locales": ["en", "es", "fr", "pl"],
  "defaultLocale": "en",
  "pages": {
    "*": ["common"],
    "/": ["home"]
  }
}
Import next-translate configuration file in next.config.js like below:
const nextTranslate = require('next-translate-plugin')
module.exports = nextTranslate()
Notice: Page not found error
When using some Next.js versions, you may encounter 'This page could not be found.' error.
To fix this issue, you can set i18n to undefined in the next.config.js file or try to upgrade the Next.js version and/or next-translate version.
const nextTranslate = require("next-translate-plugin");
const config = nextTranslate({});
config.i18n = undefined;

module.exports = config;
The issue is not present with version 2.6.2 of next-translate and 14.2.18 of Next.js.
Translation files
next-translate by default organizes translations in JSON files that are stored locally.
We will place our translations in /locales/{lang}/{ns}.json directory, where:
{ns}- is a namespace,{lang}- is a language key
Namespaces are optional, they are used to group translations. For example, you can have a
commonnamespace for translations that are used across the application and ahomenamespace for translations that are used only on the home page.
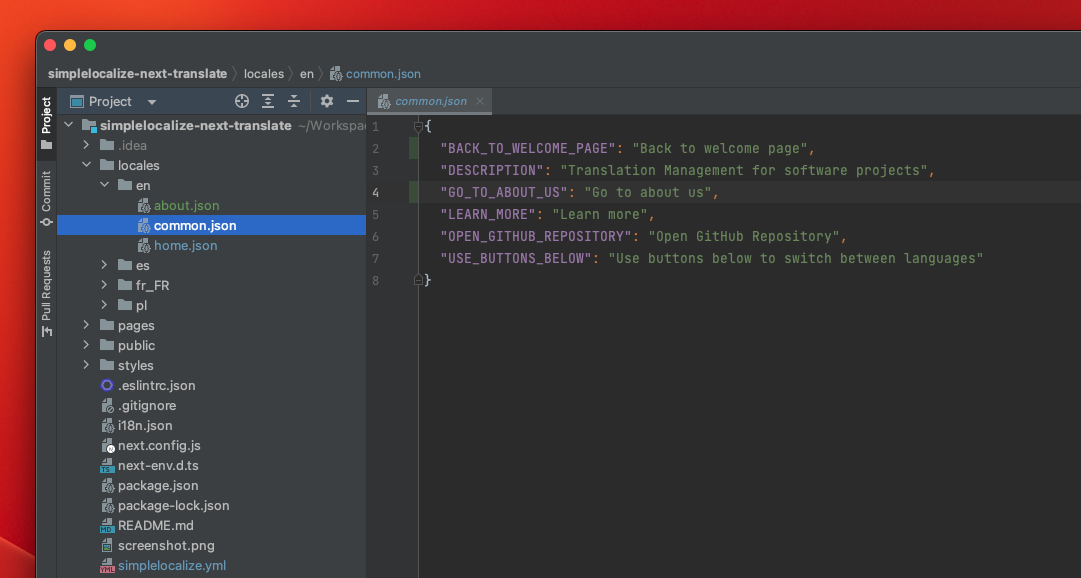
In this example there are two namespaces: common and home and 4 locales: en, es, fr, pl, and the files structure will look like this:
.
├── en
│   ├── common.json
│   └── home.json
├── es
│   ├── common.json
│   └── home.json
├── pl
│   ├── common.json
│   └── home.json
└── fr
    ├── common.json
    └── home.json
Usage
Usage of next-translate is straightforward and is similar to other libraries.
You use useTranslation hook to get translations from JSON files,
and next-translate automatically loads translations based on the current locale.
You can also use namespaces in the useTranslation hook to get translations from a specific namespace.
Import useTranslation hook from next-translate package and use t function to get translated text.
import useTranslation from 'next-translate/useTranslation'

// translations from common.json
const { t } = useTranslation('common')
console.log(t('LEARN_MORE')) // output: Learn more

// translations from home.json
const {t: homeT} = useTranslation('home');
console.log(homeT('HELLO_WORLD')) // output: Hello world
Switching languages
next-translate uses prefix routing to switch languages. You can use useRouter hook from next/router to switch languages.
import { useRouter } from 'next/router'

const router = useRouter()
const locale = router.locale;
console.log('Current locale:', locale);

return (
  <div>
    <button onClick={() => router.push('/', '/', { locale: 'en' })}>English</button>
    <button onClick={() => router.push('/', '/', { locale: 'es' })}>Spanish</button>
    <button onClick={() => router.push('/', '/', { locale: 'fr' })}>French</button>
    <button onClick={() => router.push('/', '/', { locale: 'pl' })}>Polish</button>
  </div>
)
Managing translation files
If you want to manage your translations in the translation editor, you can use the SimpleLocalize CLI to upload and download translations.
Configuration
Create a simplelocalize.yml file in your project root directory:
apiKey: YOUR_PROJECT_API_KEY
uploadFormat: single-language-json
uploadLanguageKey: en
uploadPath: ./locales/en/{ns}.json
uploadOptions:
  - REPLACE_TRANSLATION_IF_FOUND

downloadFormat: single-language-json
downloadLanguageKey: ['pl', 'fr', 'es']
downloadPath: ./locales/{lang}/{ns}.json
next-translate uses one JSON file per language and namespace,
hence we set single-language-json
format for both download and upload.
We also set the uploadLanguageKey to en to match the default language of the app,
and we set the downloadLanguageKey to ['pl', 'fr', 'es'] to download translations for these languages.
Additionally,
we set uploadOptions
to REPLACE_TRANSLATION_IF_FOUND to replace translations in the translation editor with translations from the local files for the English language.
Language keys must match the language keys in the translation editor to upload and download translations correctly.
Uploading and downloading translations
Now you can run upload command to upload translations to translation editor:
simplelocalize upload
After you finish translating your app, you can download translations to your local files:
simplelocalize download
Variables, plurals and interpolation
next-translates works with files with single language JSON file format that keep translations in a simple key-value format, so you can use interpolation and pluralization directly in the translations.
{
  "ITEMS_SIMPLE": "{itemCount} items",
  "ITEMS_PLURAL": "I have {itemCount, plural, =0 {no items} one {1 item} other {# items}}"
}
Learn more about message interpolation.