Configure and customize the translation editor to fit your needs. Use the settings to adjust the view, input size, text wrapping, and more. Work on your translations with ease and comfort.
Table of contents
Translation editor settings
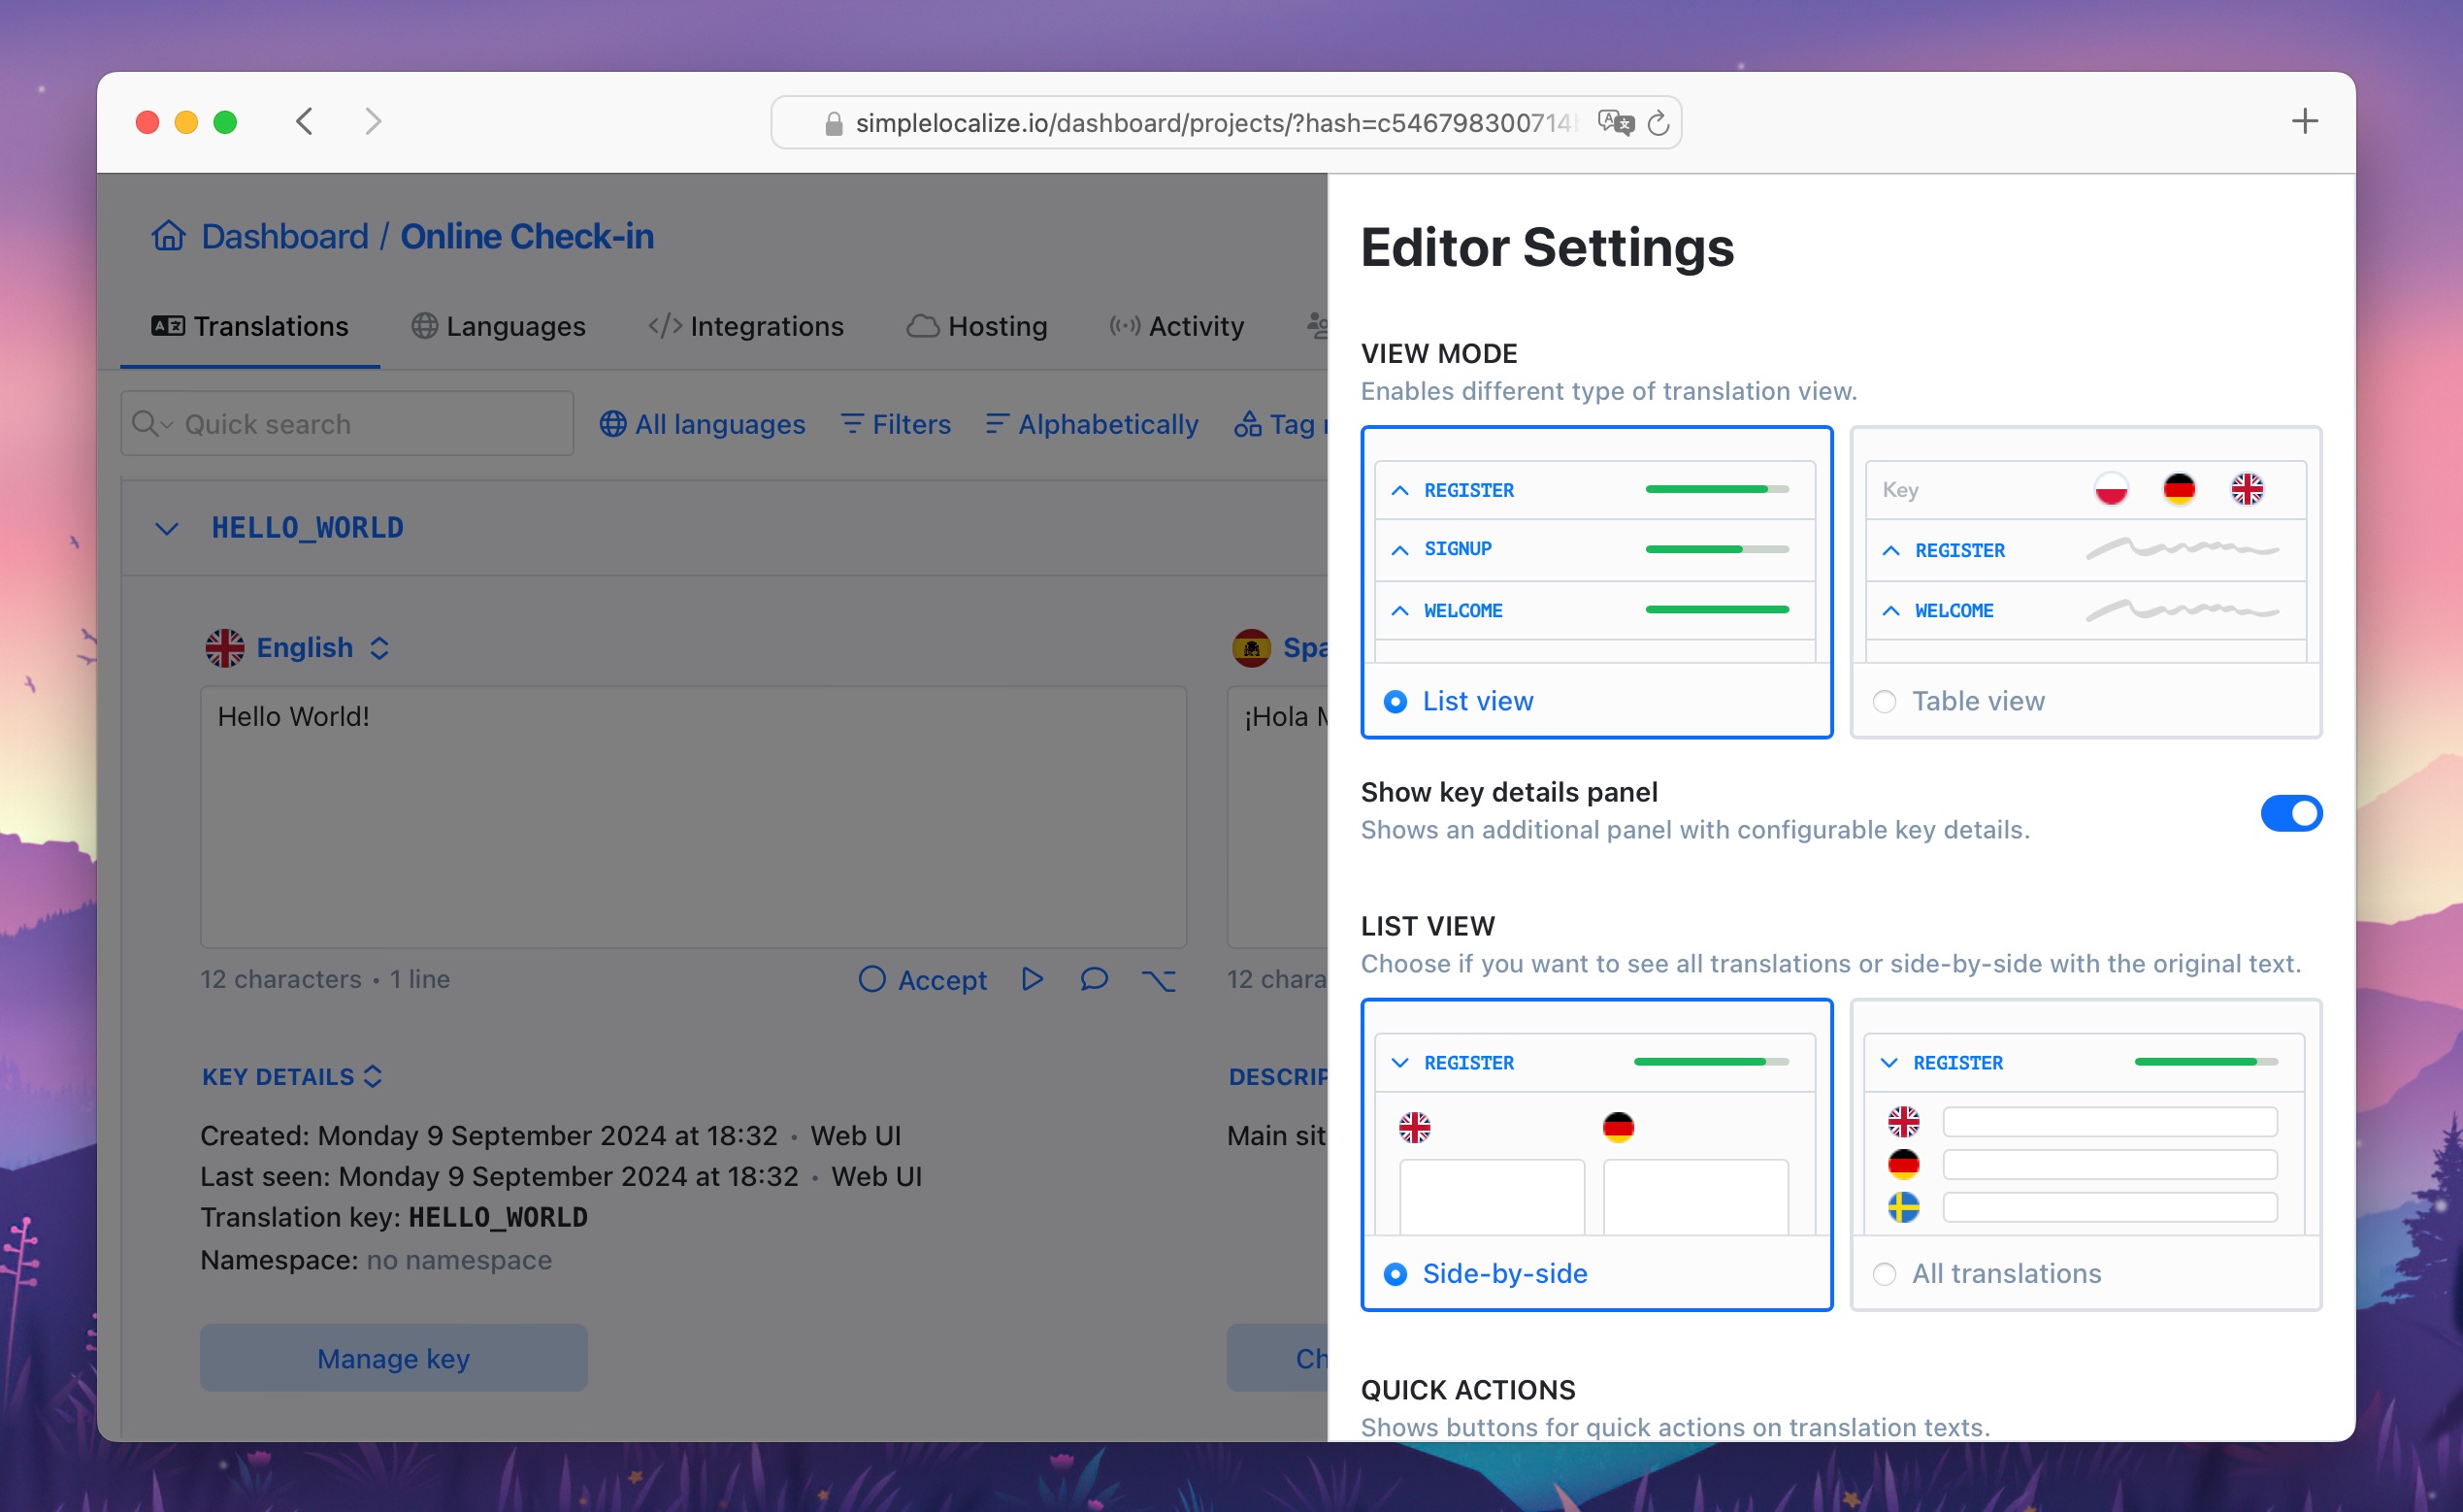
All translation editor settings you can find on the right side of the editor in the Translations tab. Click on Settings to expand all view options. Below, you can see each view description and below all options available in the editor.
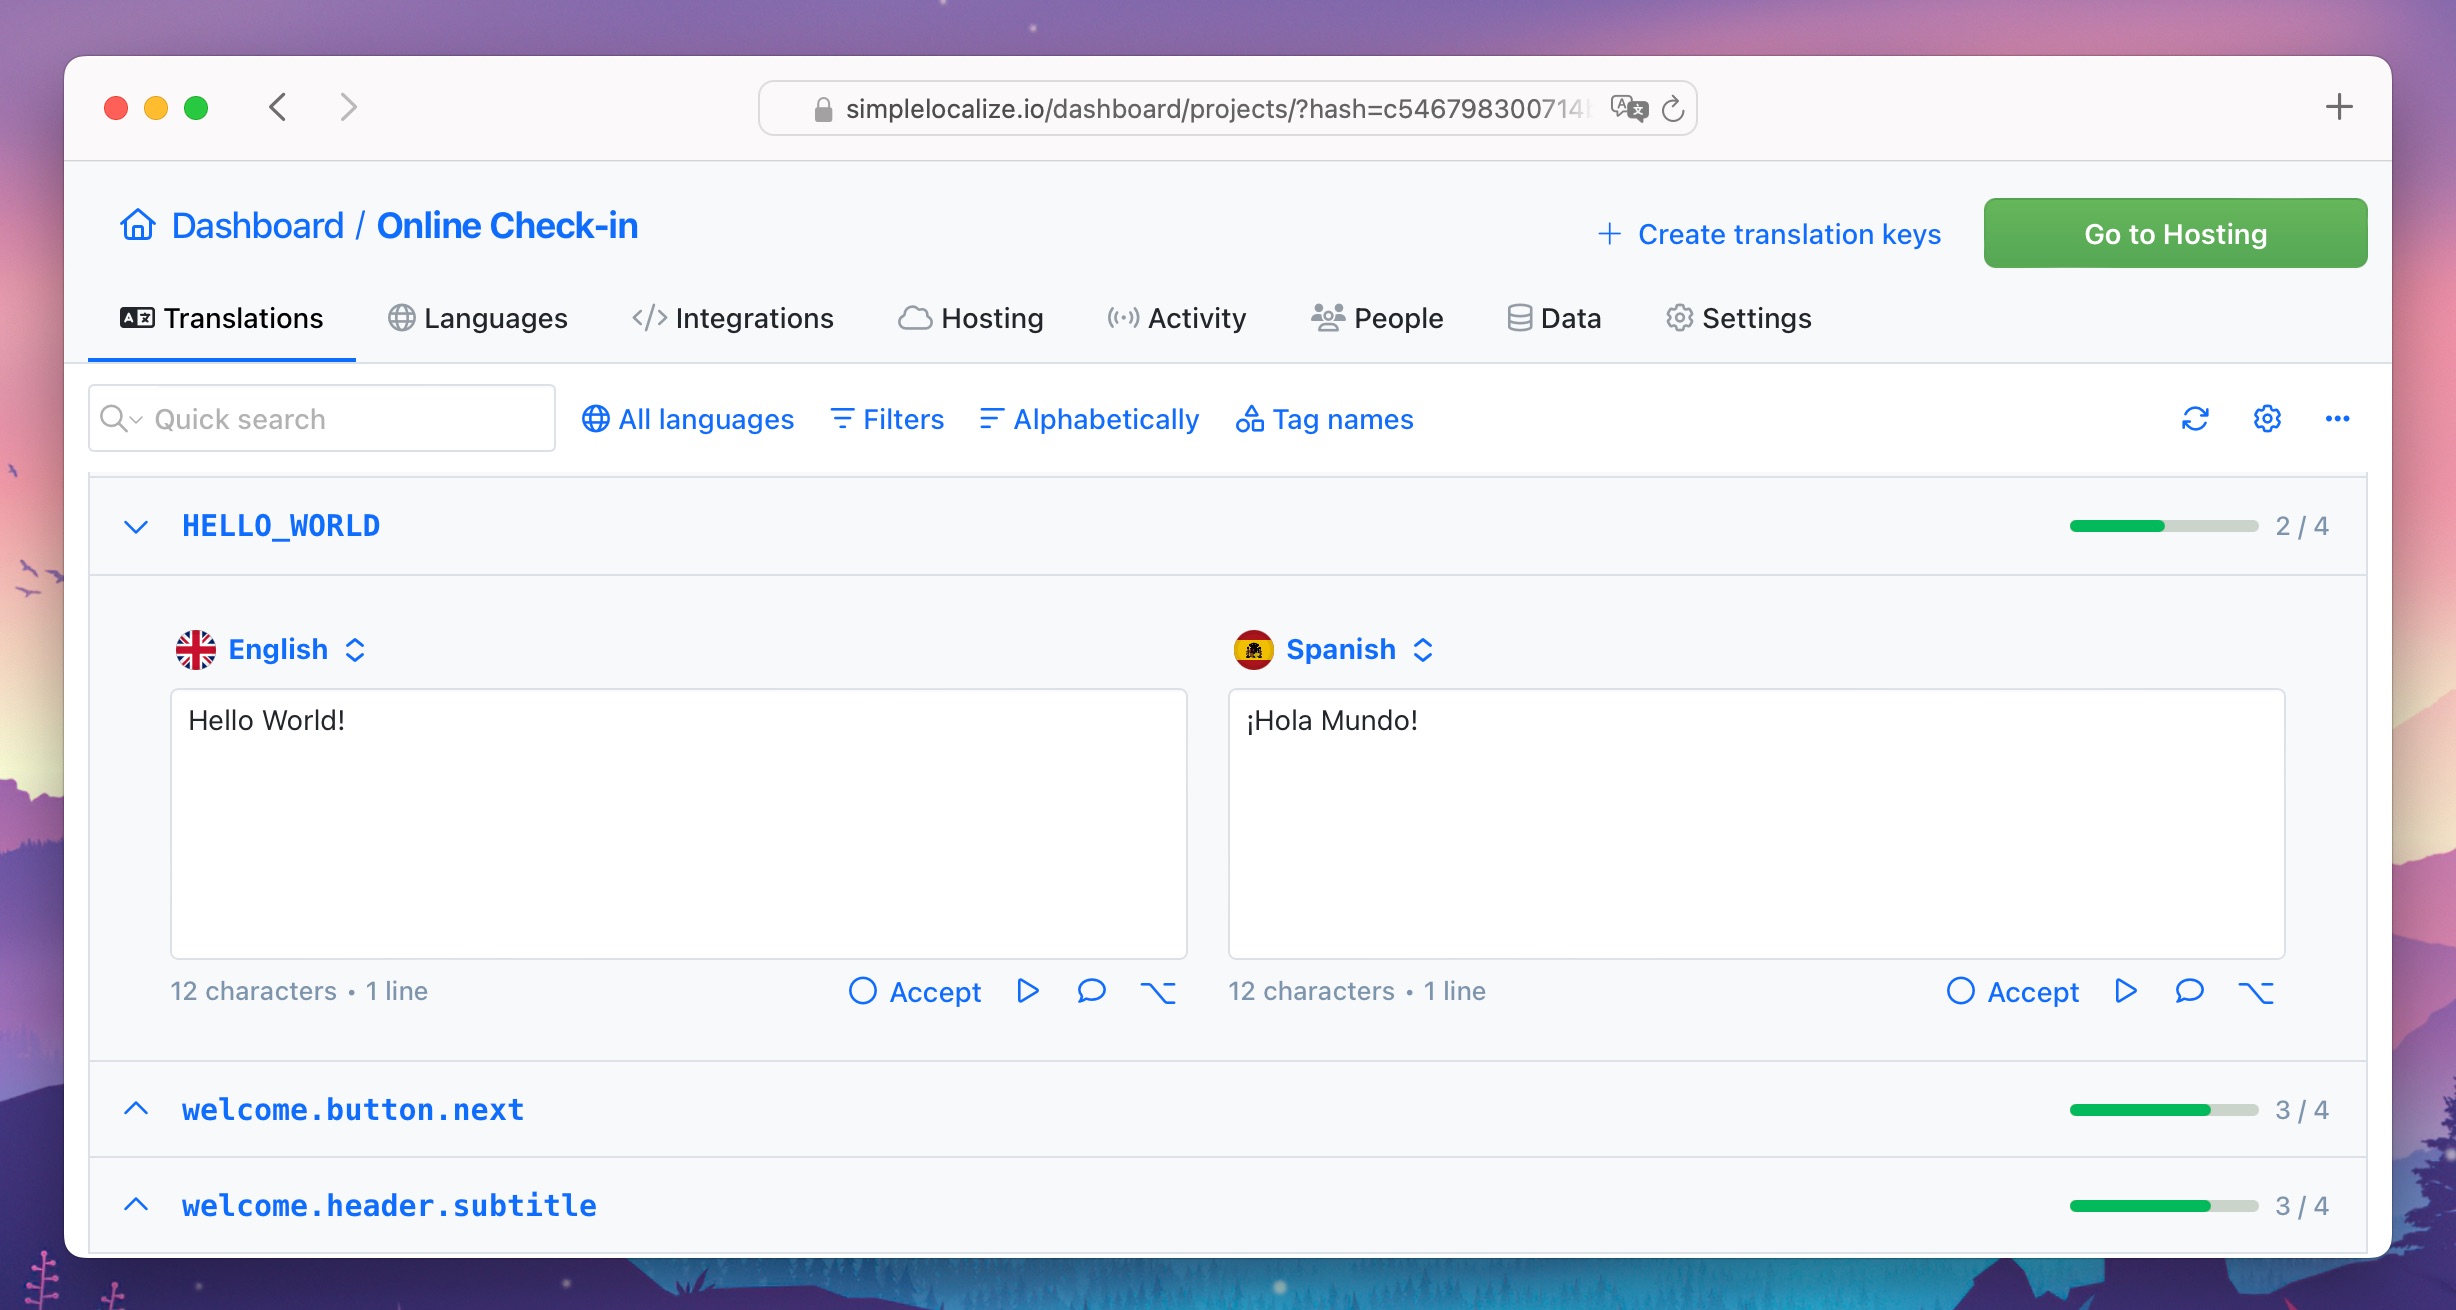
List View – Side-by-side
Side-by-side view is an advanced version of list view. It splits the view into two columns, so you can see two languages at once.
With Show key details panel option enabled enabled in the editor settings, you can see a configurable key details panel under the translation input. You can decide which information to show there, like key details, key or code descriptions, or screenshot.
List View – All translations
This view shows a simple list of all translation keys with their properties and translations in all languages. If you need to check specific key details or work on individual translation, this view will help you focus on the key.
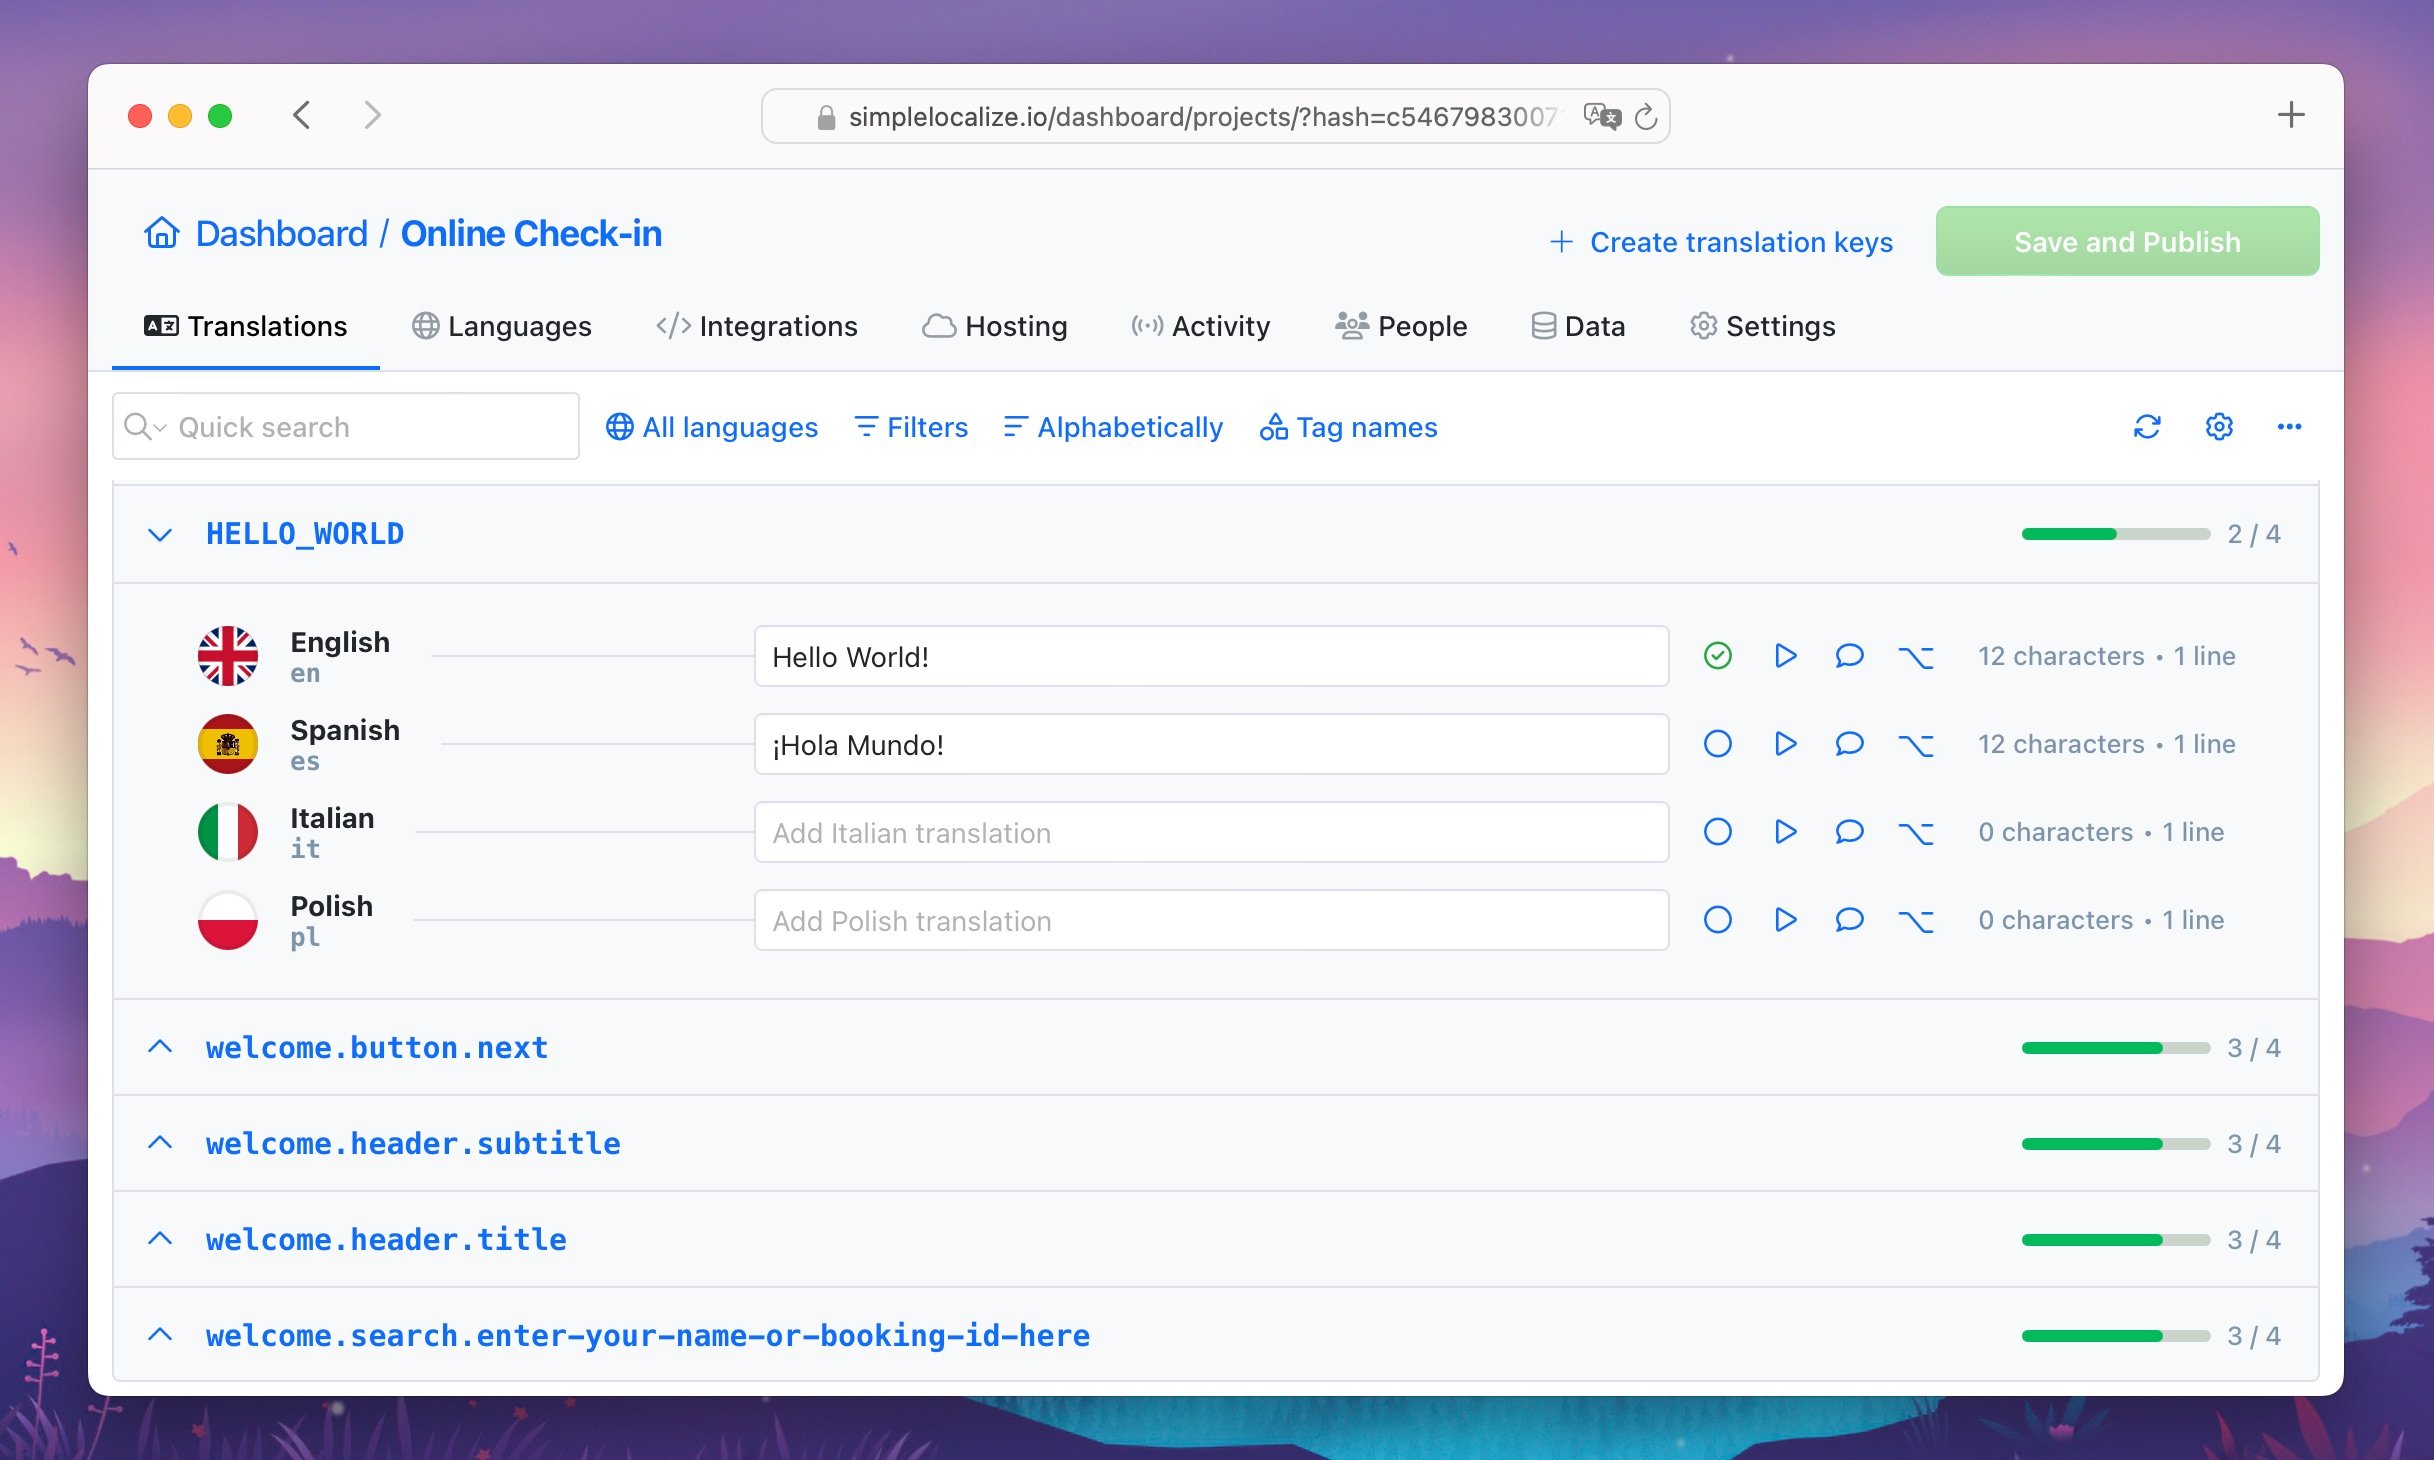
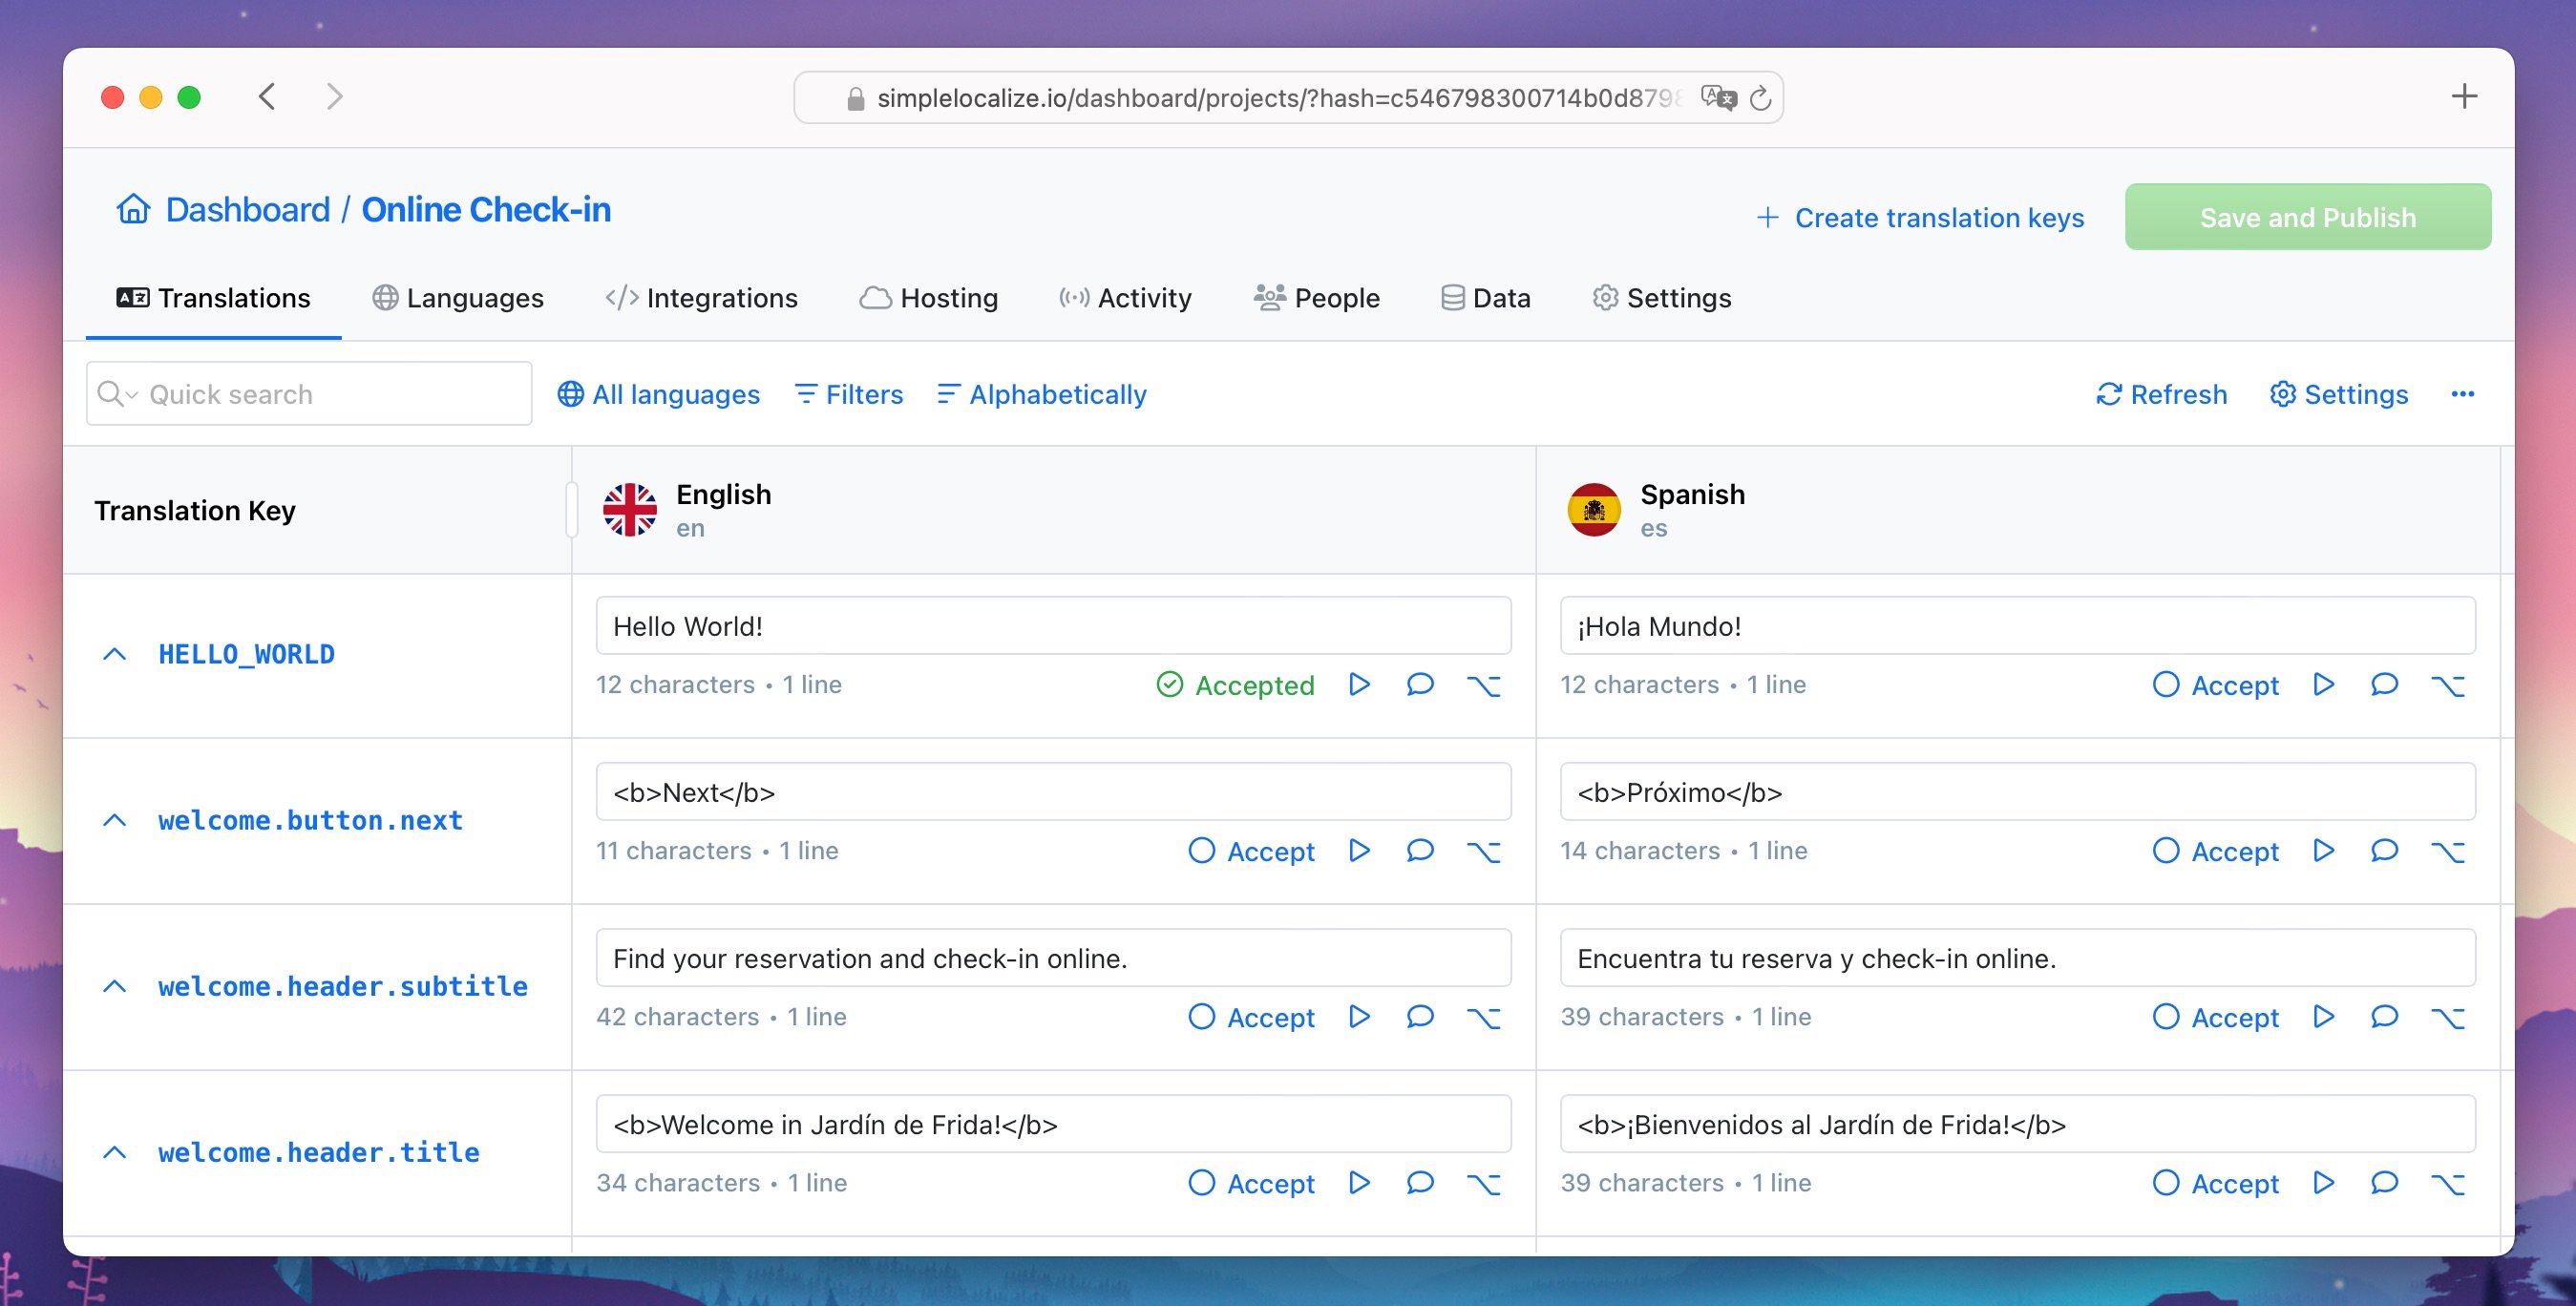
Table View
Table view is a simple spreadsheet-like view. It can store thousands of keys and translations in multiple languages. To start translating, click on the translation input and type in the translation.
Learn more about adjusting the view settings in the View settings section.
View settings
The options listed below are used in all editor views. SimpleLocalize will remember your preferences and on subsequent logins the editor will open with your previously saved settings. Use options below to customize translation editor to your needs and preferences.
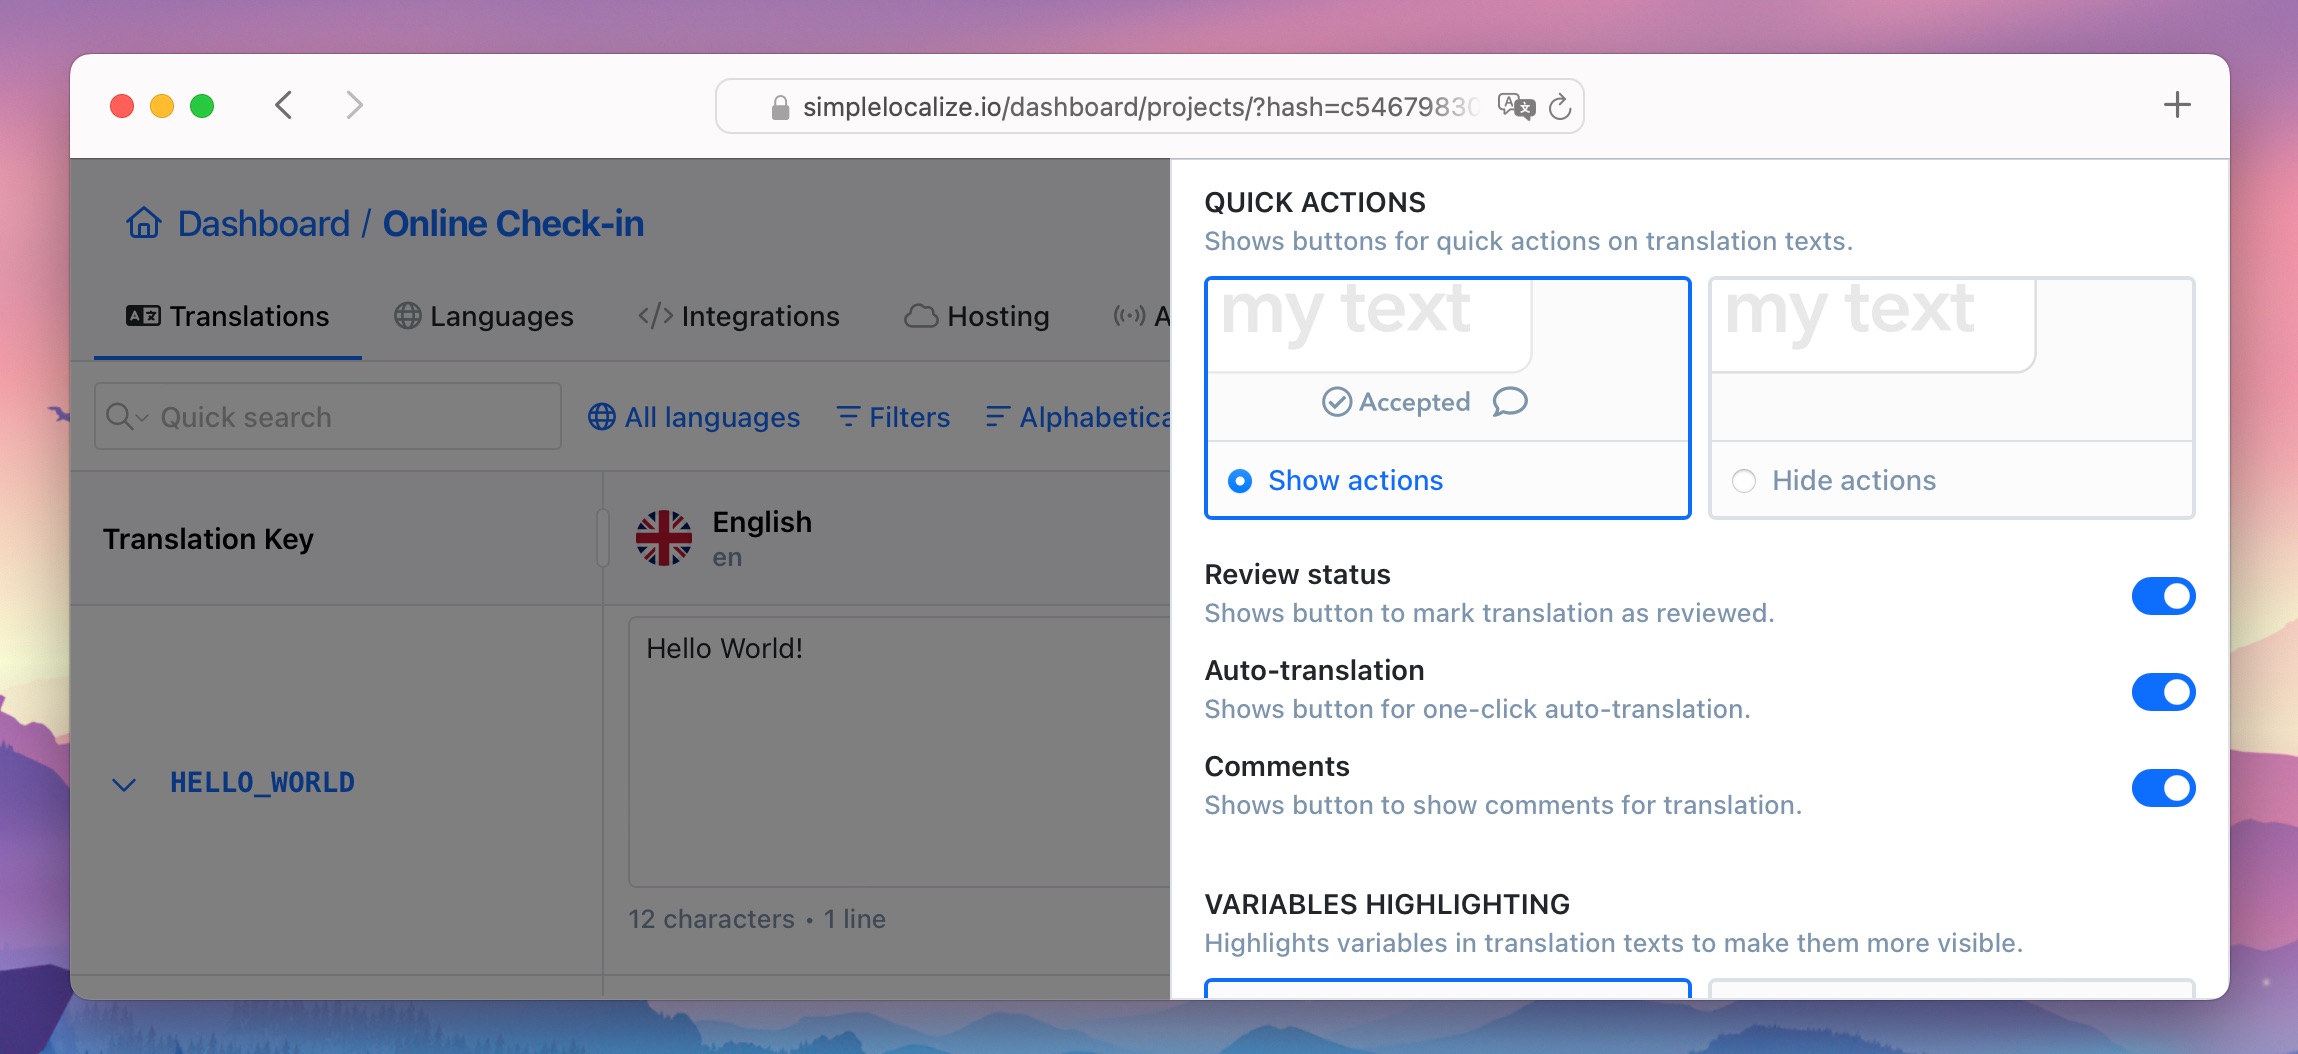
Quick actions
Decide which quick actions you want to see in the editor. You can choose from the following options:
- Review status – mark the translation as reviewed or not reviewed
- Auto-translation – translate the key automatically
- Comments – add a comment to the translation
Input size
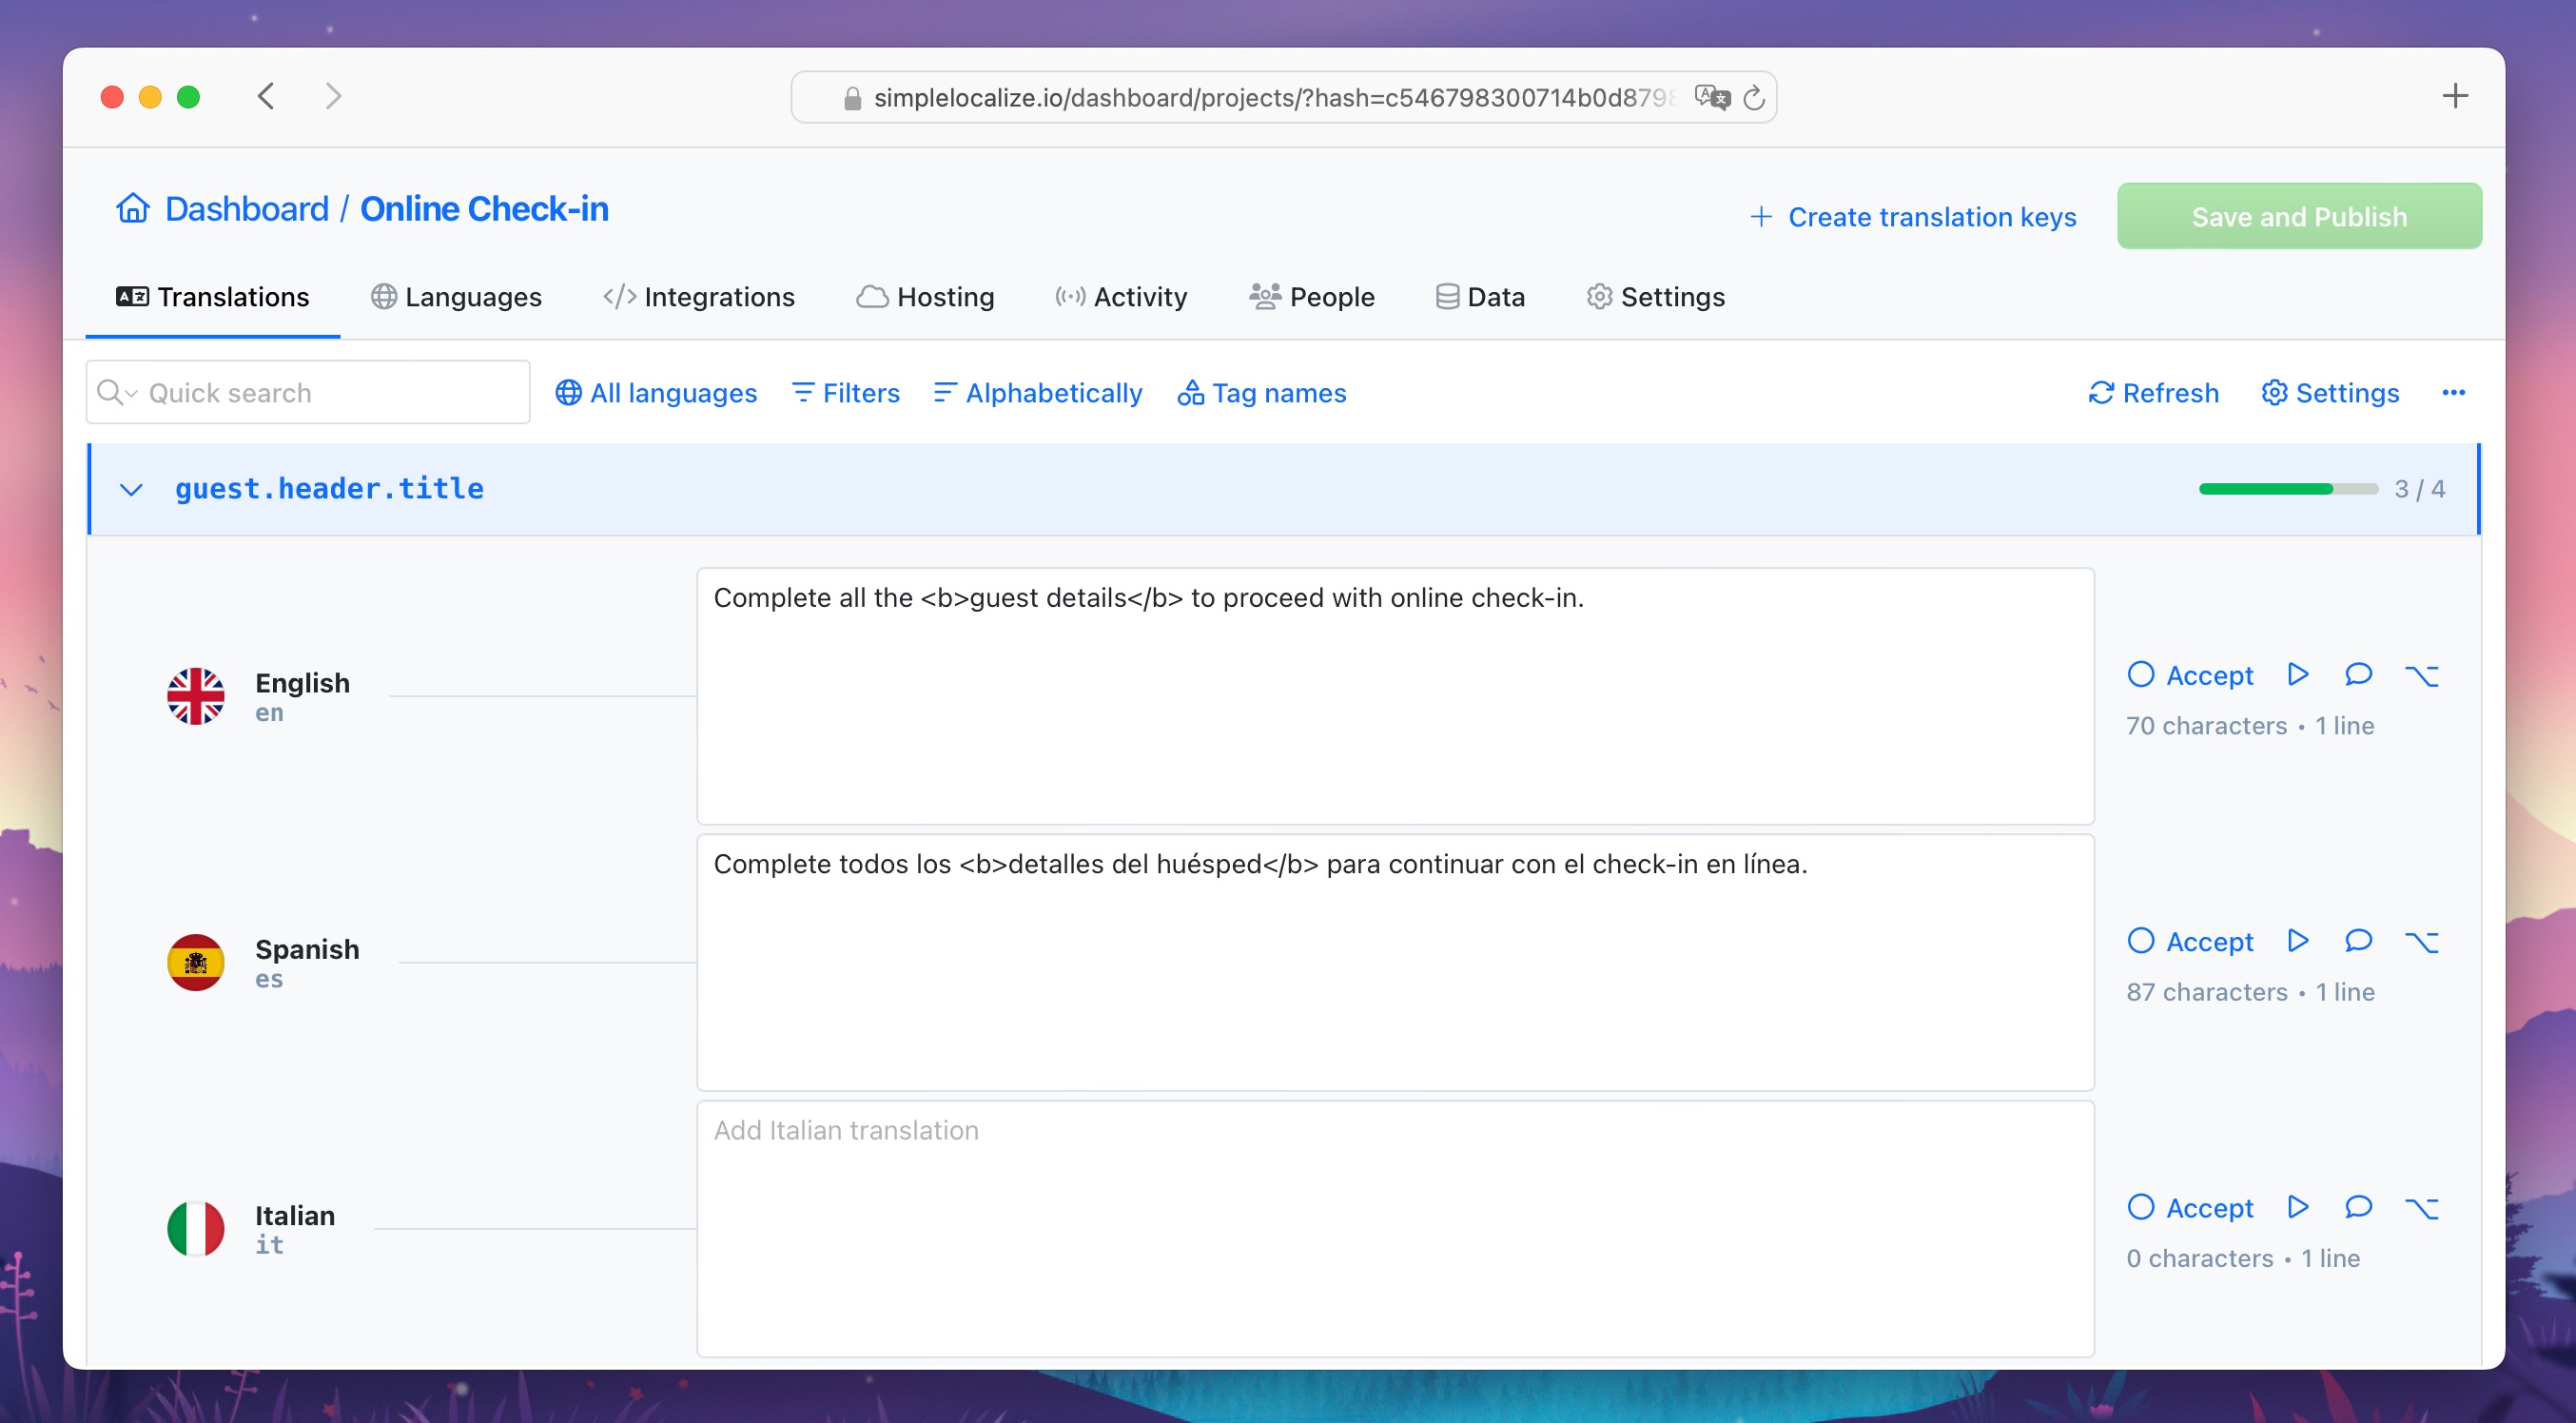
Change the default input size to bigger to work on longer, multi-line texts comfortably. This option appears by default in list views.

Here you can see the bigger input size in the list view with extra translation actions buttons.
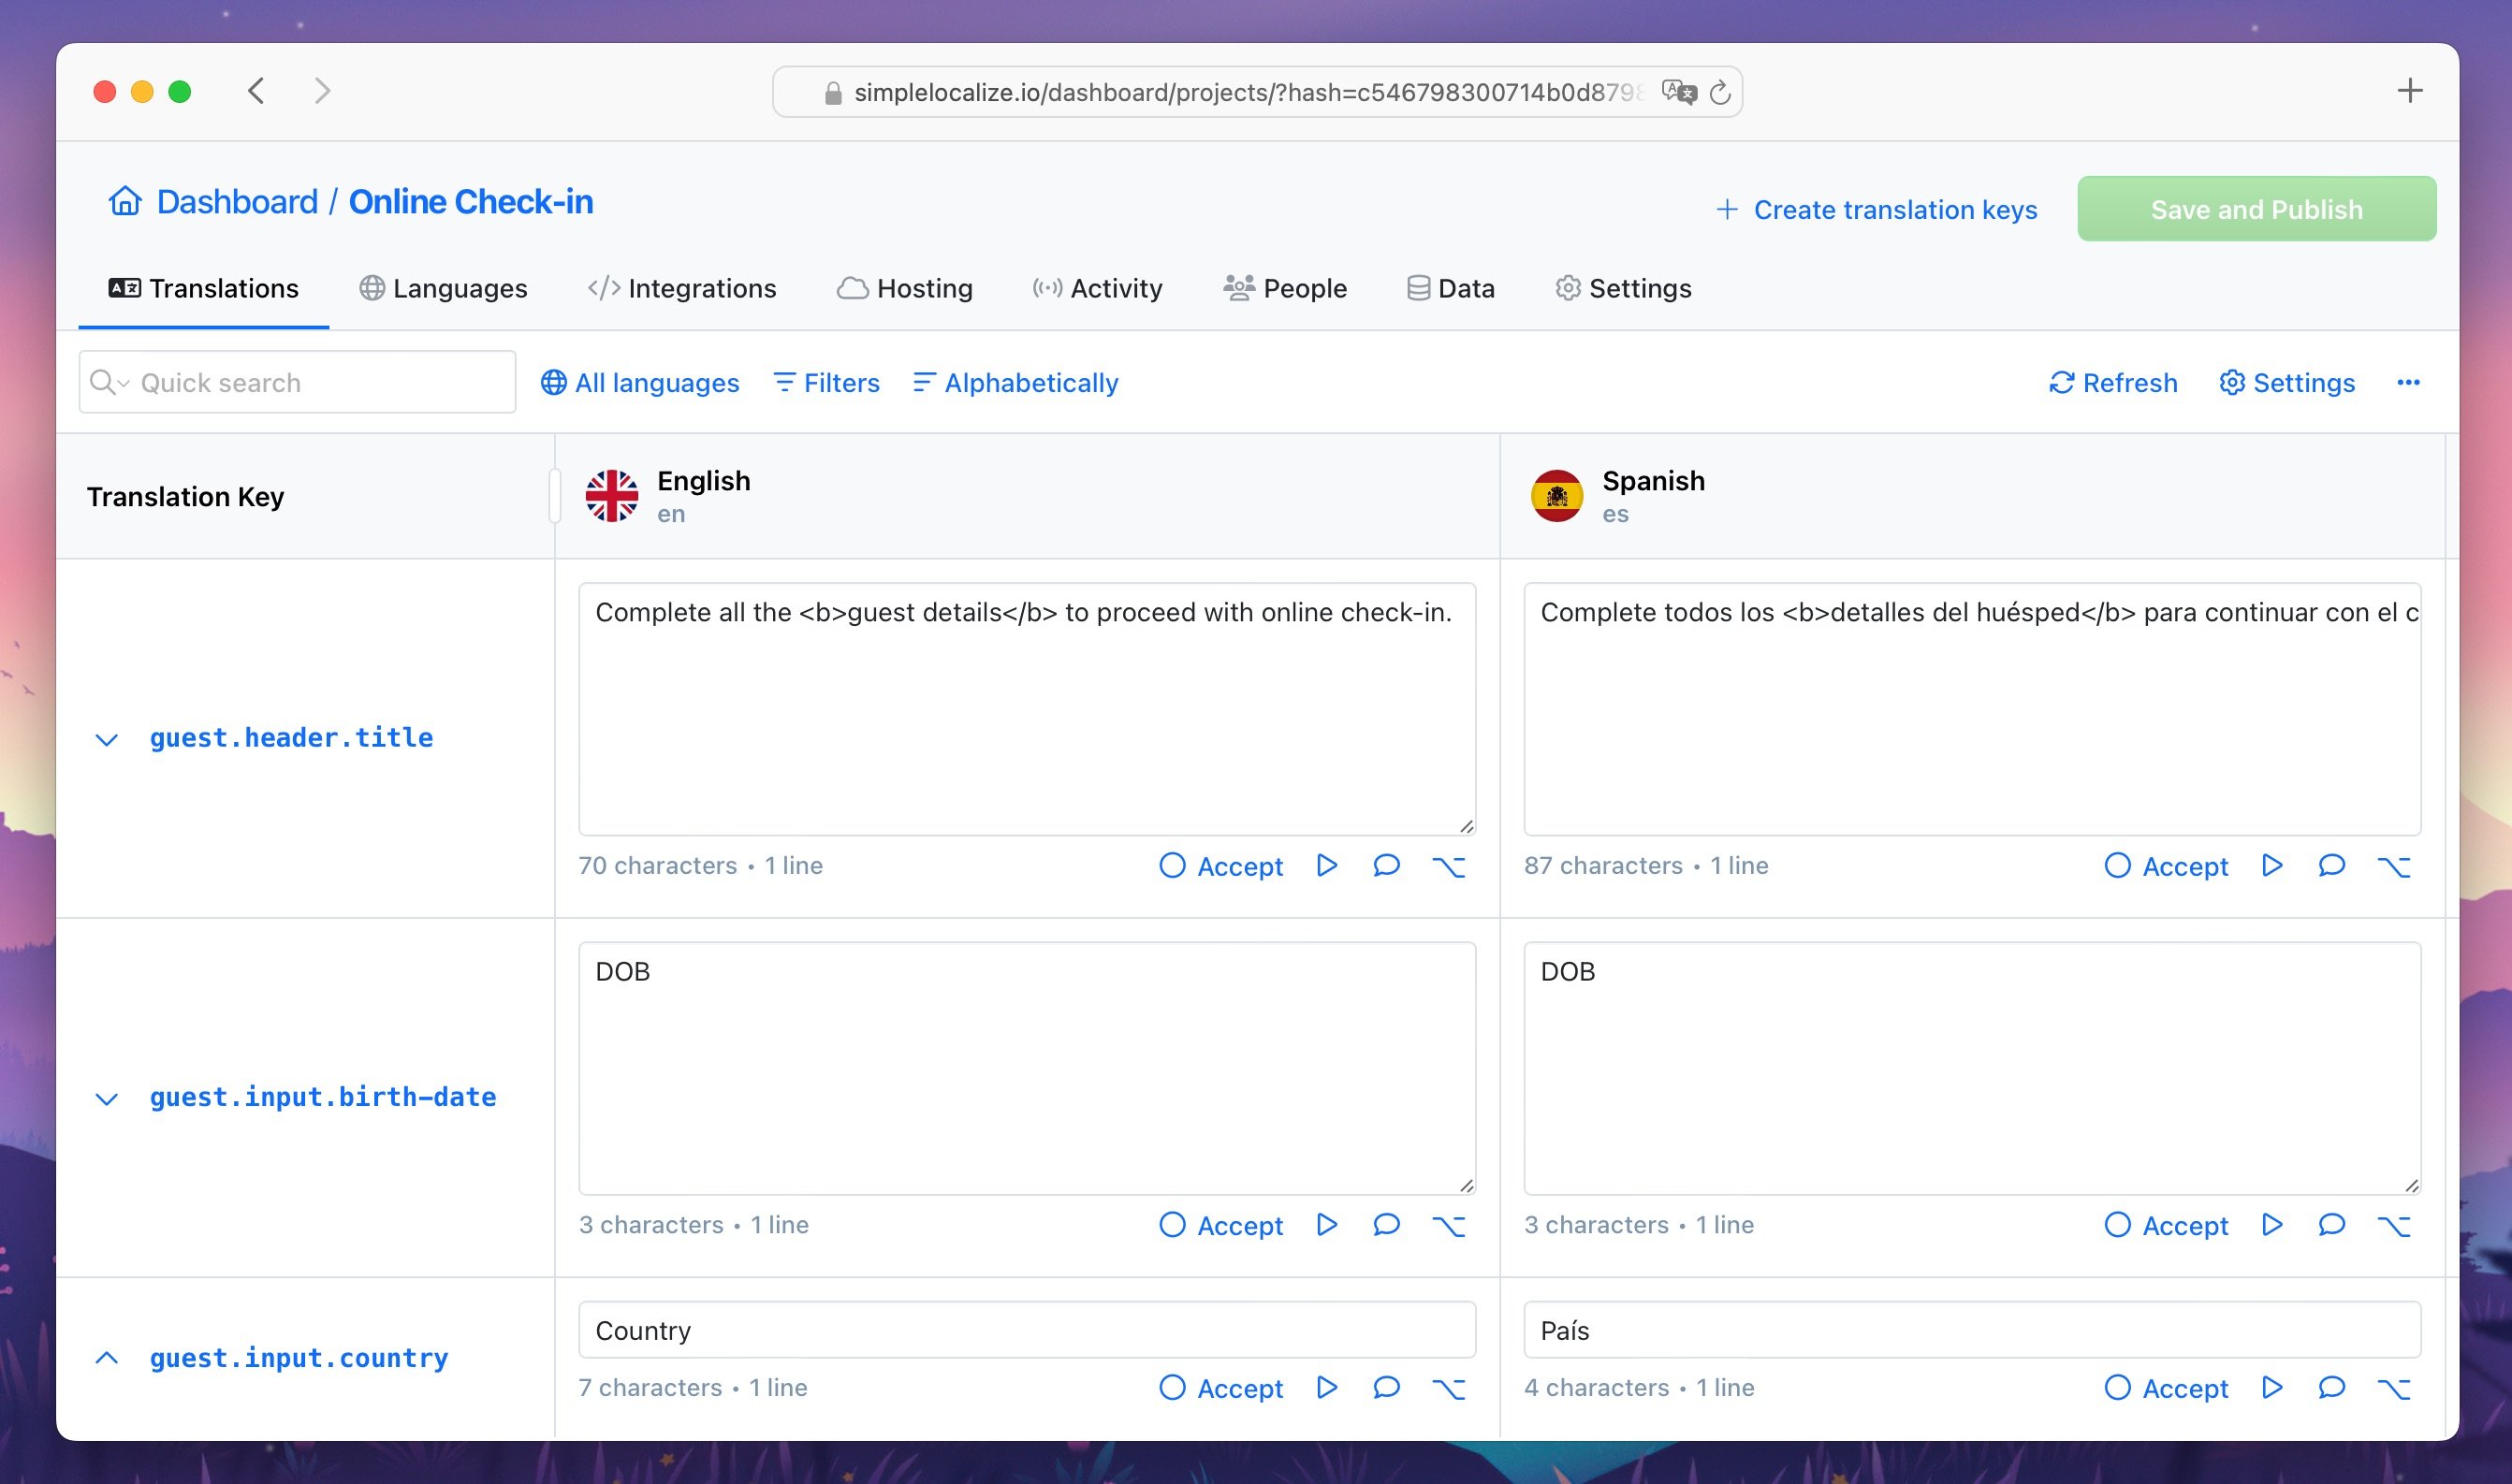
To expand the key view and see larger input in Table View, click on the key. You will also be able to adjust the input size manually.
Automatic text wrapping
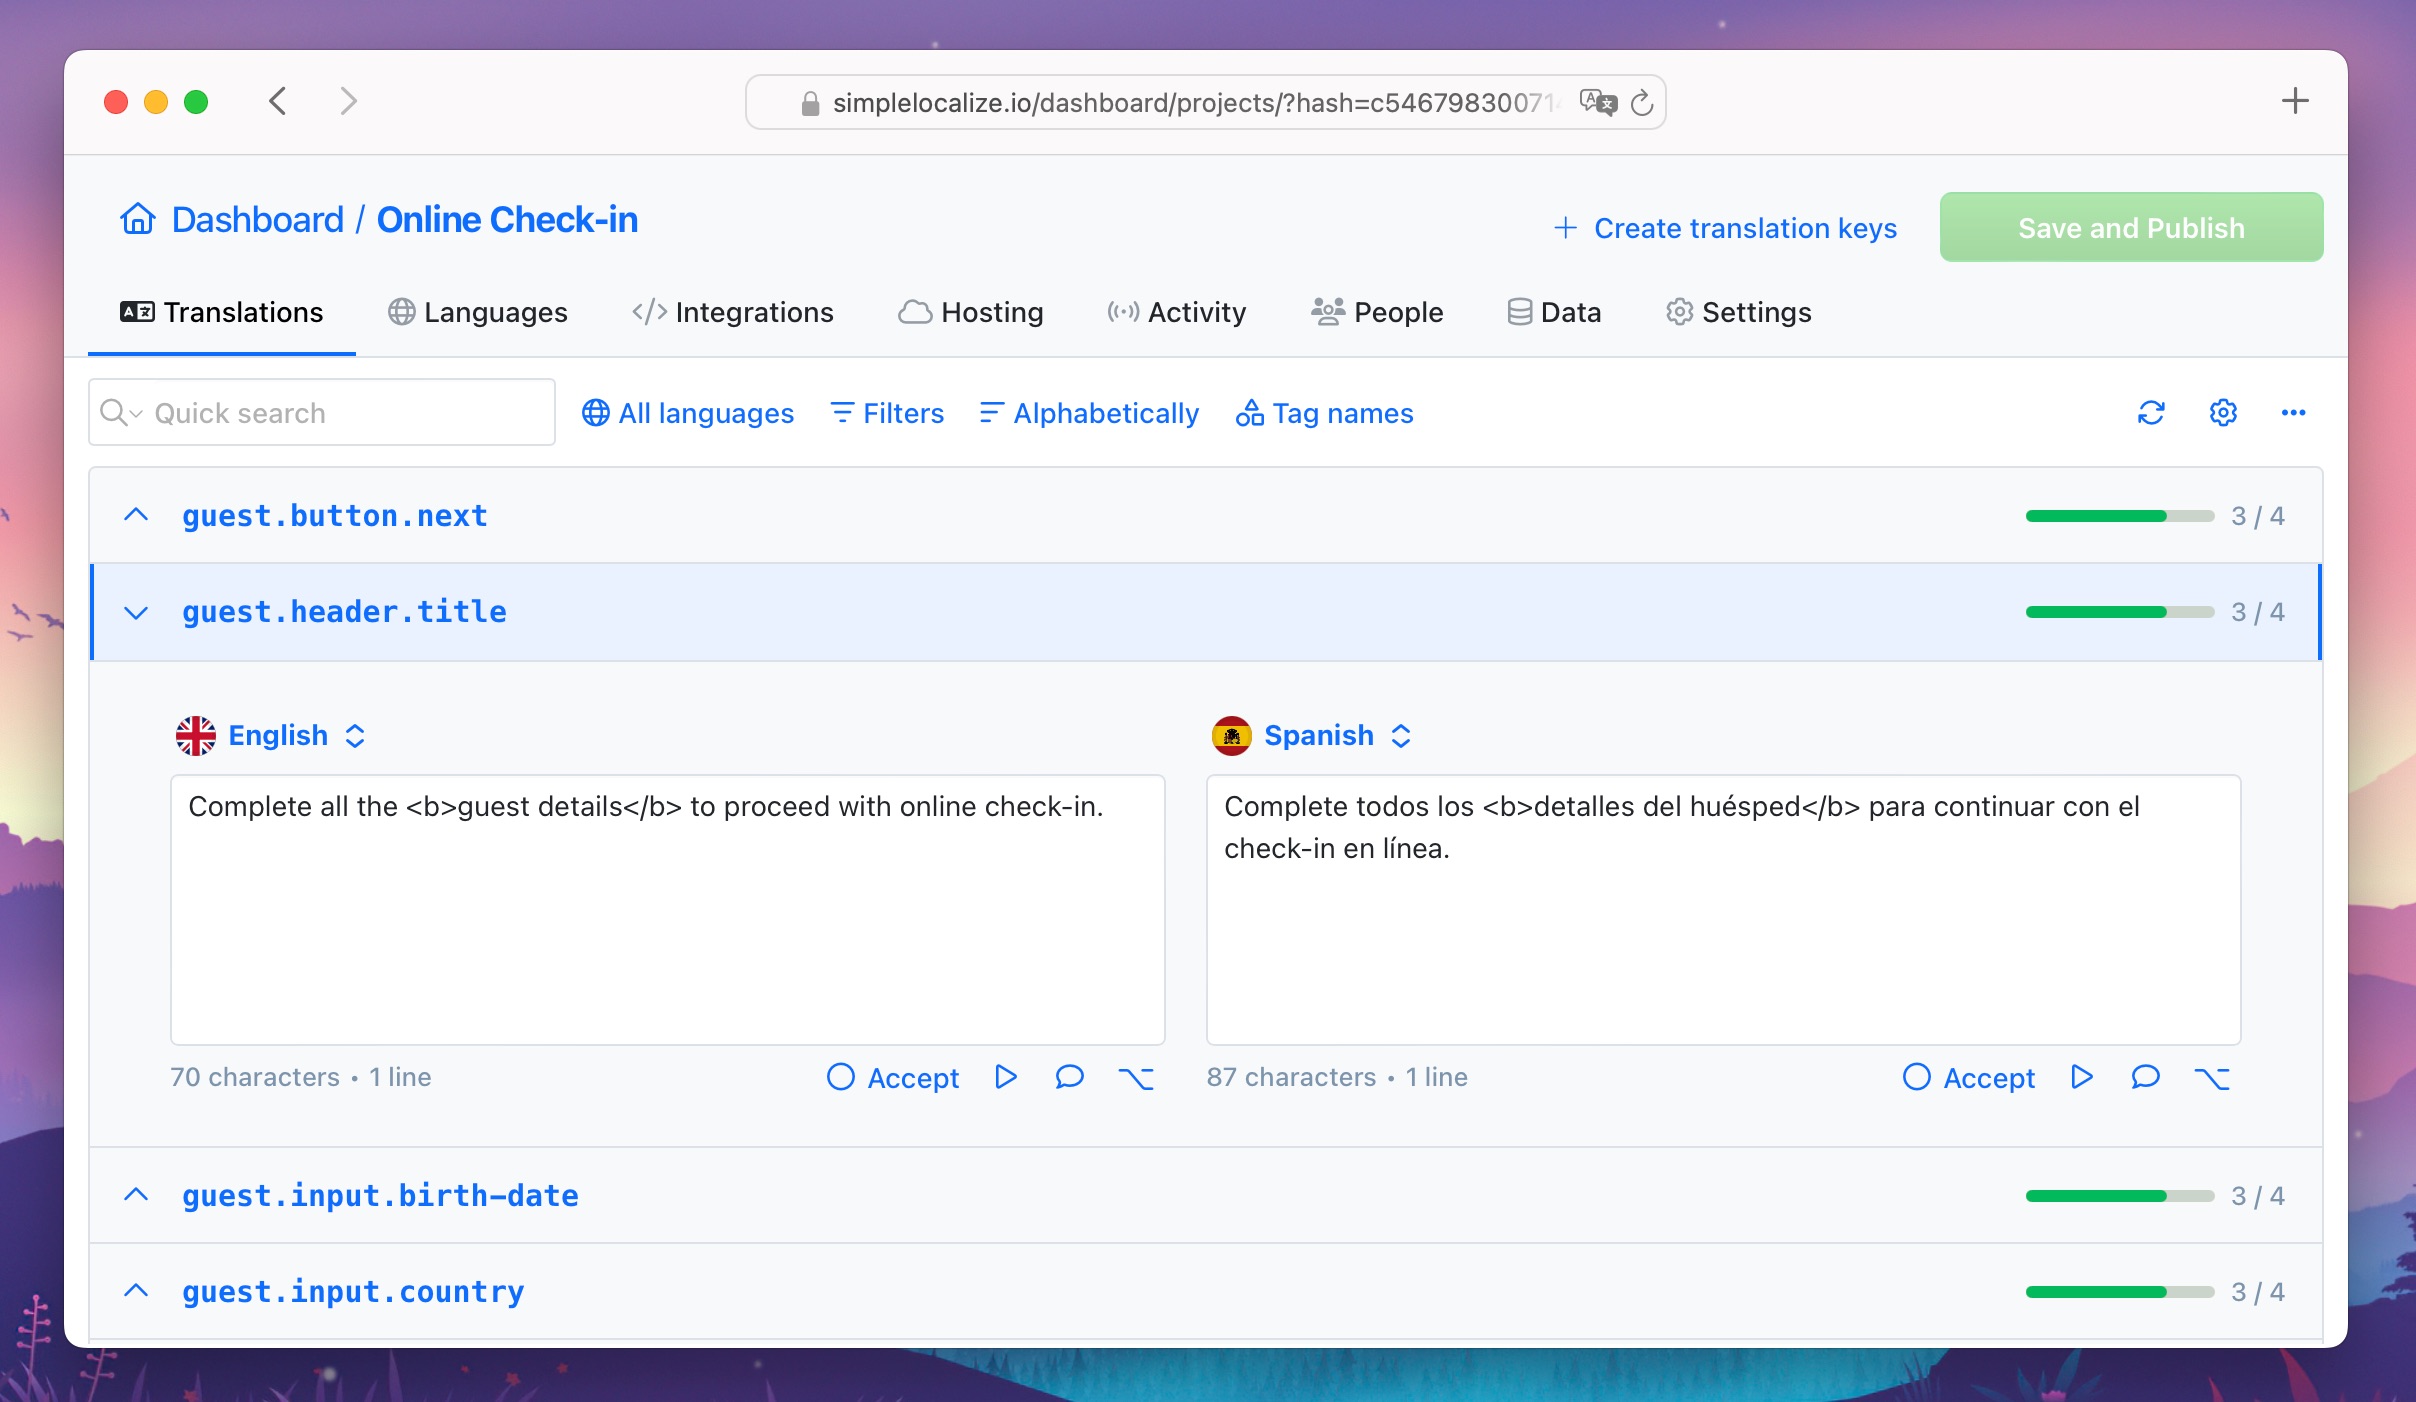
This option will wrap your multi-line translations to show the whole text within the input. It works great when used together with a bigger input size option to display the entire longer text in one view.

In the example below, you can see the automatic text wrapping option enabled in Side-by-Side view with expanded key view.
Translation text summary
Use this option to show the number of characters, words, whitespaces and lines in your translation. It helps to keep similar translation length and style in different languages.

The translation text summary will show up near the translation input in each view of translation editor.
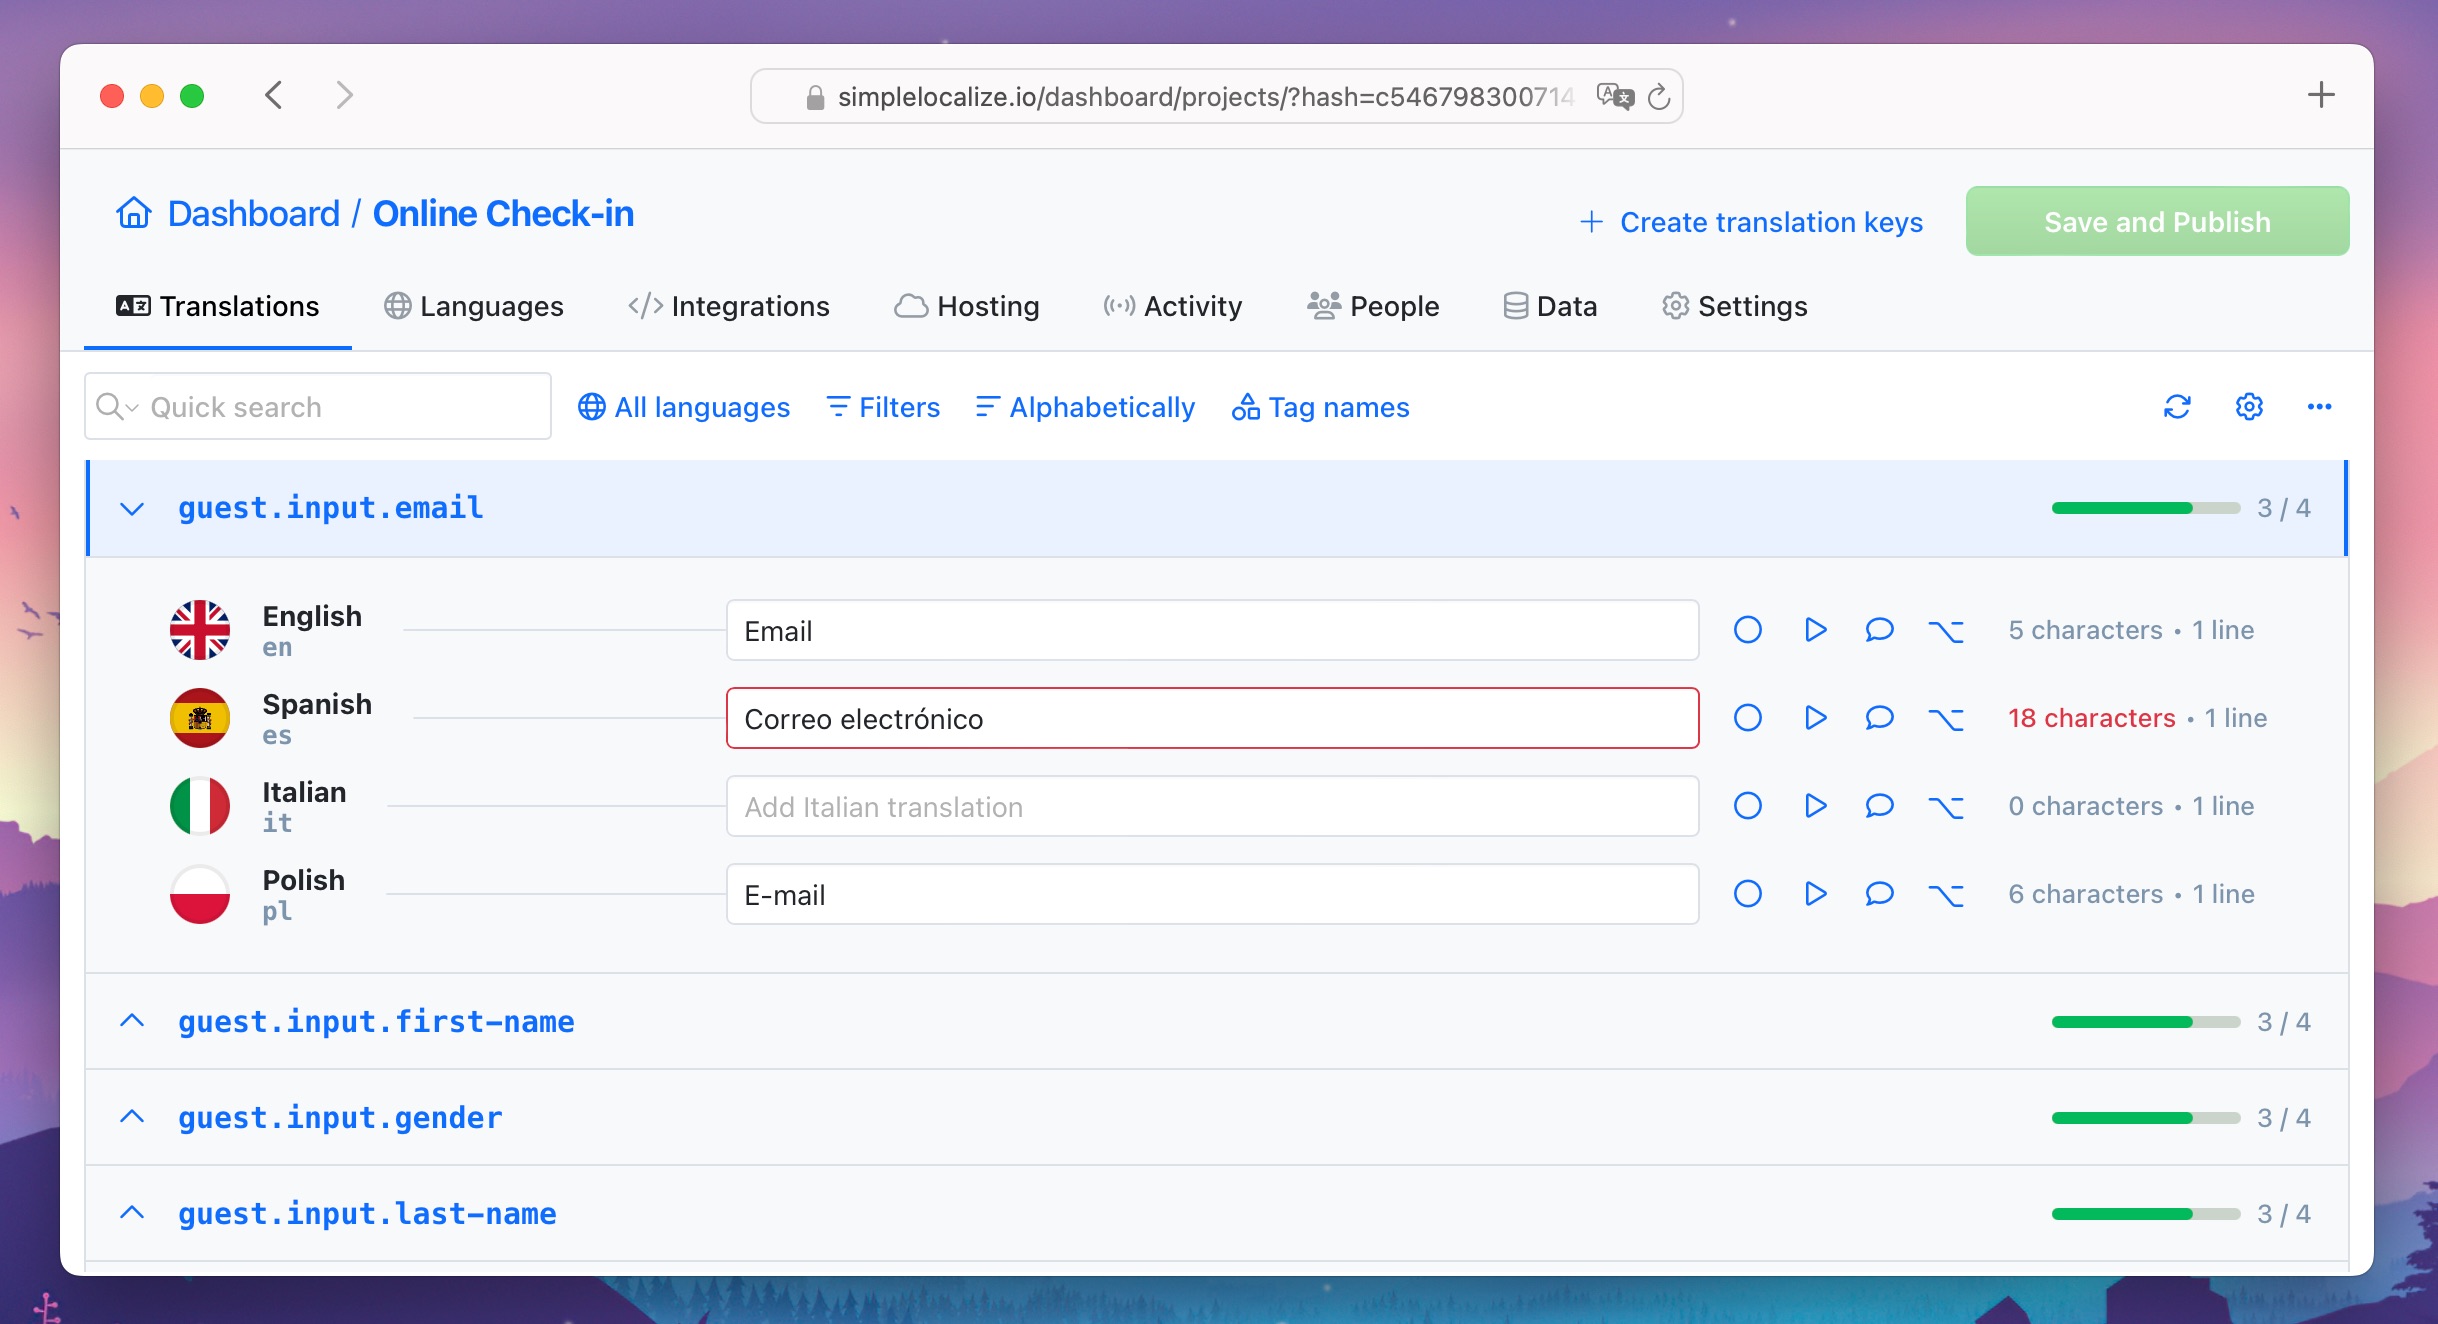
You can set the maximum number of characters in the translation input in the translation key settings.
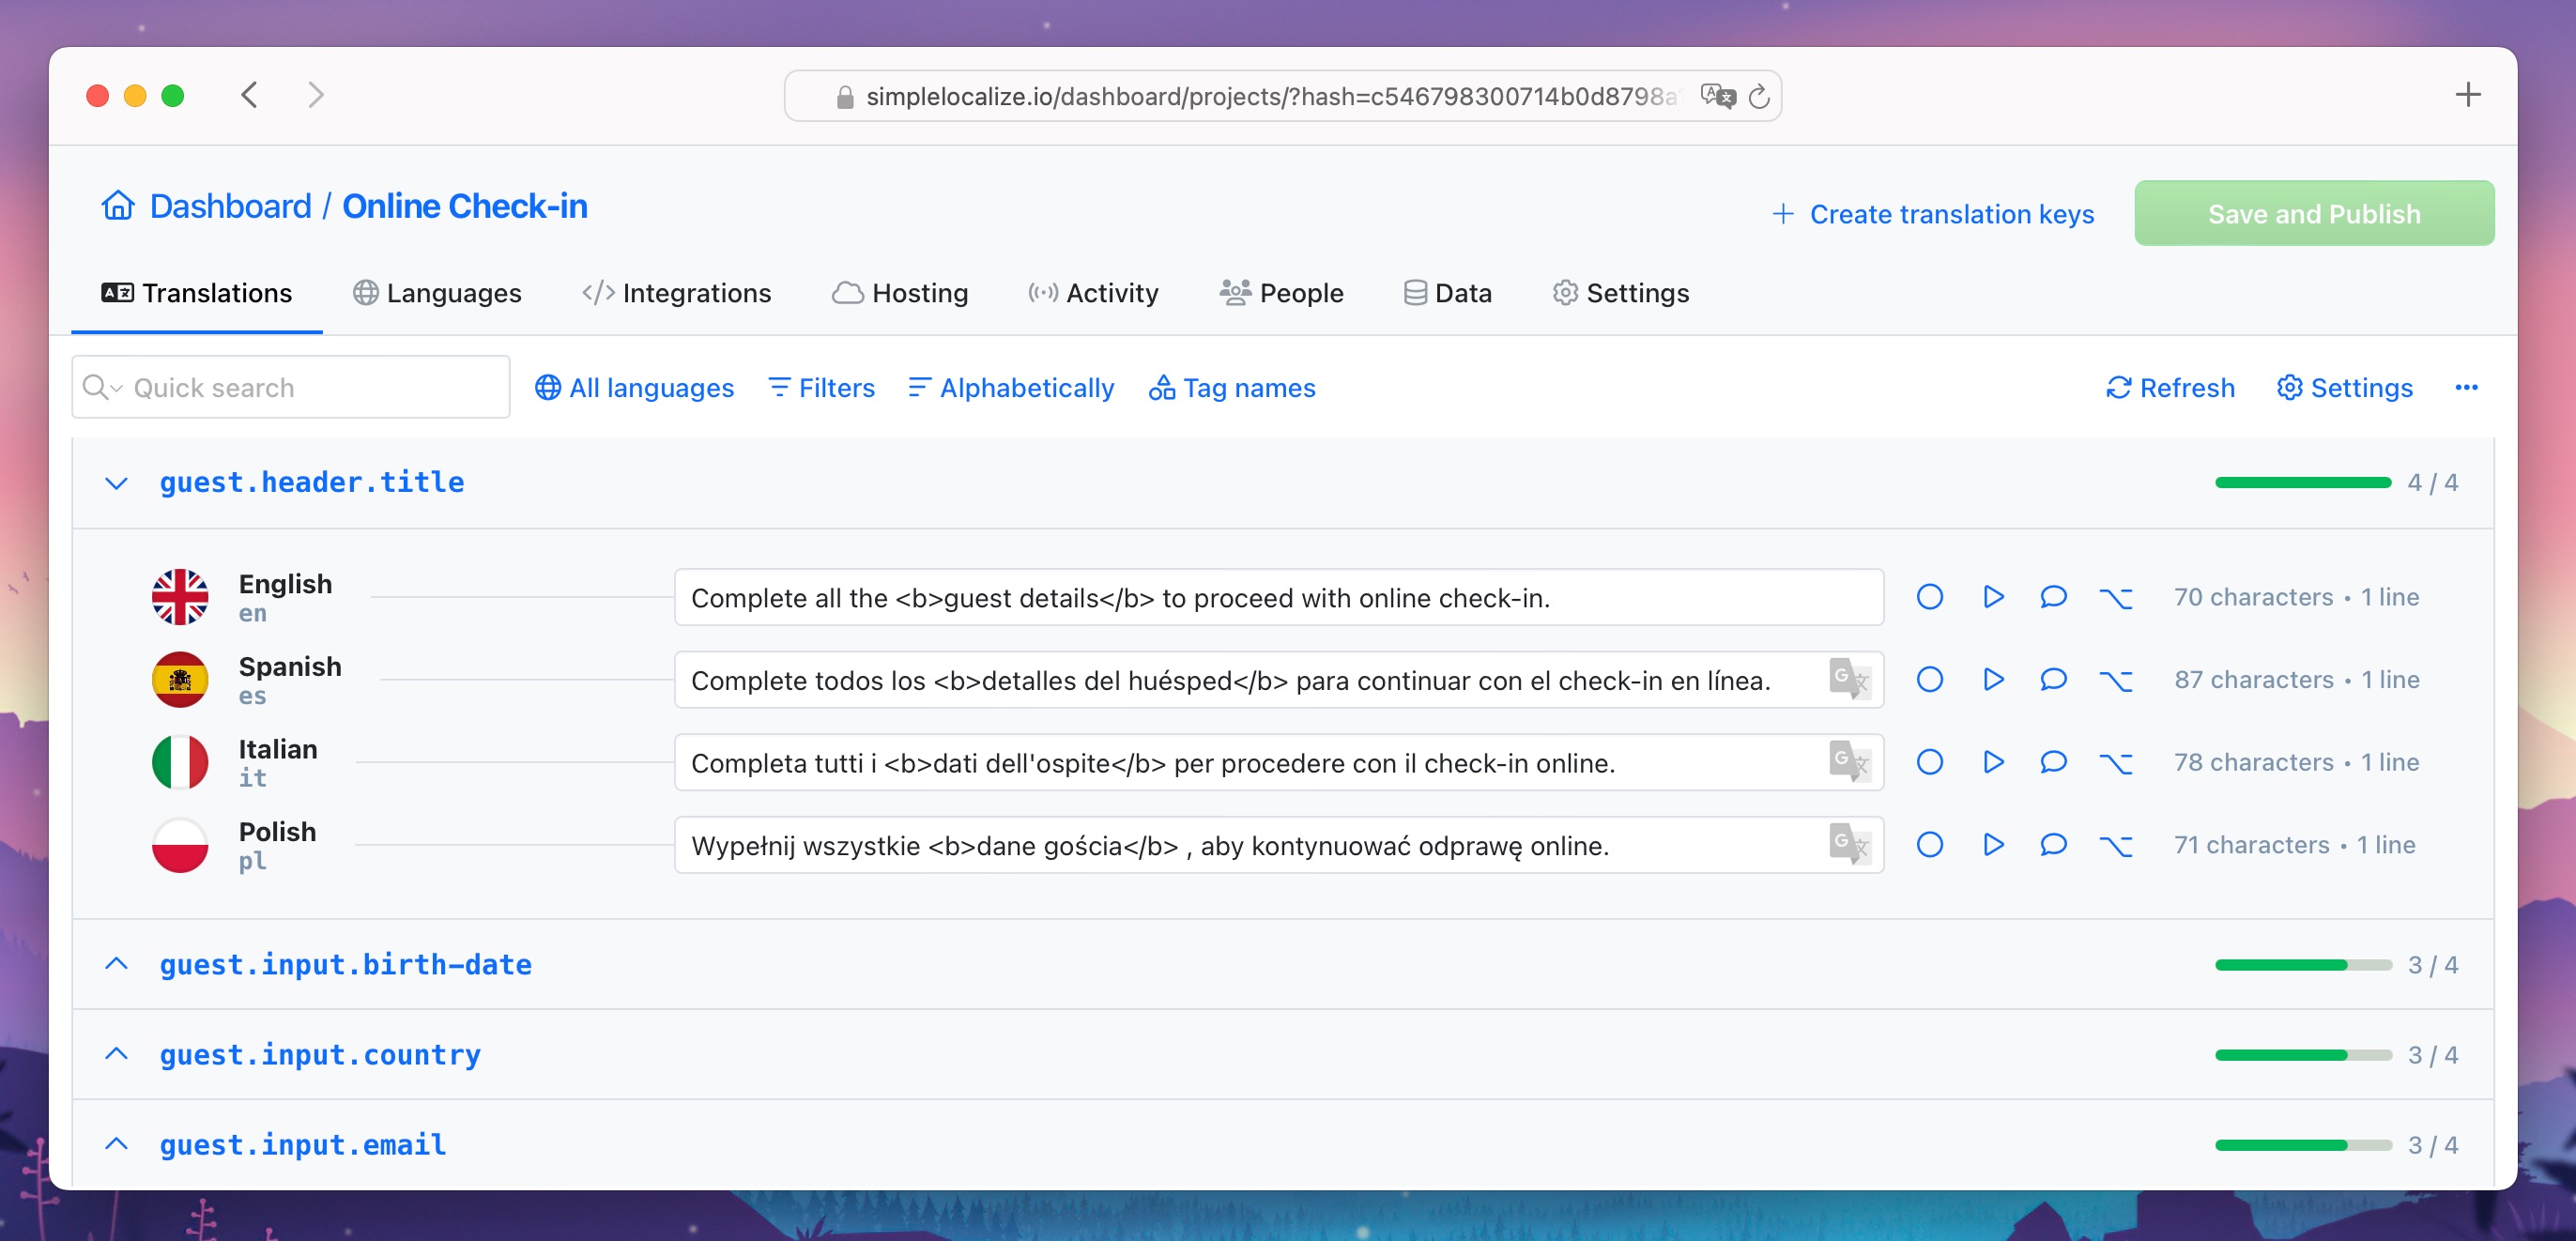
Auto-translation indicator
Use this option to see right away if the key was translated automatically and may require additional review.

The chosen translation service logo, DeepL, Google Translate or OpenAI, will appear in the translation input in all views.
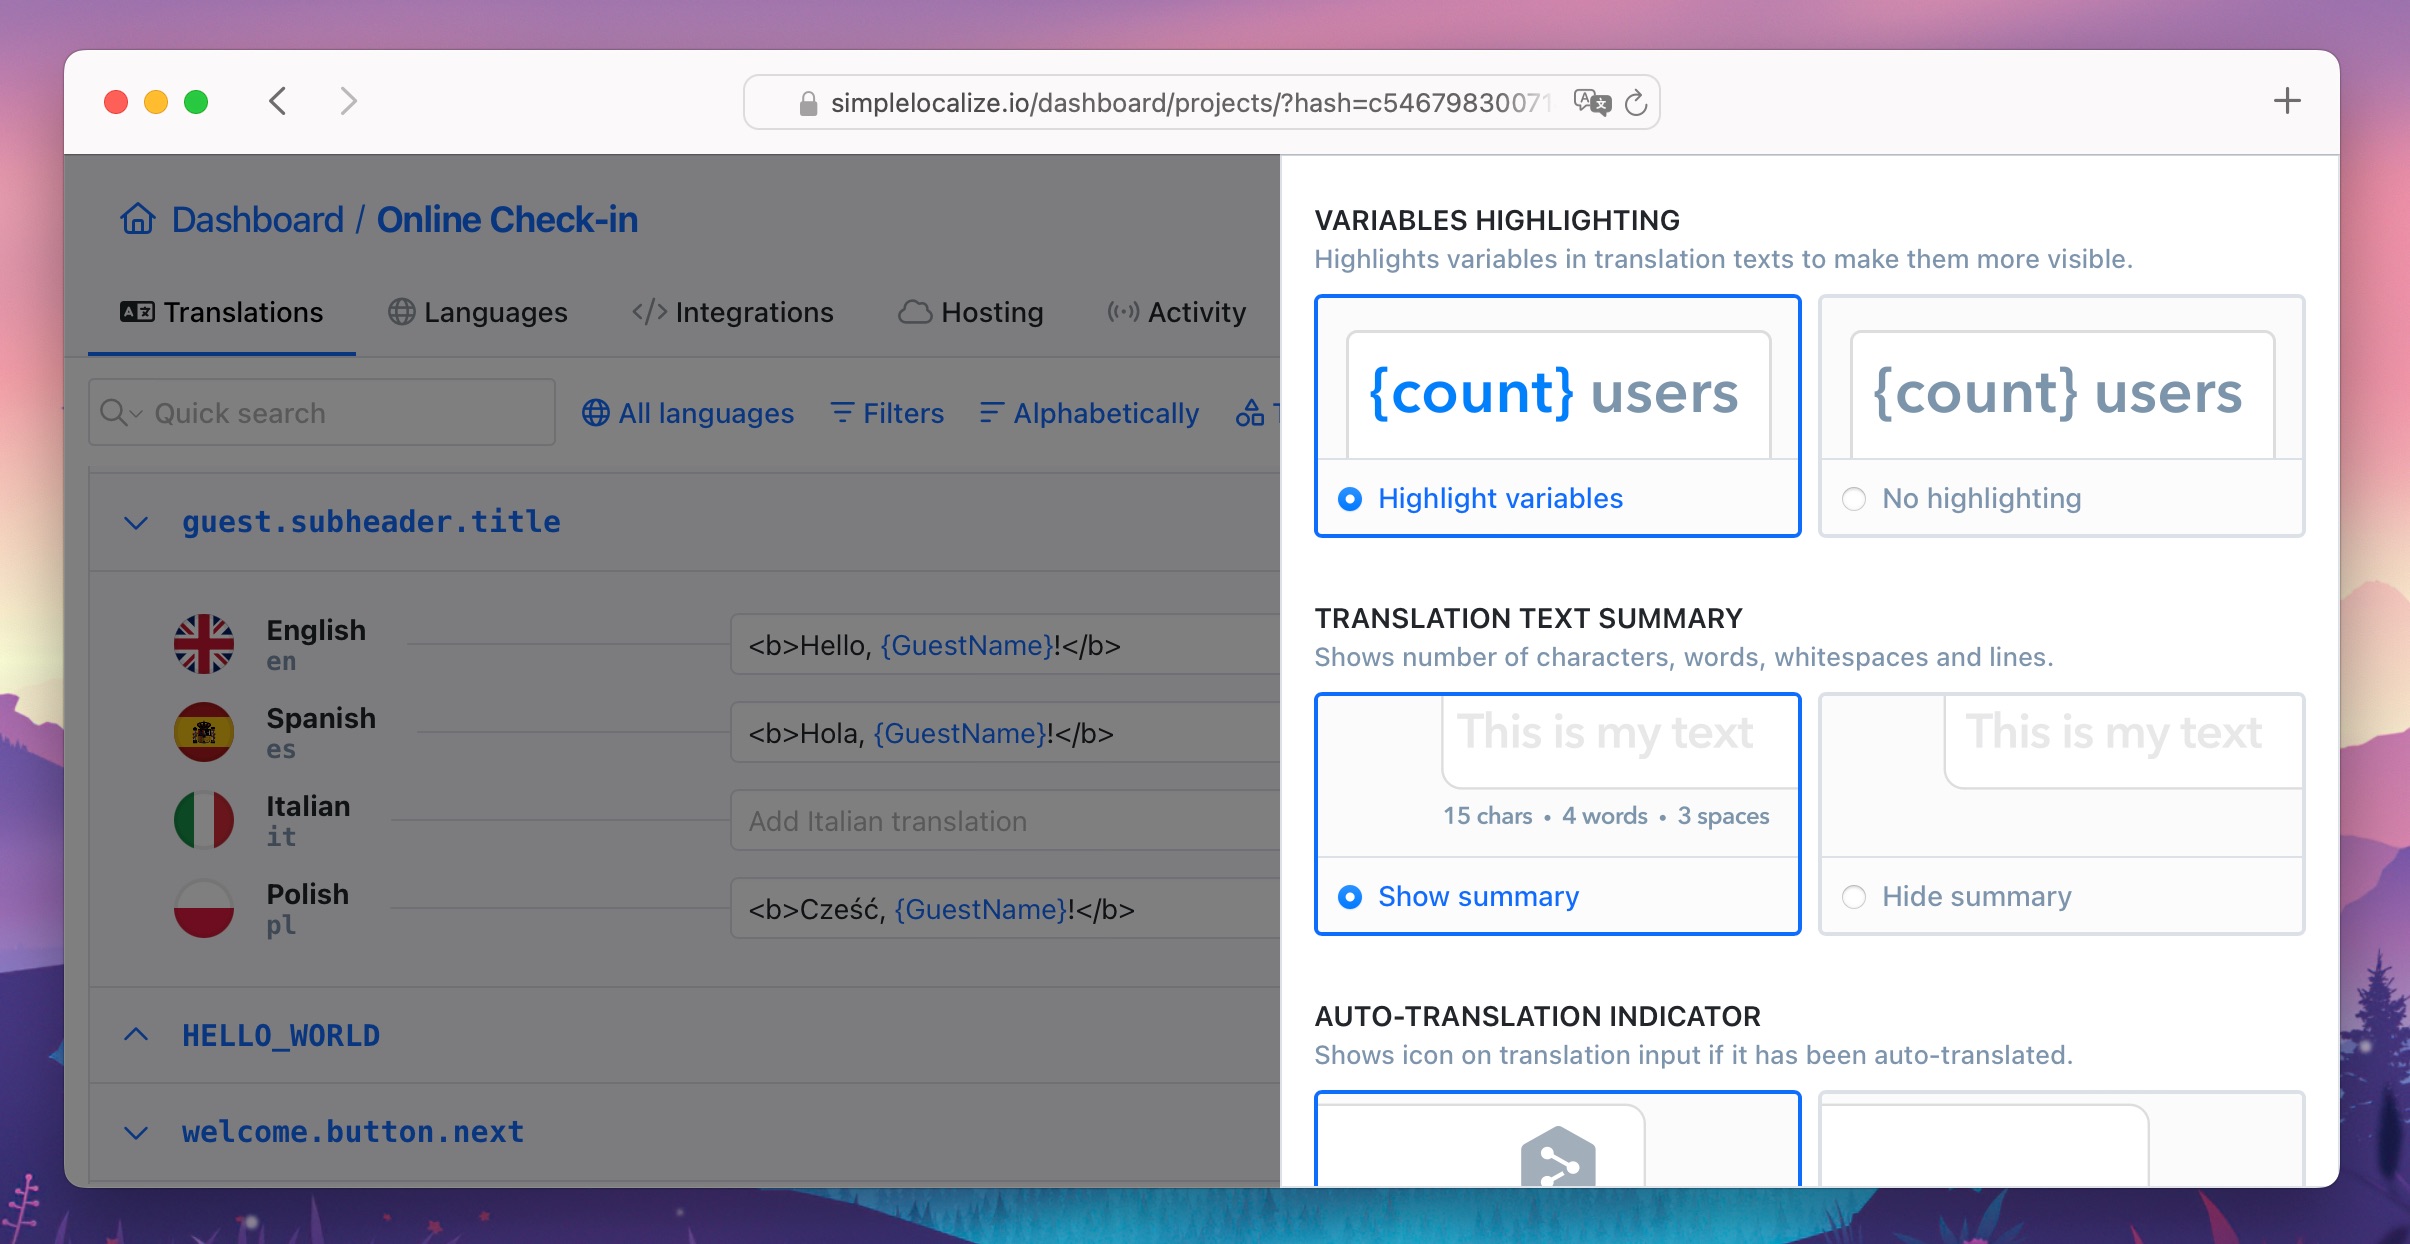
Variable highlighting
This option will highlight variables in your translation text. It helps to keep the correct variable order and type in the translation.
Other settings
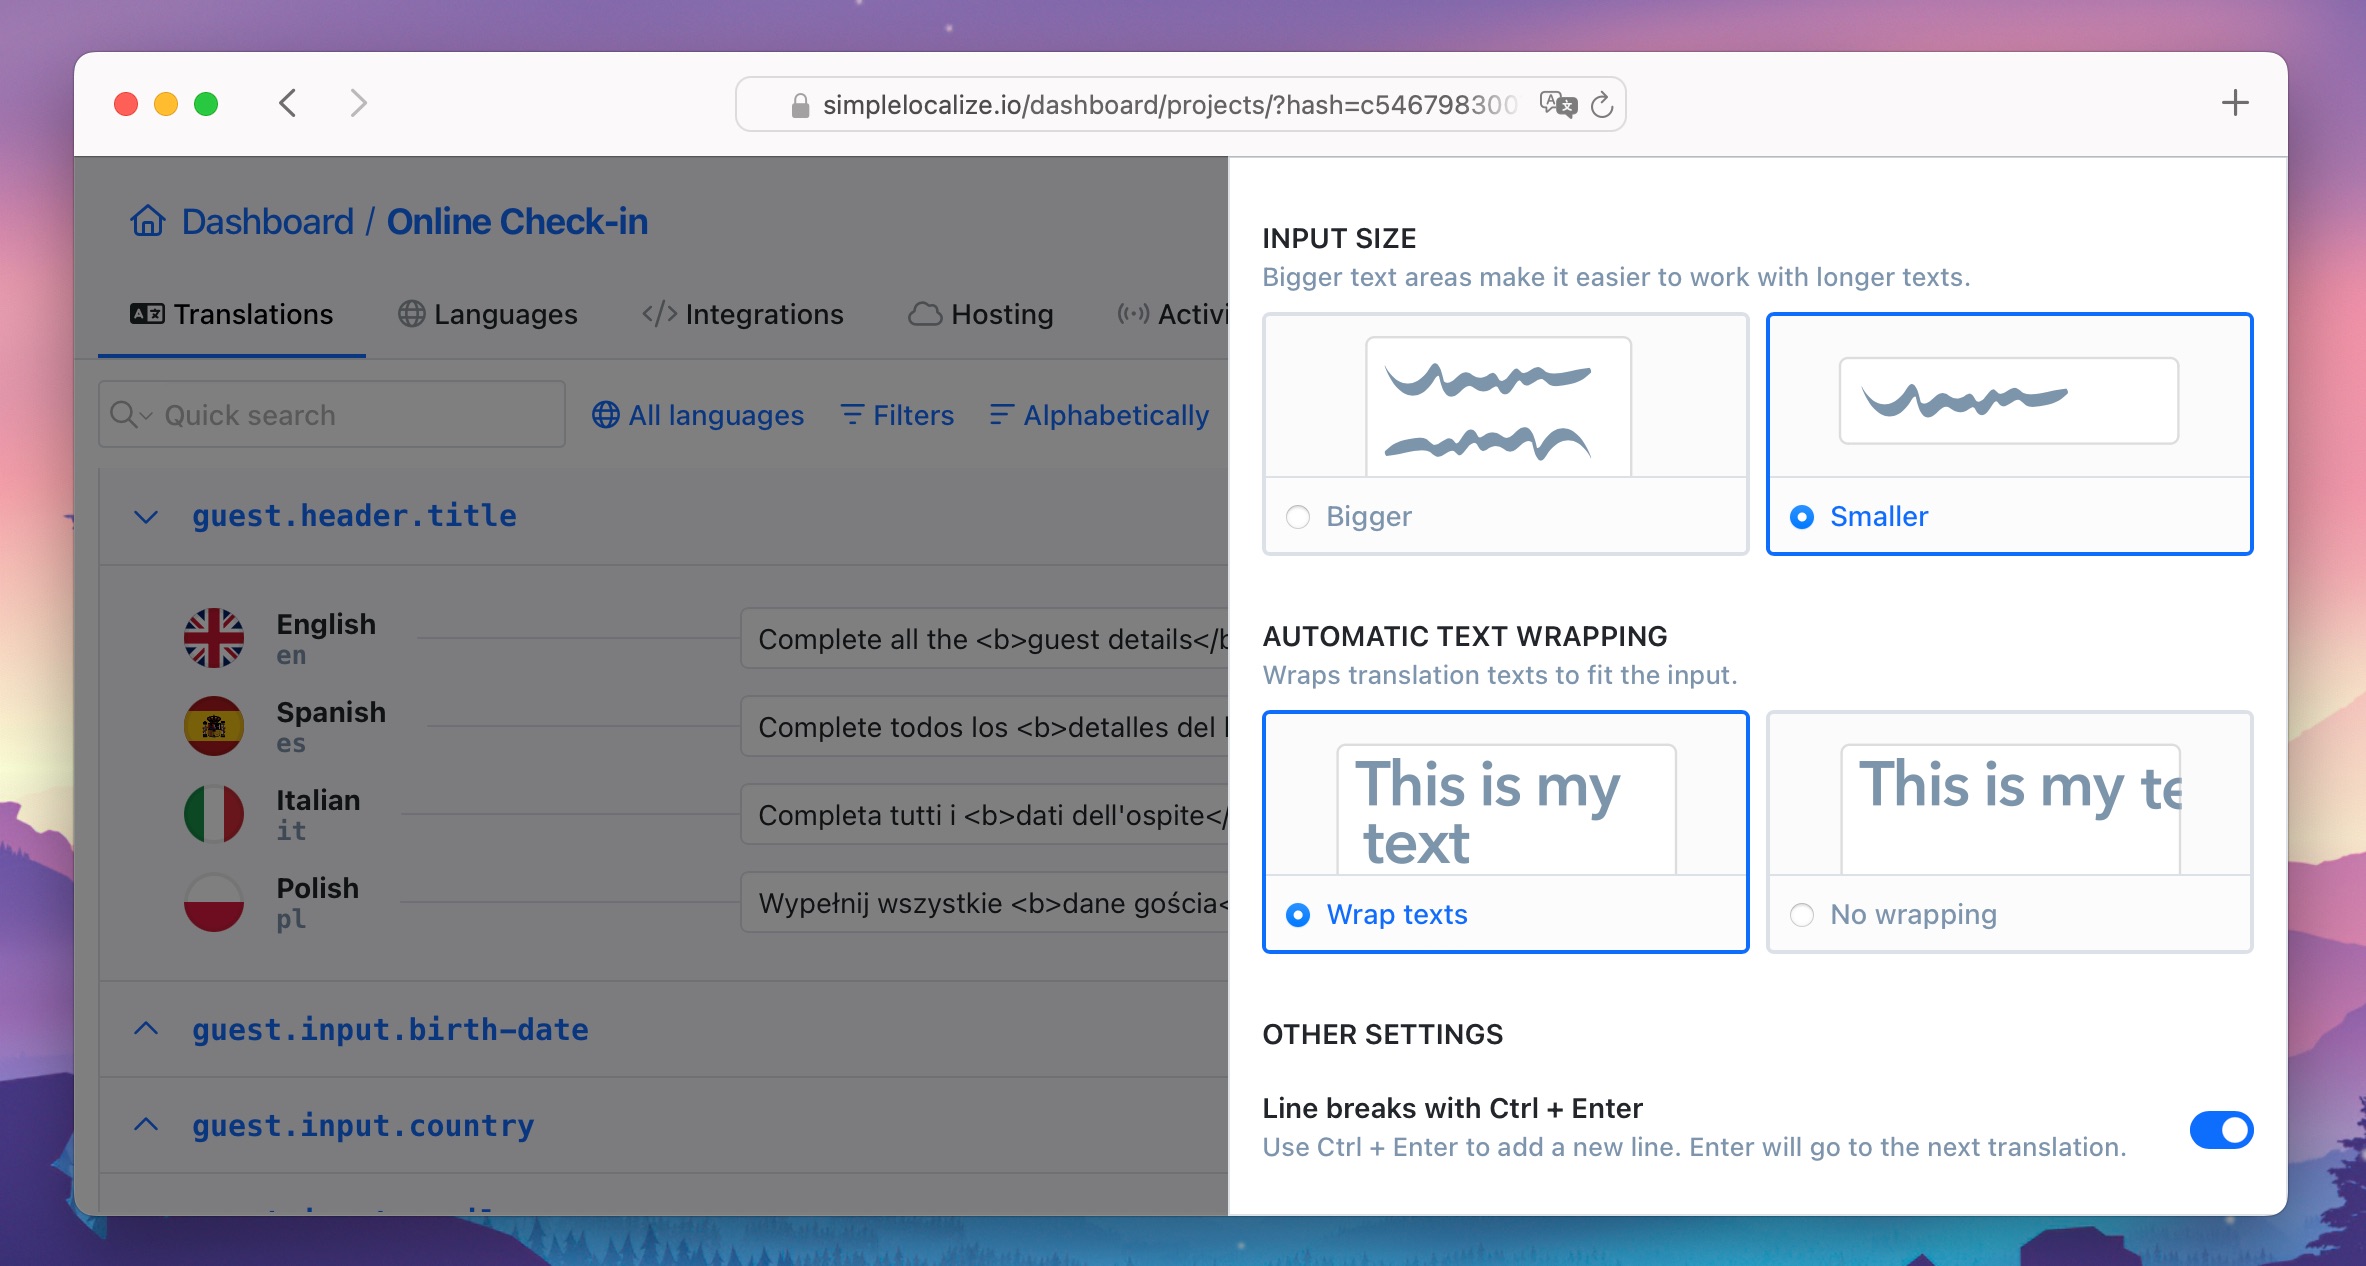
Add line breaks with Ctrl + Enter
This is an extra option that can help translators in their work. Instead of adding a new line in your translation with Enter, use Ctrl+Enter.
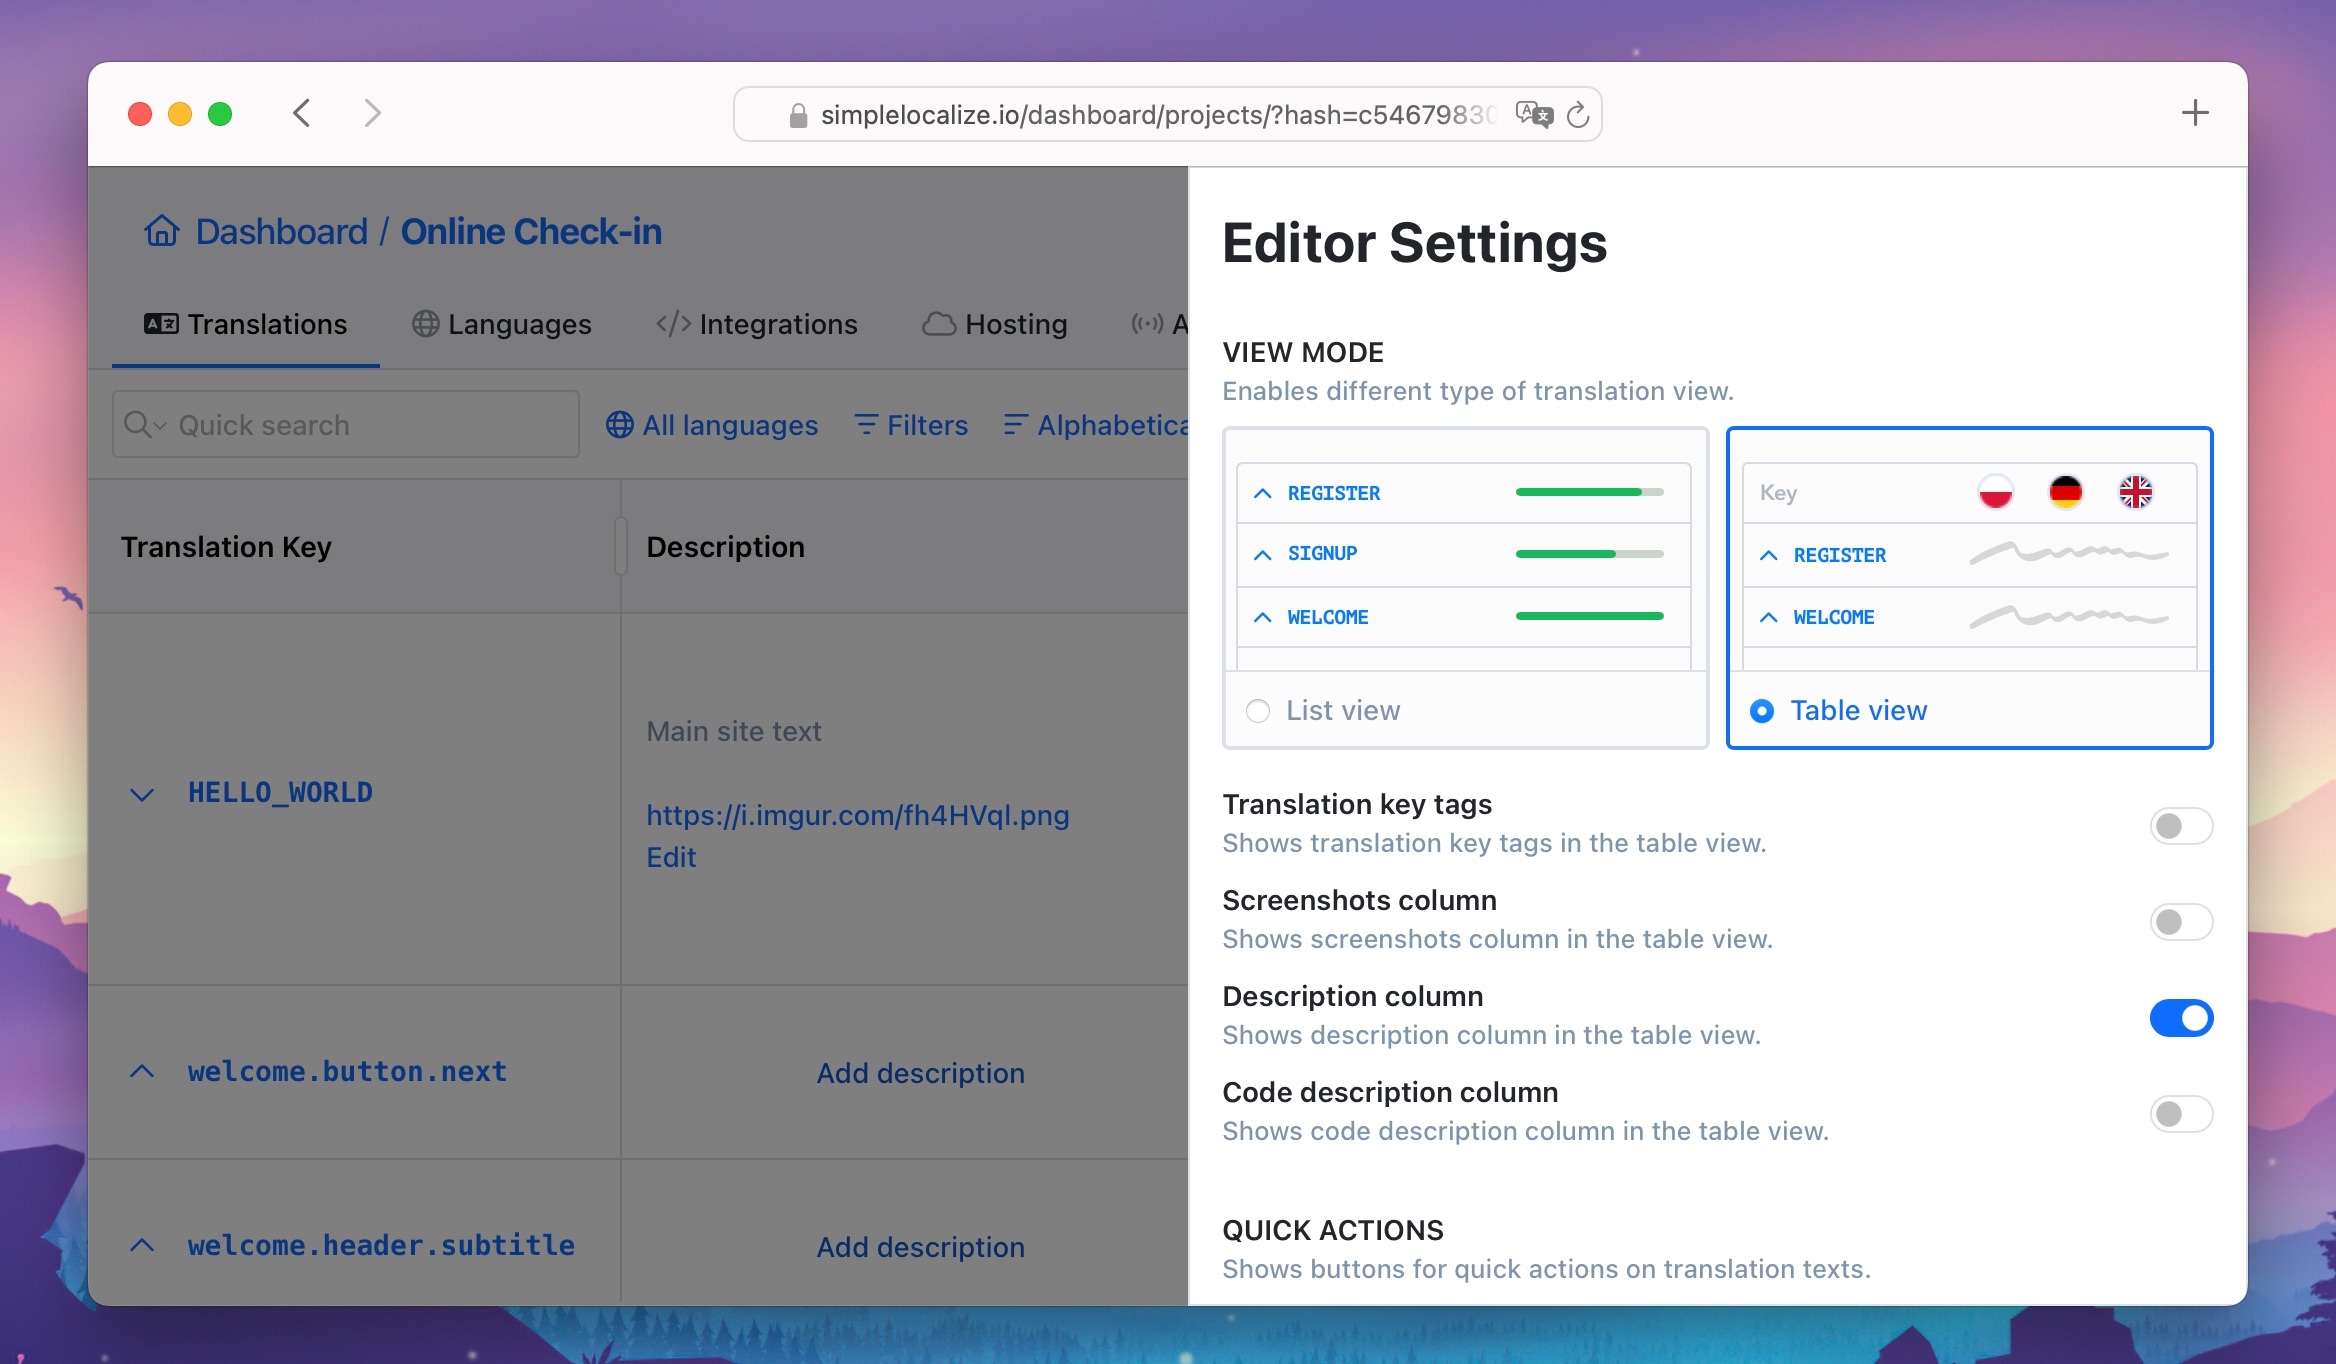
Translation key description
In translation key description, you can add any extra information you want to show to translators. Usually, it is the specific key location. You can use it to add a link with the location screenshot to help to locate the key easily. The link will open automatically in a new tab. This information can be shown in all editor views.
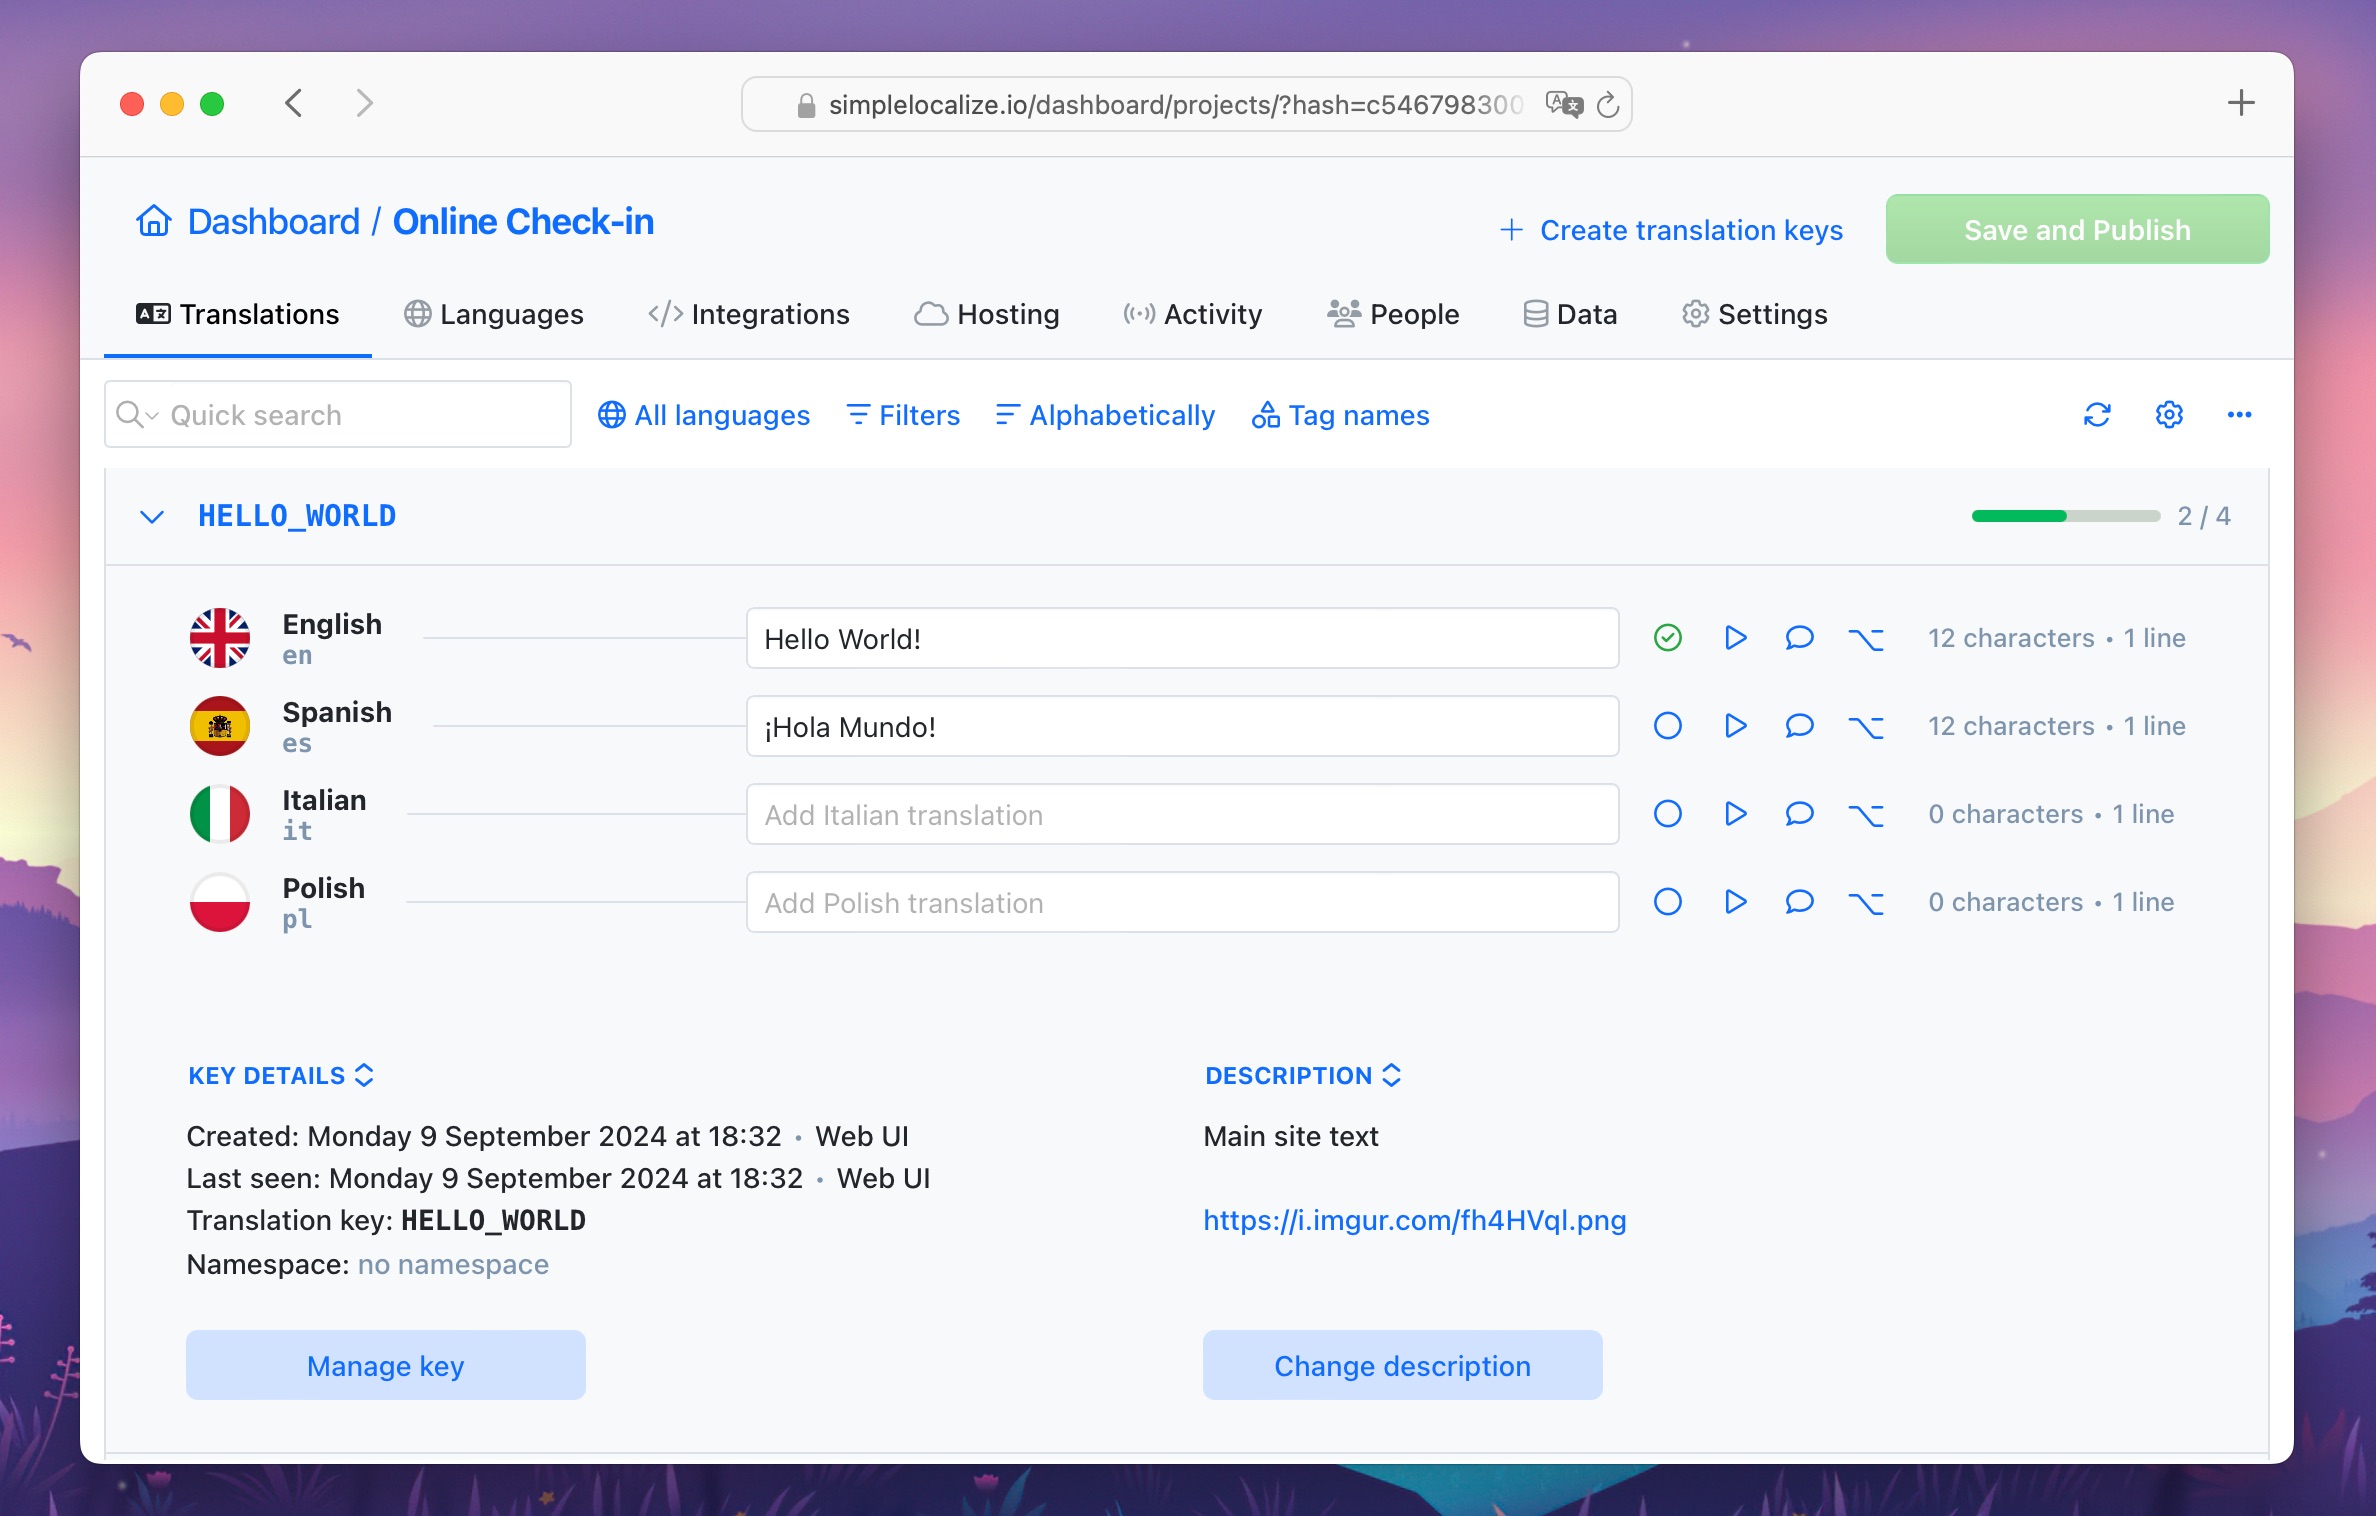
Click on Show description column to display key descriptions in Table View, or check key details in List View to see the description.
Code description
Code description is a key description or key details set directly in your source code. It can be displayed in the Table View with Show code description column option checked in editor view settings.
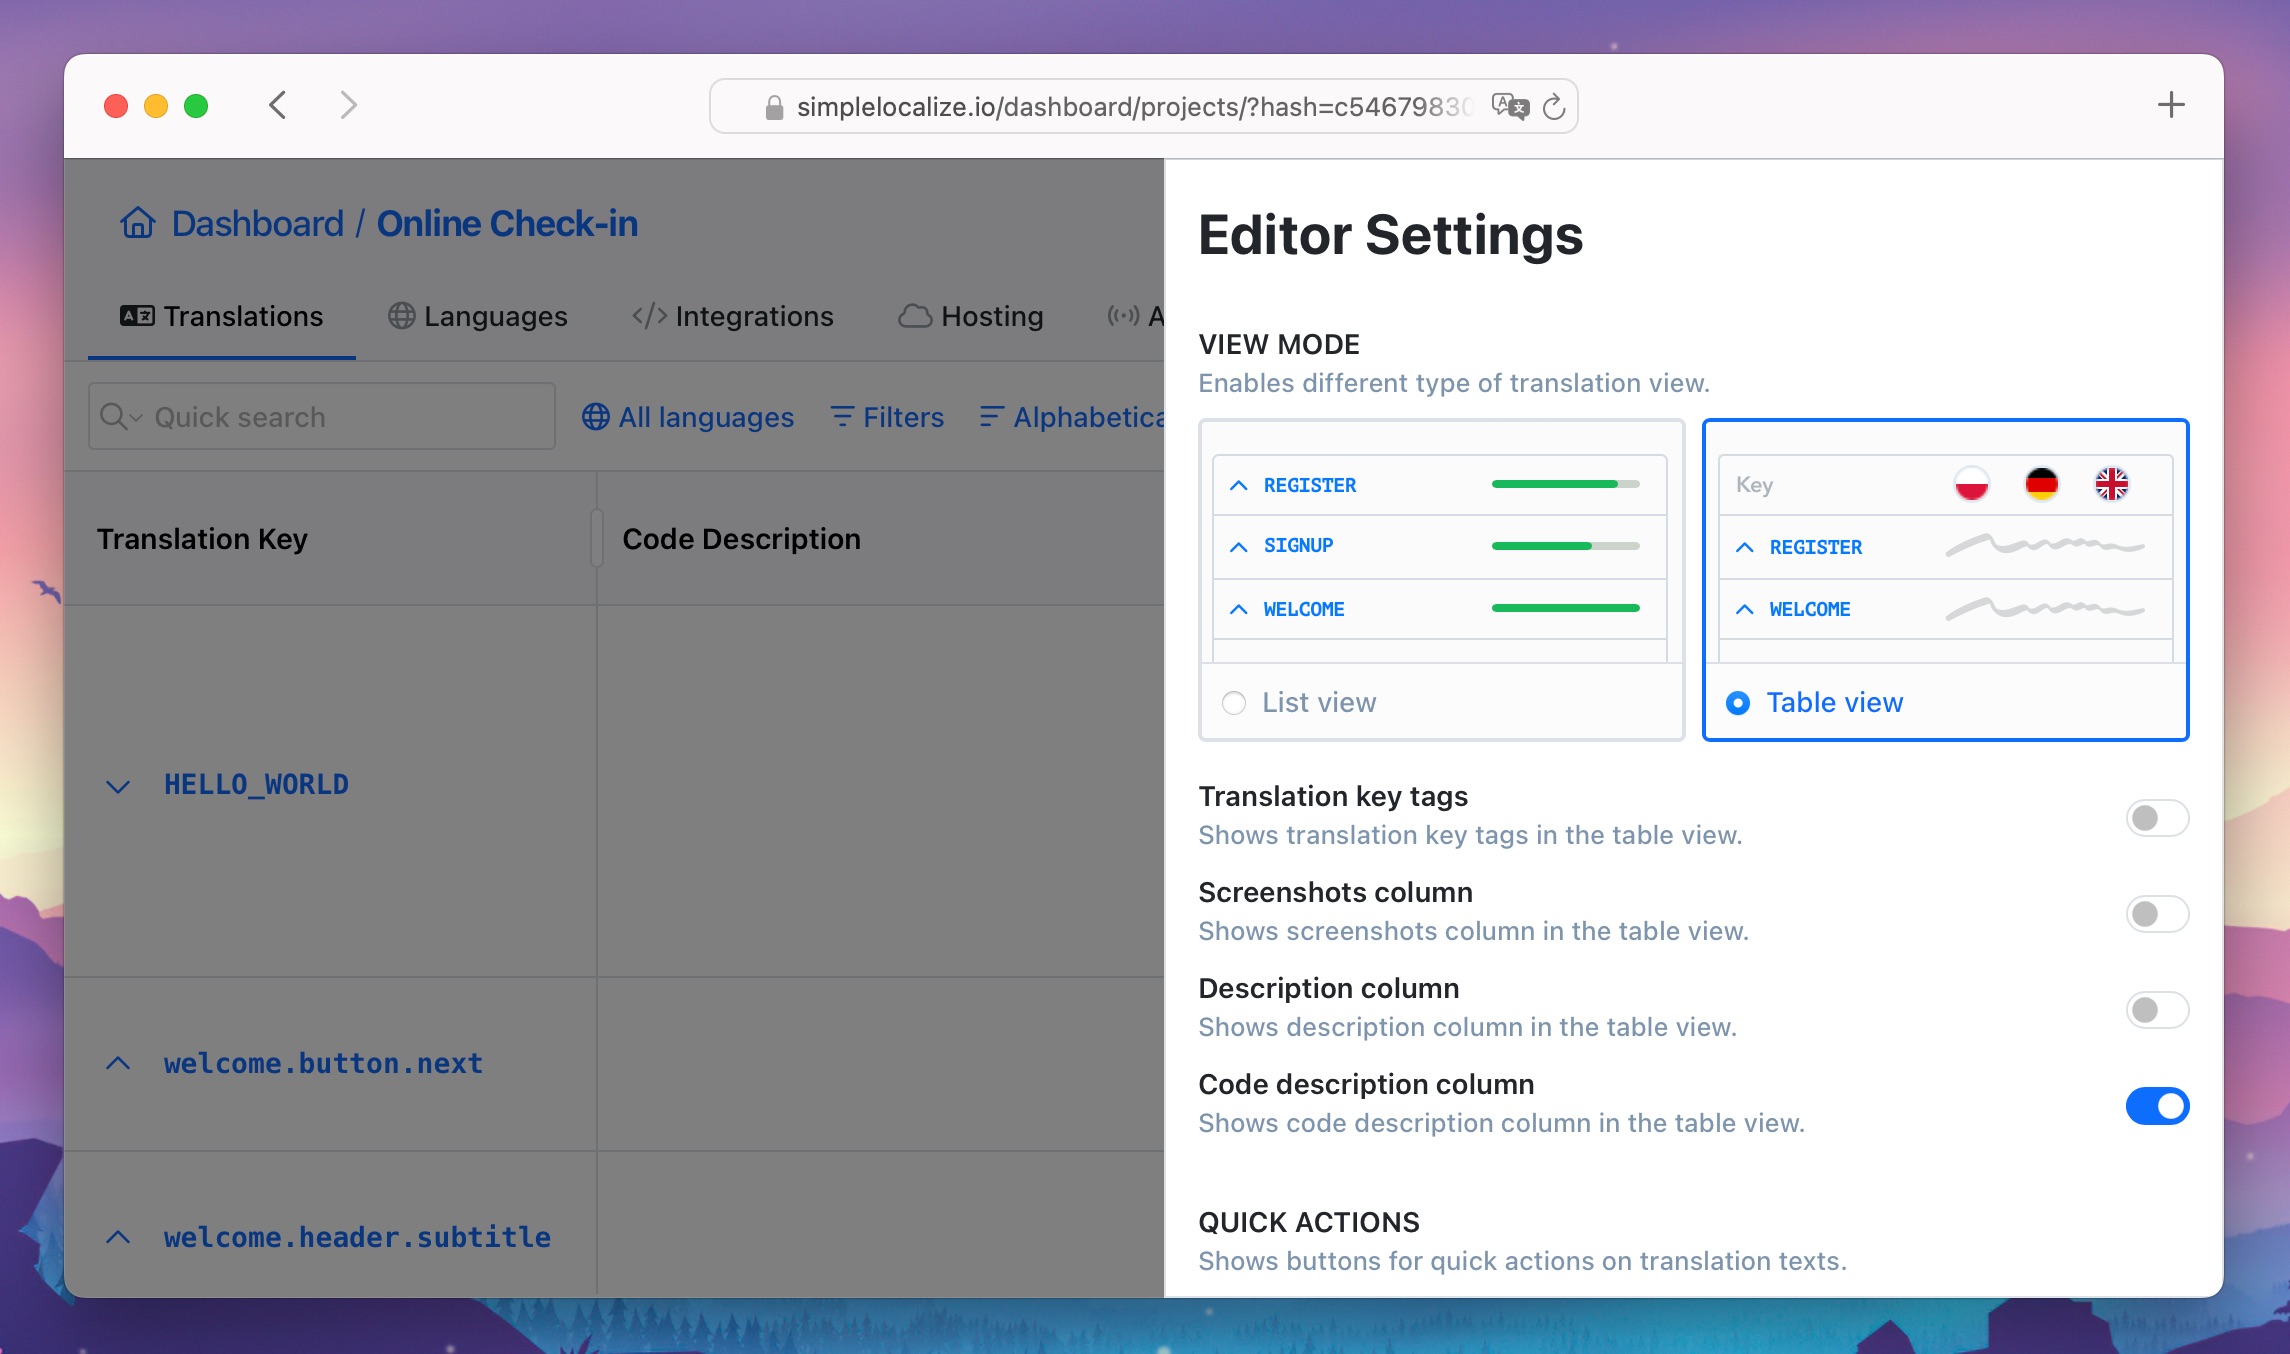
Note that code descriptions are imported from the source file, and cannot be edited in the translation editor. See an example of code description below.
<FormattedMessage
    id="YOUR_TRANSLATION_KEY"
    defaultMessage="Your default translation text"
    description="Your code comment for translators"/>